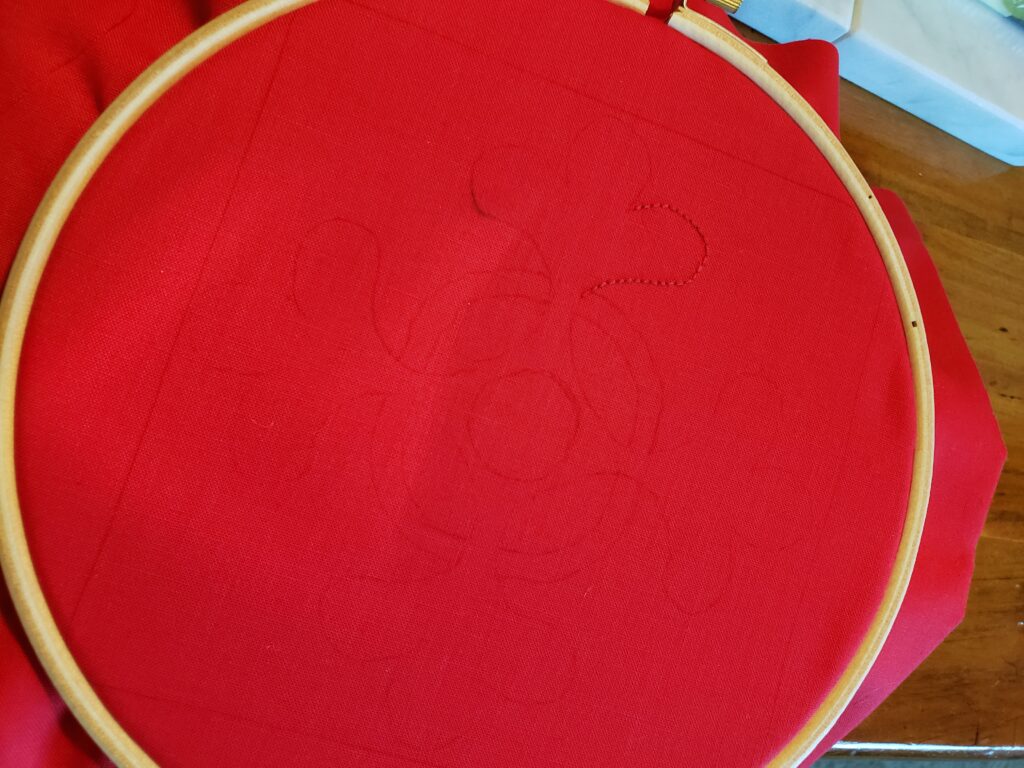
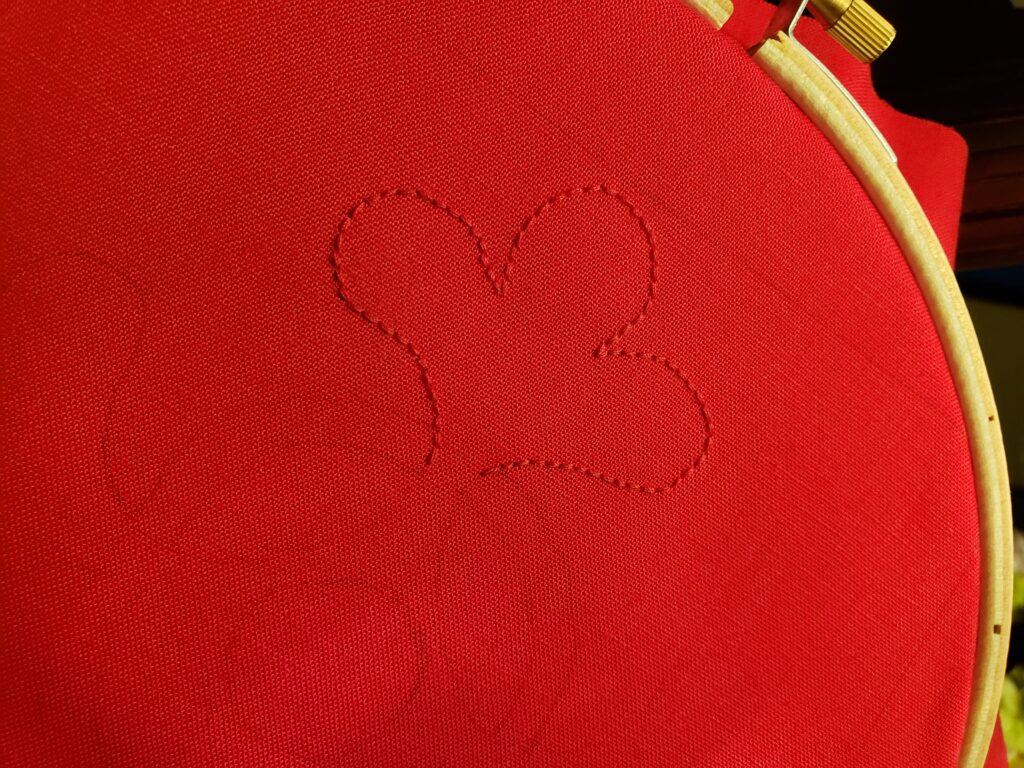
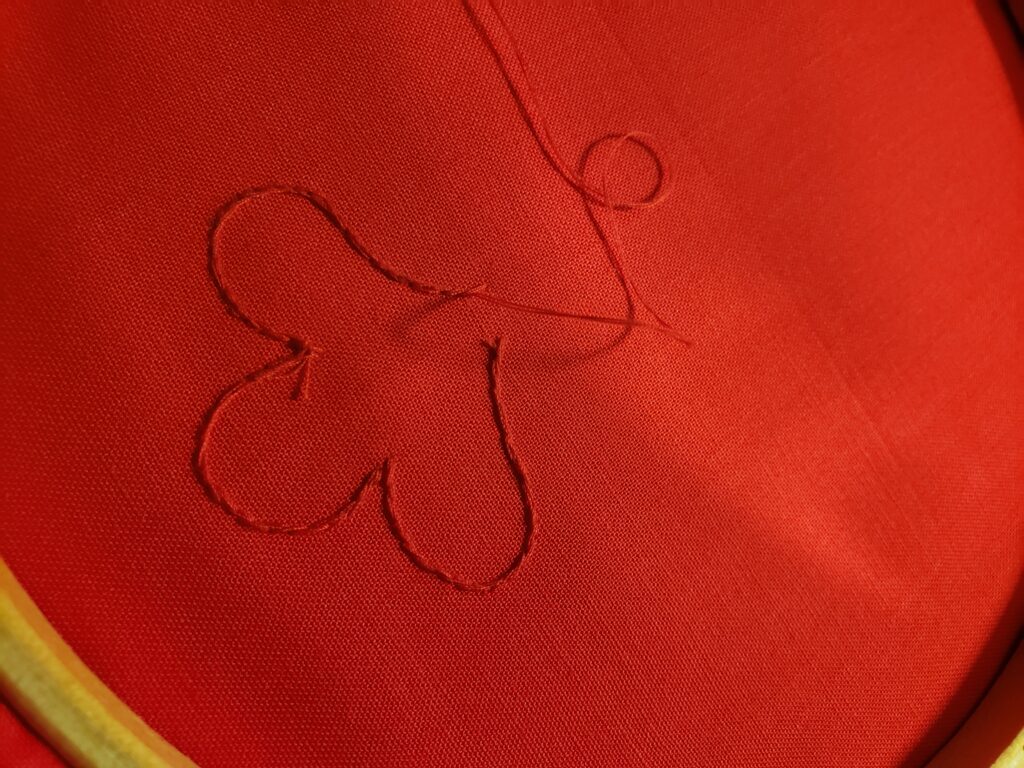
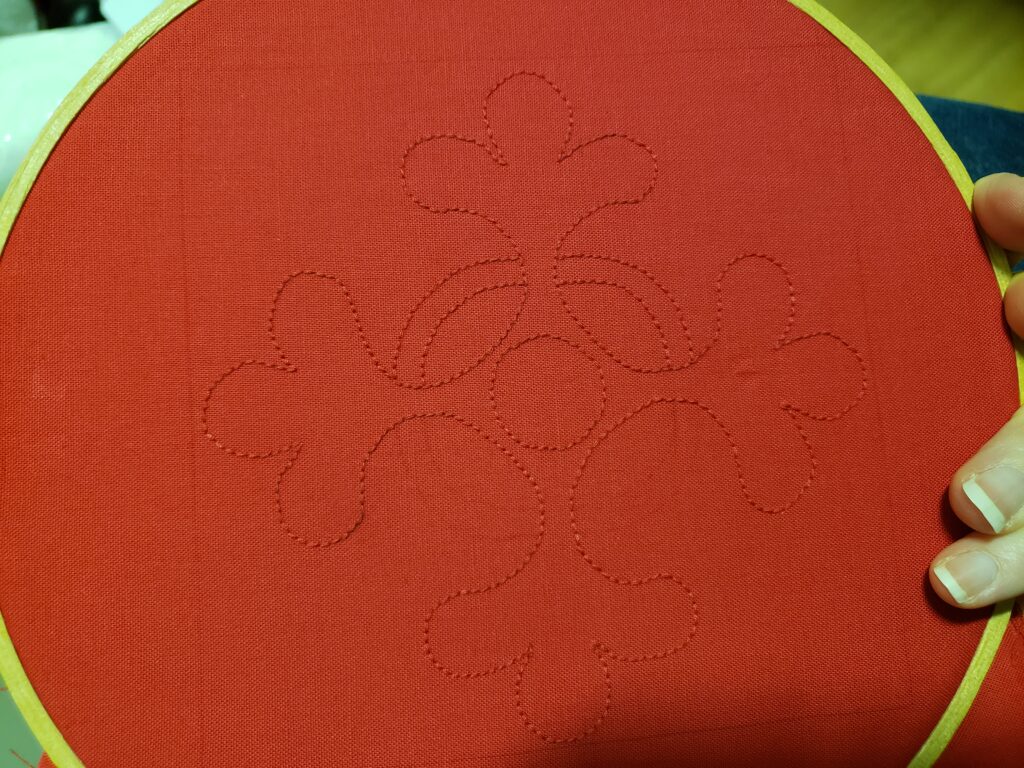
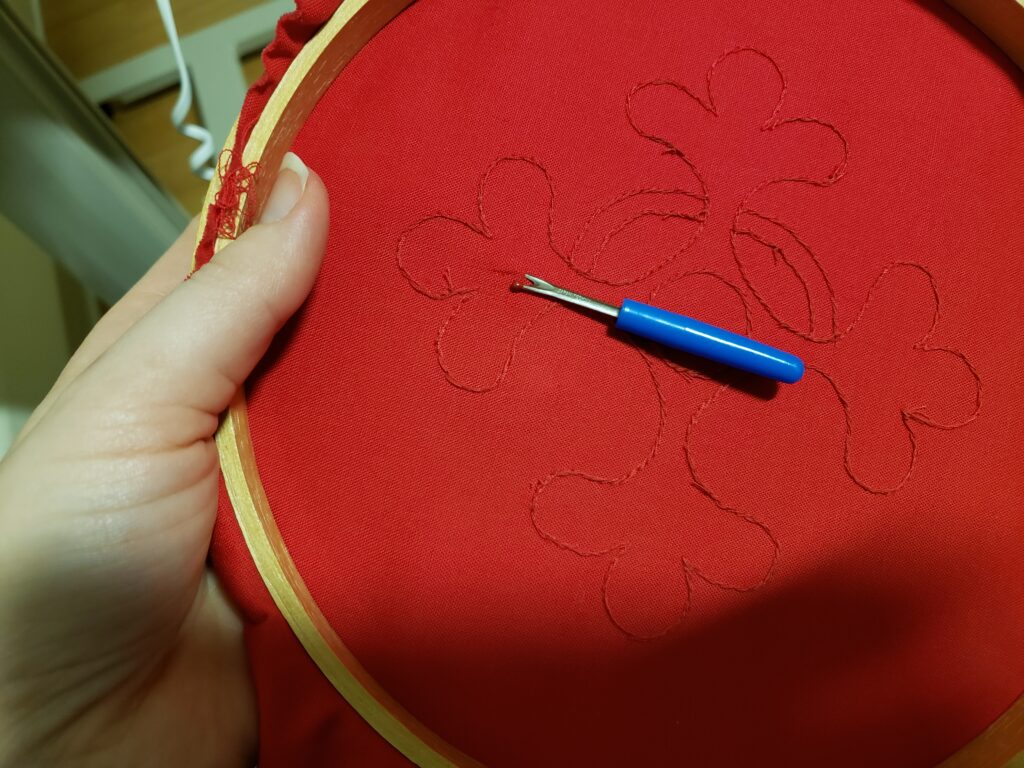
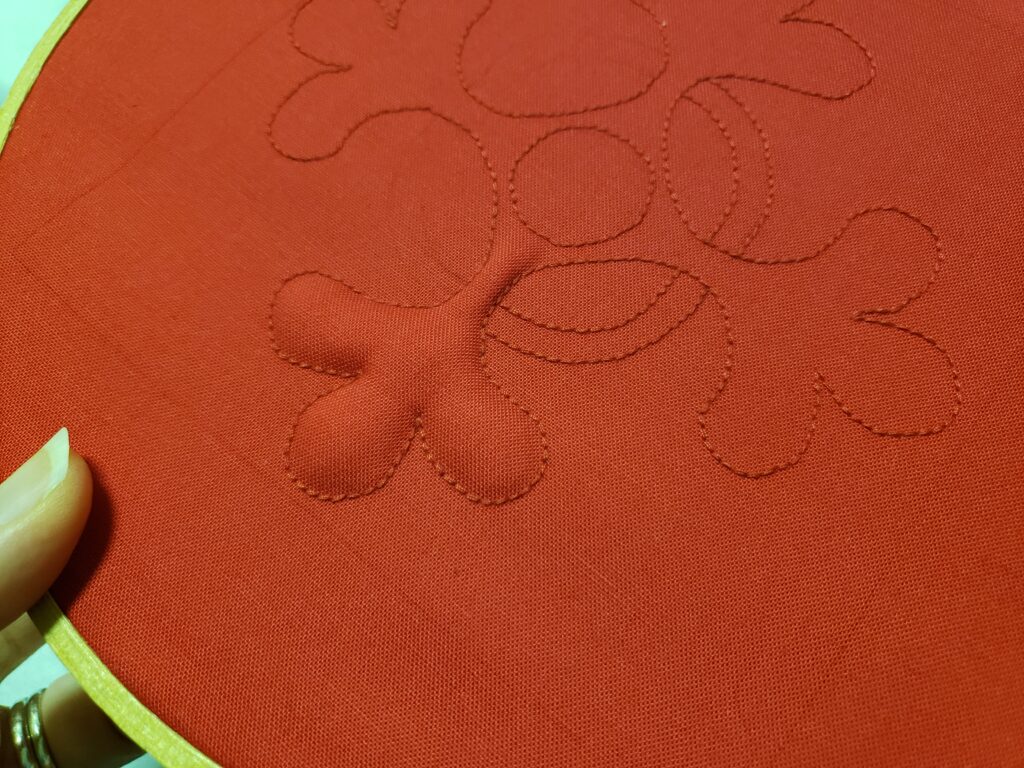
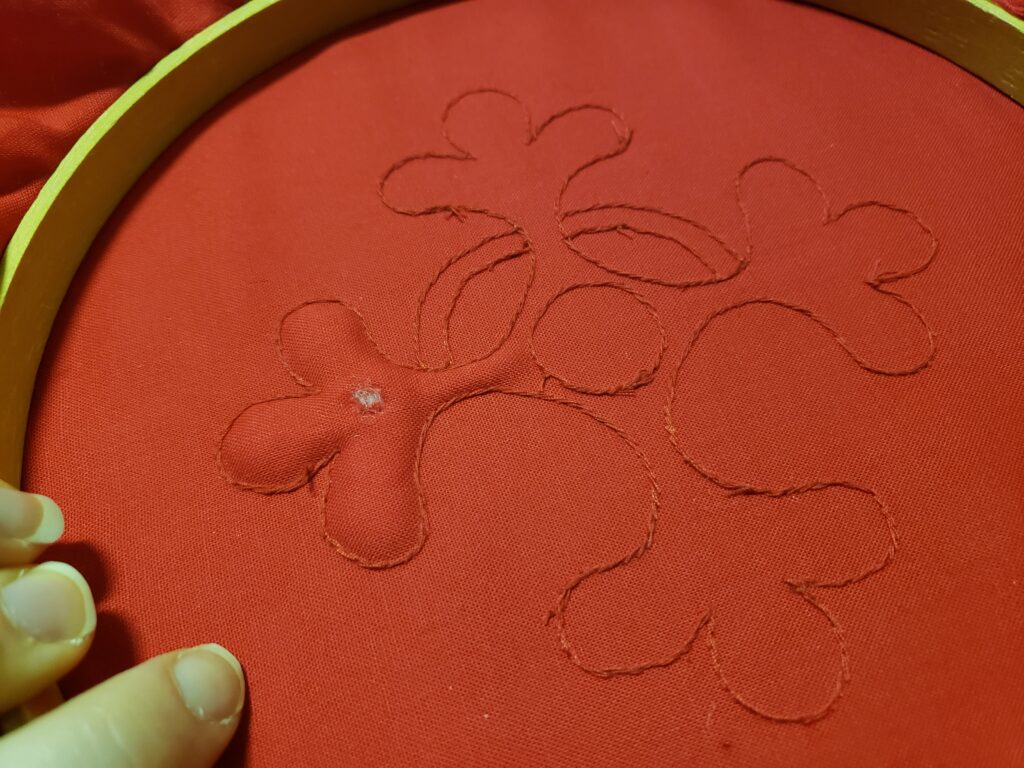
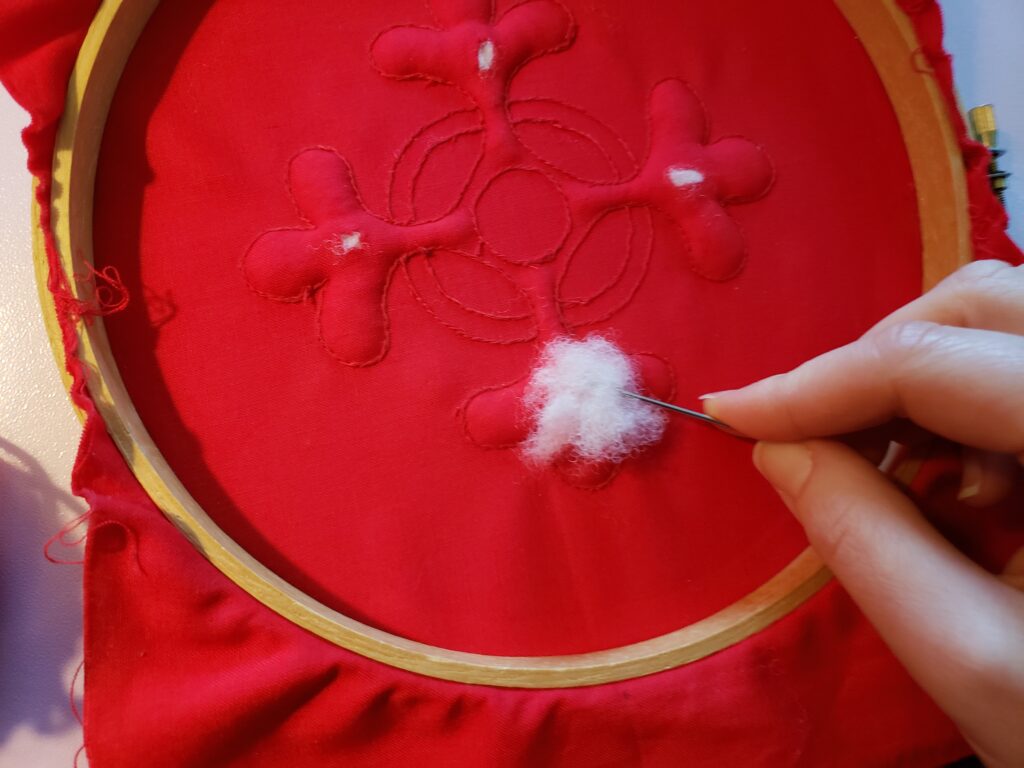
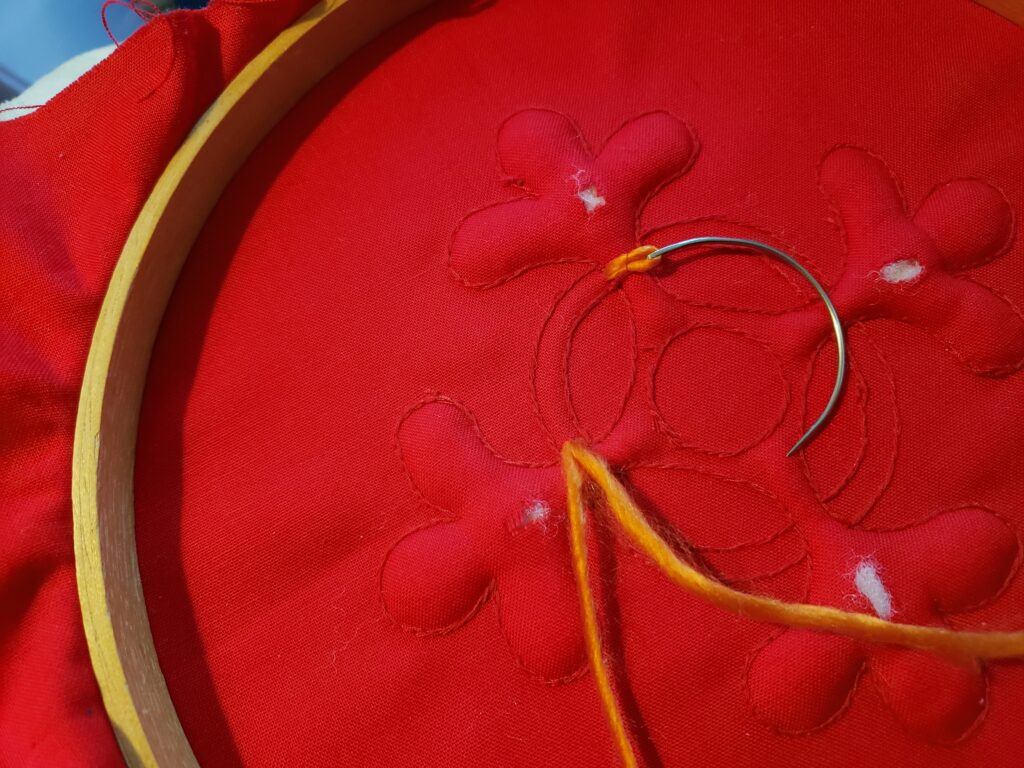
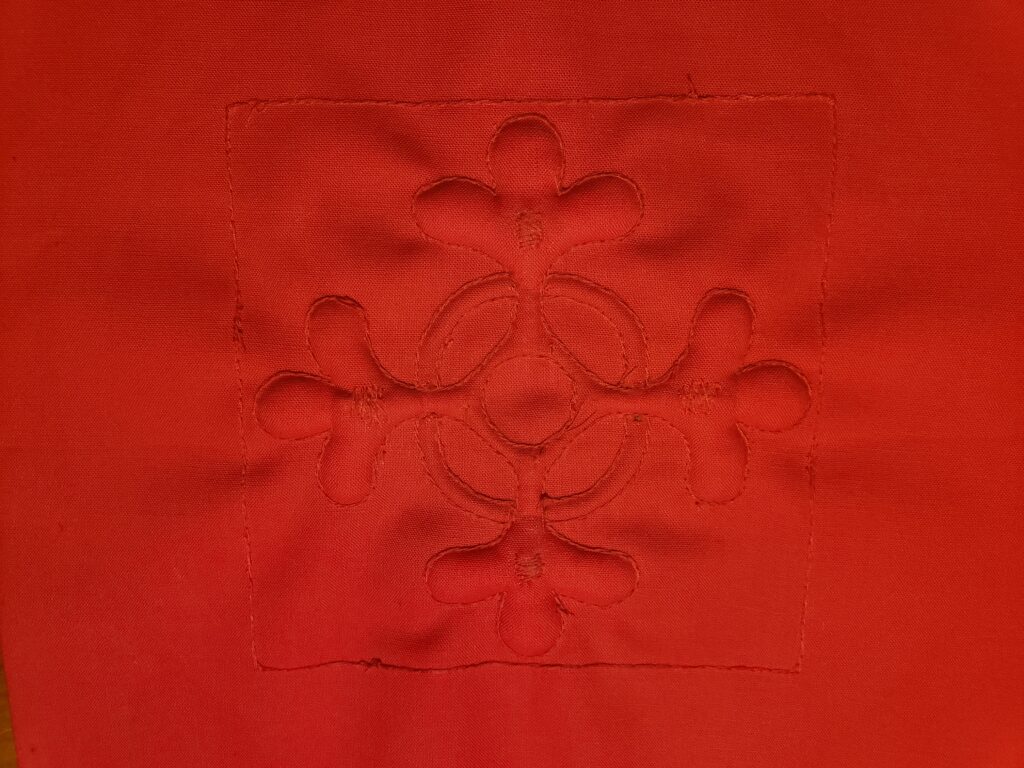
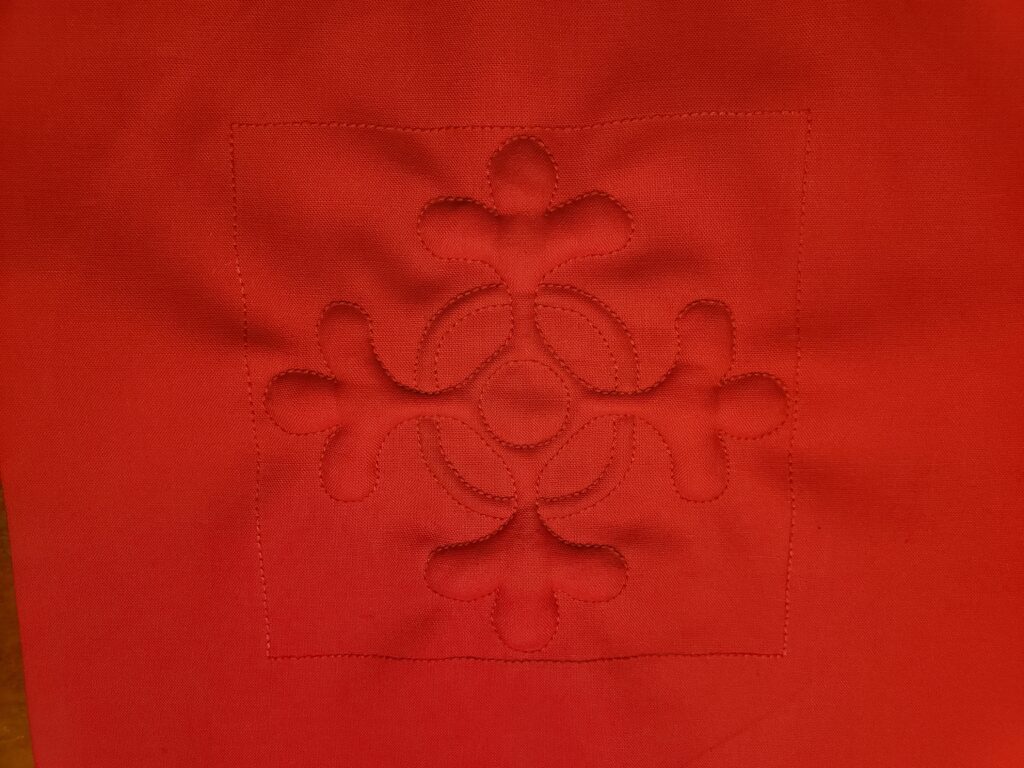
This was a new technique that I had never done before and while it was more time consuming then I originally thought, it was fun to do. I enjoy doing needle work and the back stitch wasn’t hard to get into a rhythm of doing, although I would occasionally have my stitches get too long and have to redo them. The curved lines that I stuffed using the French technique was alittle harder to backstitch, but very easy to “fill” with the yarn once I used the curved needle. I ended up stuffing it with 6 strands of yarn to get the desired look. I used only 4 strands of yarn to go around the center circle. Stuffing the poly fill wasn’t hard and the large eye of a needle worked great to grab the poly fill and stuff it into the hole. The larger needle made the fabric hole bigger so when I whip stitched it closed there was a larger hole then I really wanted in the fabric, so I would use something smaller next time I did this. I do like the overall look, but I think it would also look better if I used alittle less poly fill.