Are We There Yet?
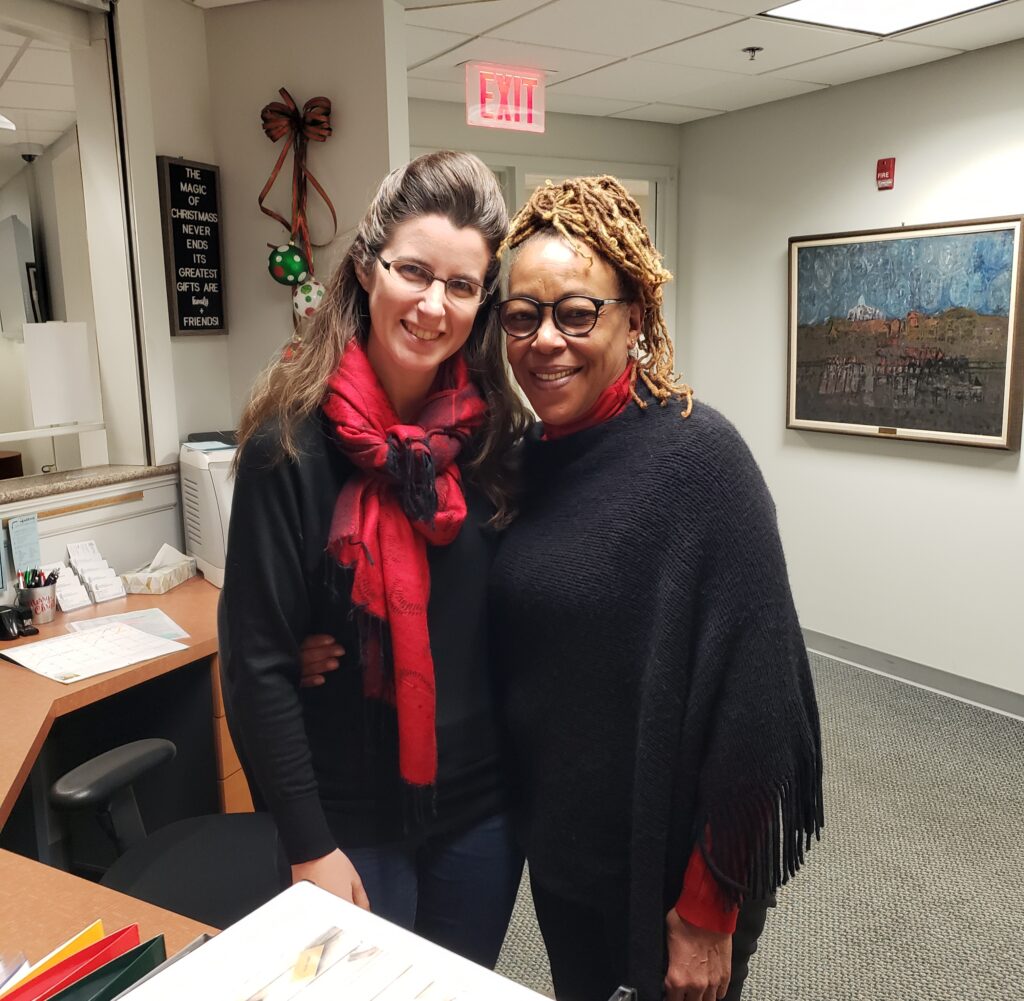
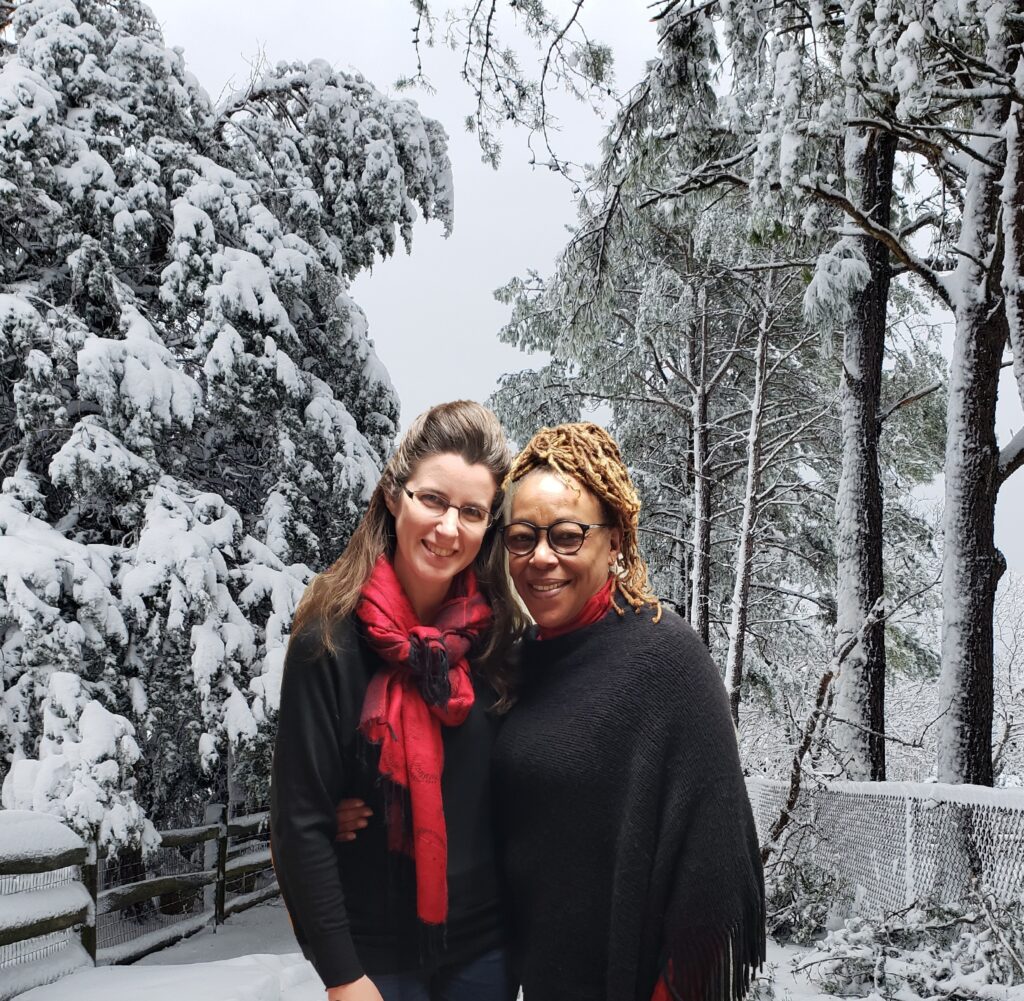
For this Design Assignment, I read over the EC’s My Perfect Day Tutorial, before doing this on my own. I had an idea of using a photo of my husband and I and changing where we are and what we are doing to a beach scene because we both love the ocean. After looking through my photo gallery I noticed a photo of my coworker and I at work and I thought this would be a great idea to take us from work and shift us into a winter wonderland. I have several photos from our last snowstorm here in Virginia and I found the perfect backdrop that paired really nicely with our blacks and reds. Overall this was a really fun process, and while I struggled a little bit with learning the app and how it worked this process is one that I definitely do again with other photos.
Tutorial for Are We There Yet?:
- Download Adobe Photoshop Mix from Google Play onto your phone
- Sign in with your Google or Facebook account
- It will ask you to enable something etc….and you can do an interactive tutorial on how everything works (there are few ads)
- Click the turquoise circle in the bottom right of your screen that has a plus sign on it
- Select Device to use a photo from your phone’s gallery
- Scroll through your phone gallery and select the photo that you want to use
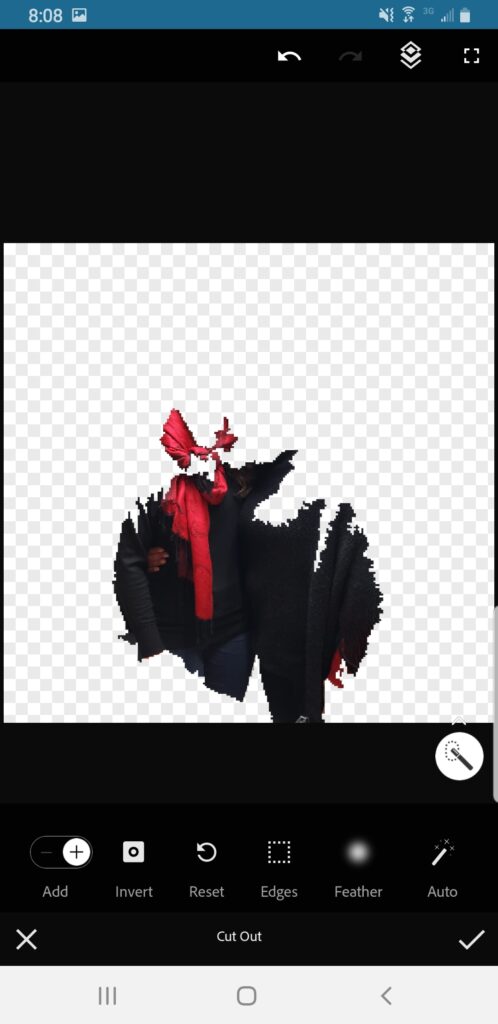
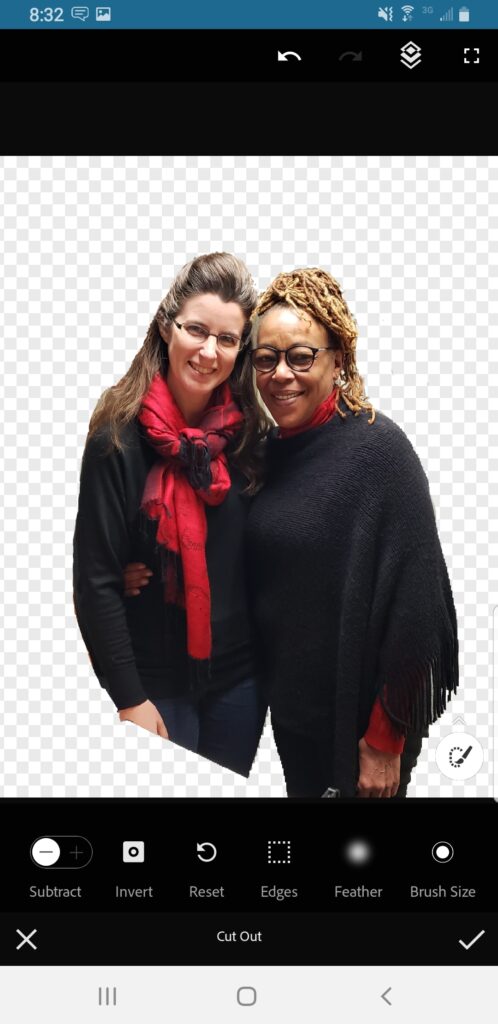
- Use the scissors icon in the bottom menu to Cut Out the people in your image
- Click the Wand on the bottom right to use the Auto feature – as you can see this didn’t quite work very well on my photo below
- Use your finger to and drag it across the screen to add the image back to where you want it

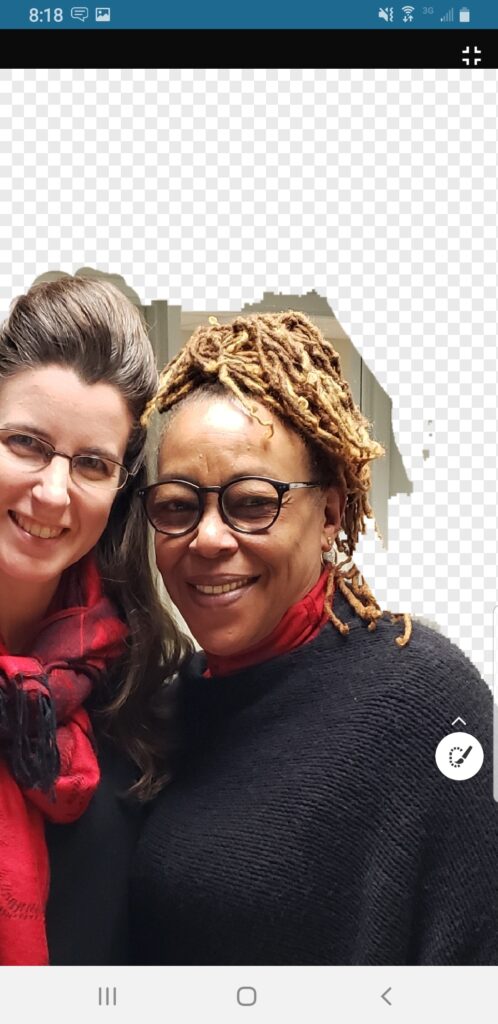
- Zoom in by using two fingers on the screen and dragging them to the side of your screen – this will help in getting the edges cut out nicely – to move your image around more easily select the layering icon in the top menu (second from the right)
- You can use the subtract or add icon in the bottom left corner to add in pixels or subtract them away
- It was easier on the hair to add in and then zoom and use a small brush (click on the paintbrush and then select basic selection and then hold down the brush size icon and drag it over to the left for small brush) to subtract out the pixels
- If you need to undo something – use the left arrow on the top menu
- when you are finished select the checkmark in the bottom right corner
- Back on the main first page select the circle with the plus sign above your small tile image
- Import a New Background from your device or wherever you have it – in EC’s Tutorial they were able to use stock photos, but those are no longer available (or maybe because I don’t pay for PhotoShop) so I added a photo from my own gallery, which worked but didn’t have quite the impact that I think a stock photo might have
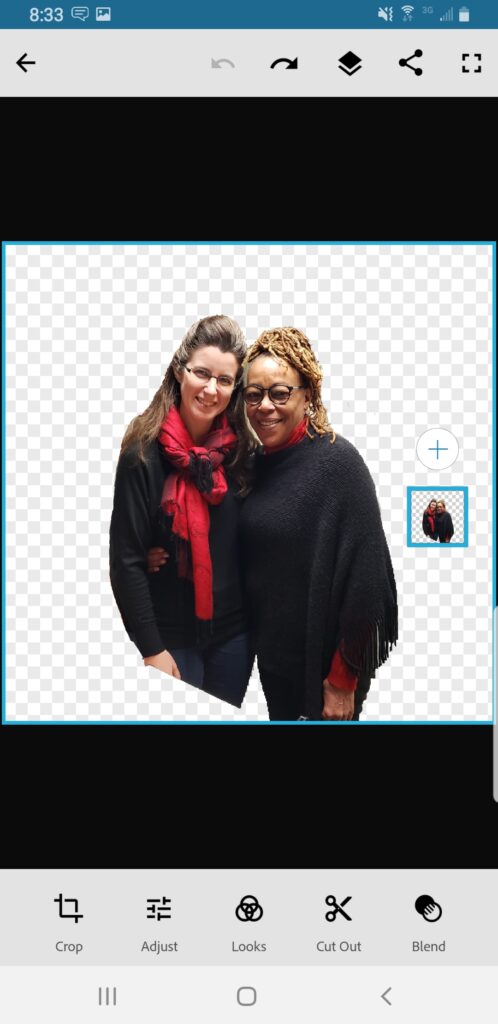
- Drag the little tile of your first photo so it is on top of the second photo then you will have the layering correct
- To resize or rotate either image select the right little tile to work on that layer
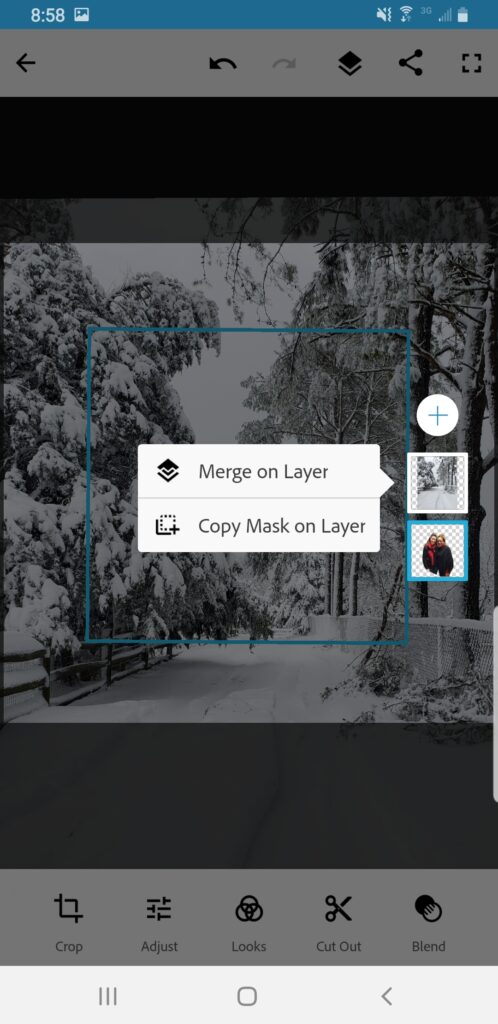
- If you want to use the Adjust, Looks, or Blend icons on the bottom menu to adjust either layer – those are fun options to try
- When you are finished select the Share icon (second from the right in the top menu) and then click Save to Gallery