Splash the Color Tutorial
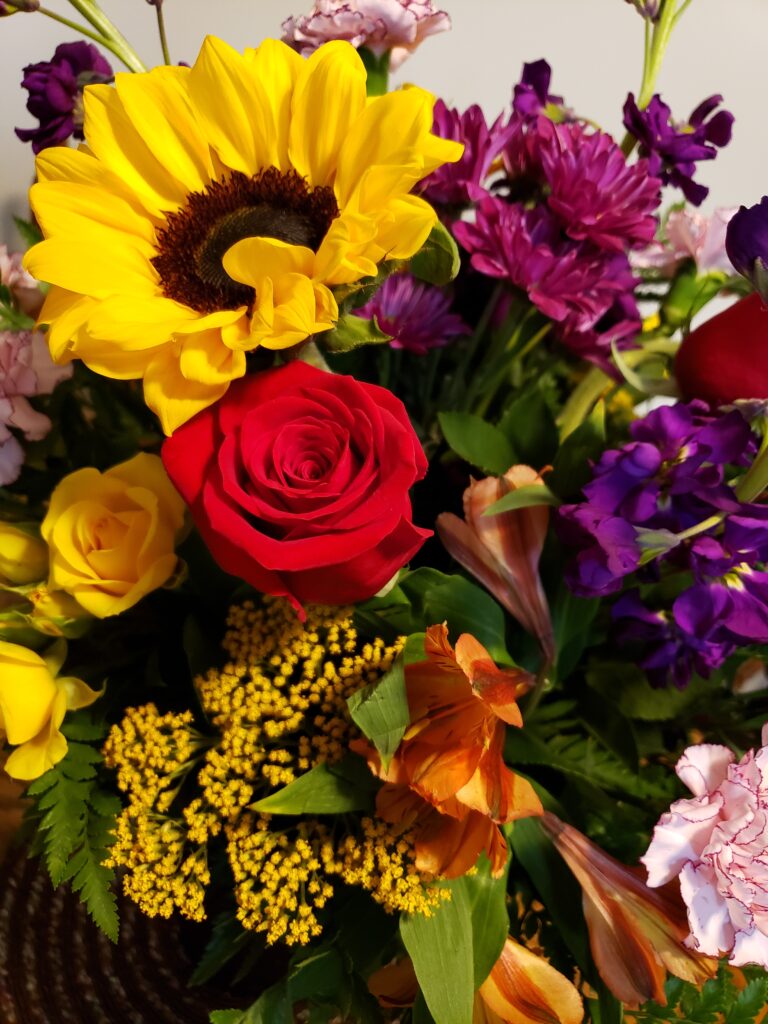
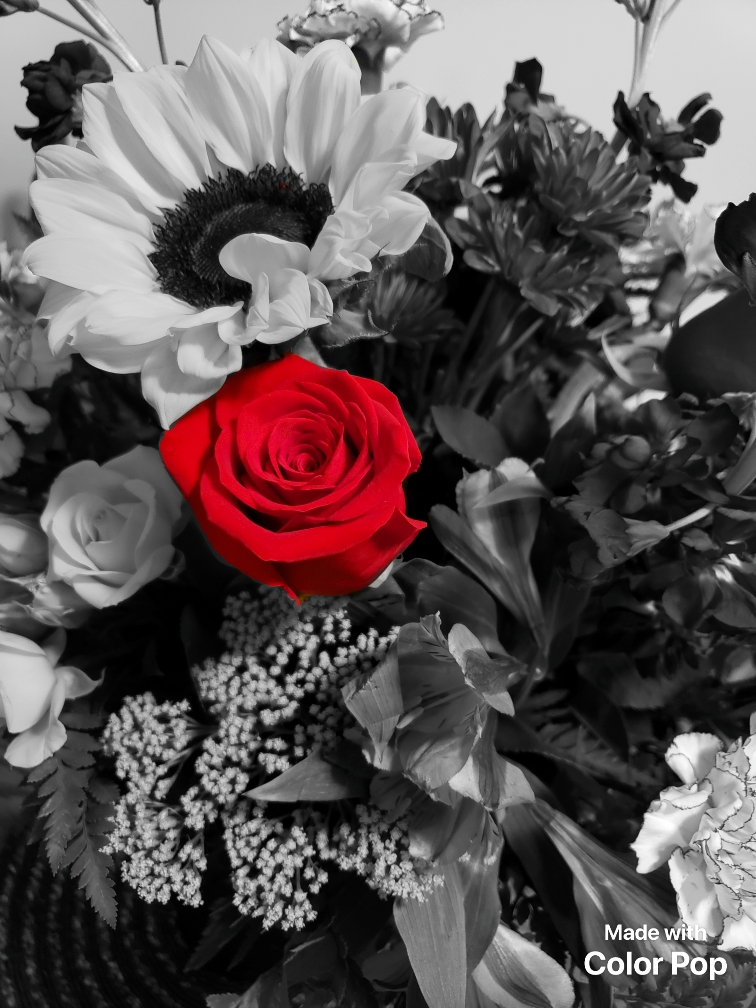
I love flowers – have I mentioned that before? If not, I will probably mention it again! My husband knows this very well and on different occasions will surprise me with either a delivery from a local florist or he will stop by the grocery store on the way home and get me a beautiful bouquet of flowers. The photo below is from one of those surprise deliveries for our wedding anniversary, he was going to be out of town on our anniversary and had flowers delivered a few days earlier before our anniversary. I chose this photo, not just because of the sweet memory, but because of what the red rose in the center represents: love. Love is a choice, it isn’t something we just fall into, and loving someone is not easy, marriage is hard at times, but in the midst of life (the grey parts of the picture) choosing to love that special someone, learning and growing with them through life’s journey is a precious gift that will last a lifetime.
- Download Color Pop Effects Photo Editor from the Google Play store (beware there are a lot of ads if you use the free version)
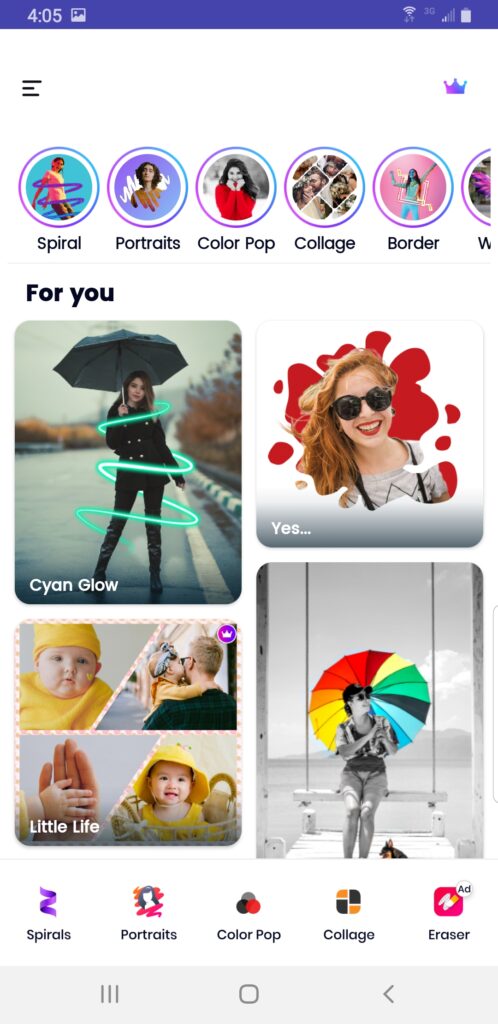
- On the home page (center photo below) is top menu are several different examples from Spiral to Wings of what you can add or change in a photo. In the middle, are “For You” pictures and then at the bottom is the main menu for choices from Spirals to Collage
- Select the center Color Pop
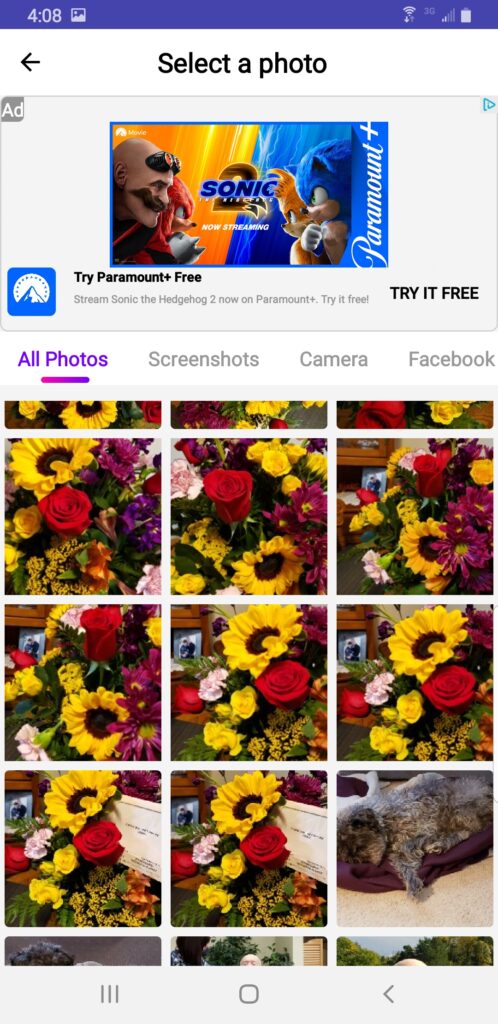
- On the Select a Photo screen (image on the right below), scroll through your gallery, by either All Photos, Camera, Facebook etc…until you find the photo you want to change.
- Tap on the photo to select (listen to the ad……and click skip video when it appears in the top left corner and then the X in the top corner to not download whatever app they want you to buy)
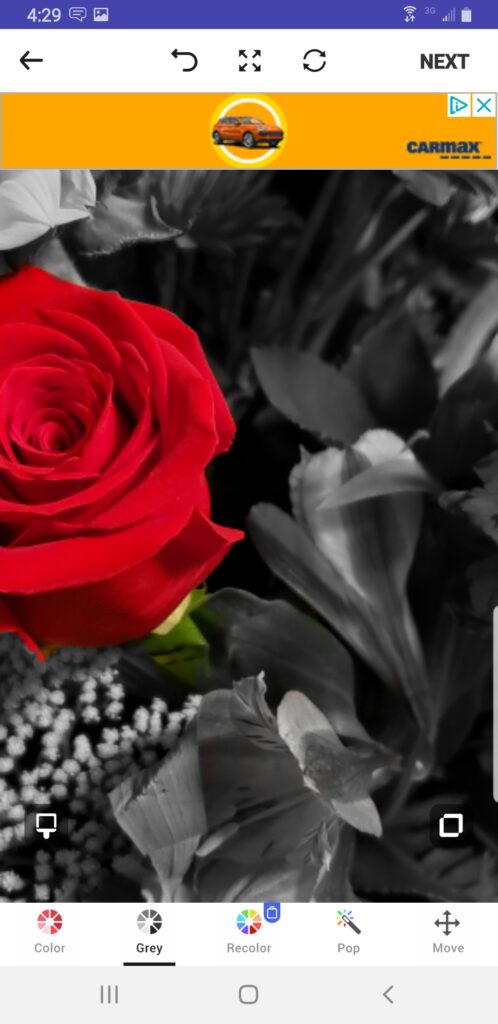
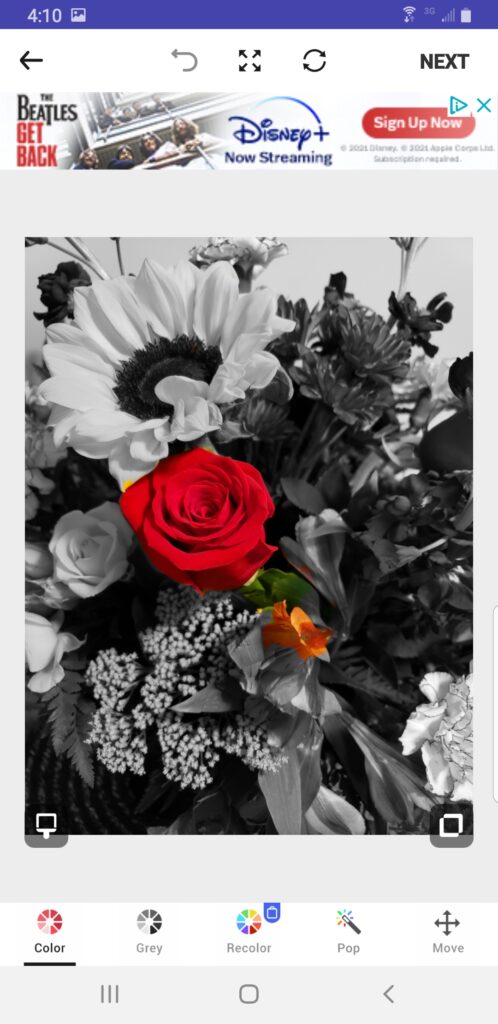
- The program will automatically make the photo black and white (1st screenshot on the right) and leave what it thinks you want in color.
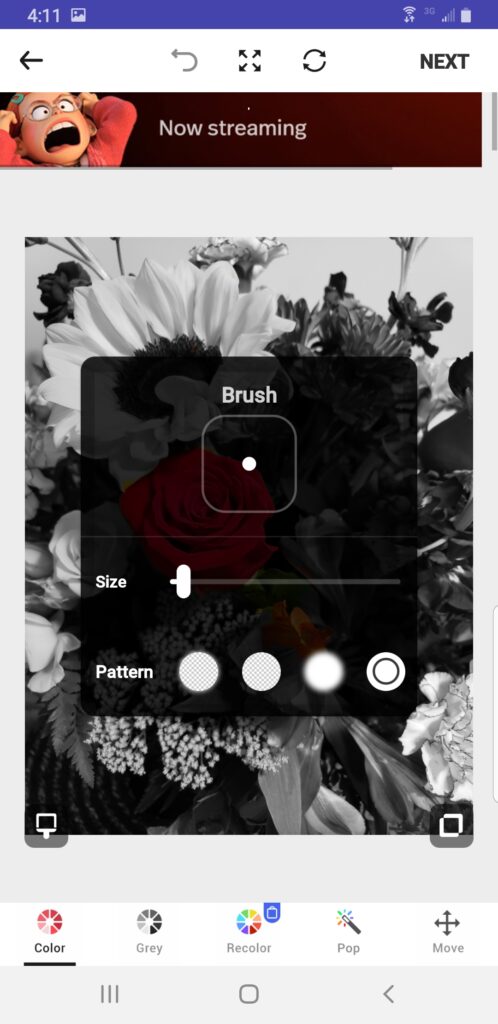
- To fix anything click on the brush in the bottom left of the photo and change the size of the brush or the pattern to suit your desires (2nd screenshot on the right).
- Use two fingers to magnify the photo so the parts you need to fix are easier to do. If you need to Move the photo around to get to other magnified areas, click on the Move icon on the bottom right menu (if you don’t use this feature you will then mess up your photo as I did in the screenshot below
- Click on the Color Circle or the Grey Circle on the bottom menu if you need to add or remove the color
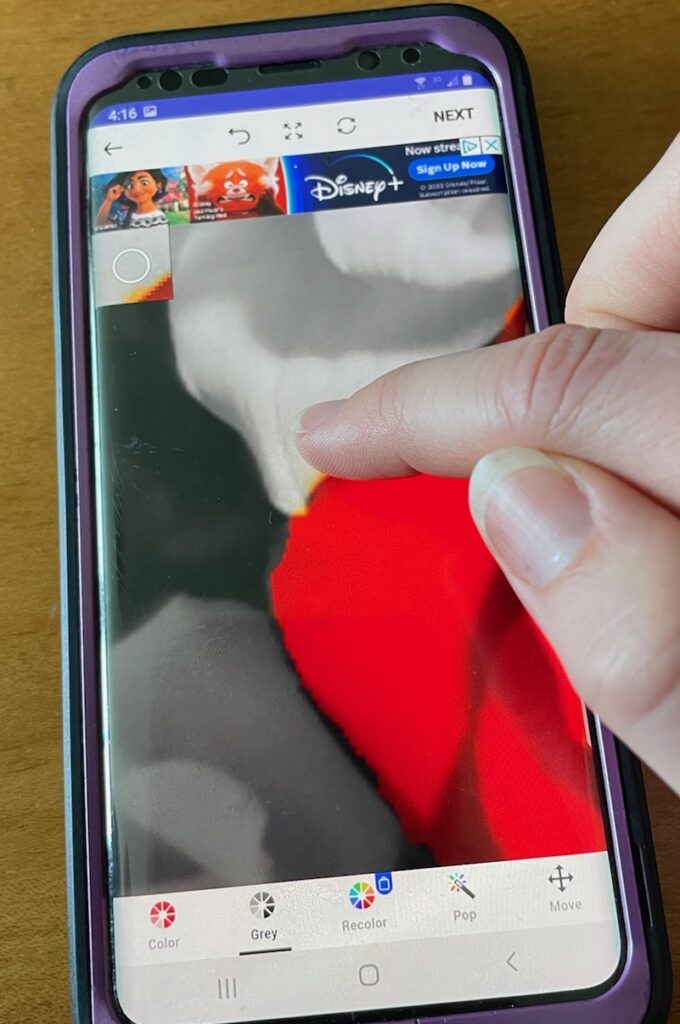
- For my example, I needed to remove the color from the sunflower petals so I clicked the grey icon, and slowly tapped with my finger or slid my finger across the yellow part to change the color to grey
- If you mess up (like I just did below on the first screenshot below) click on the half-circle arrow on the top center menu and it will “undo” your last thing
- Continue working your way around the photo until everything but the object you want is gray scaled, this takes some time but is worth it in the end
- Once you have only one color in the photo and everything else has been grayscaled click Next in the top right corner to move onto Filters (you might have to watch a short video to unlock this feature)
- I don’t usually use filters, but play around with them – I liked the Vintage Filters, but in the end, I decided not to use them
- When you are finished with the Filters click Save in the top right corner
- The next screen will allow you to Share It on any of your social media platforms