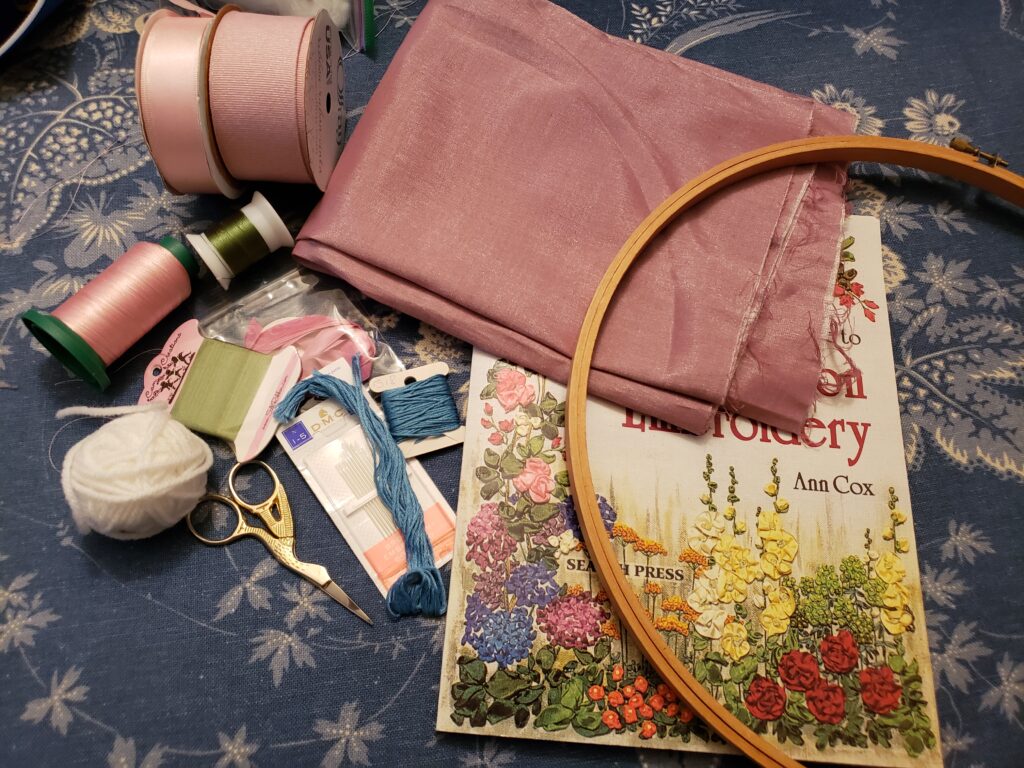
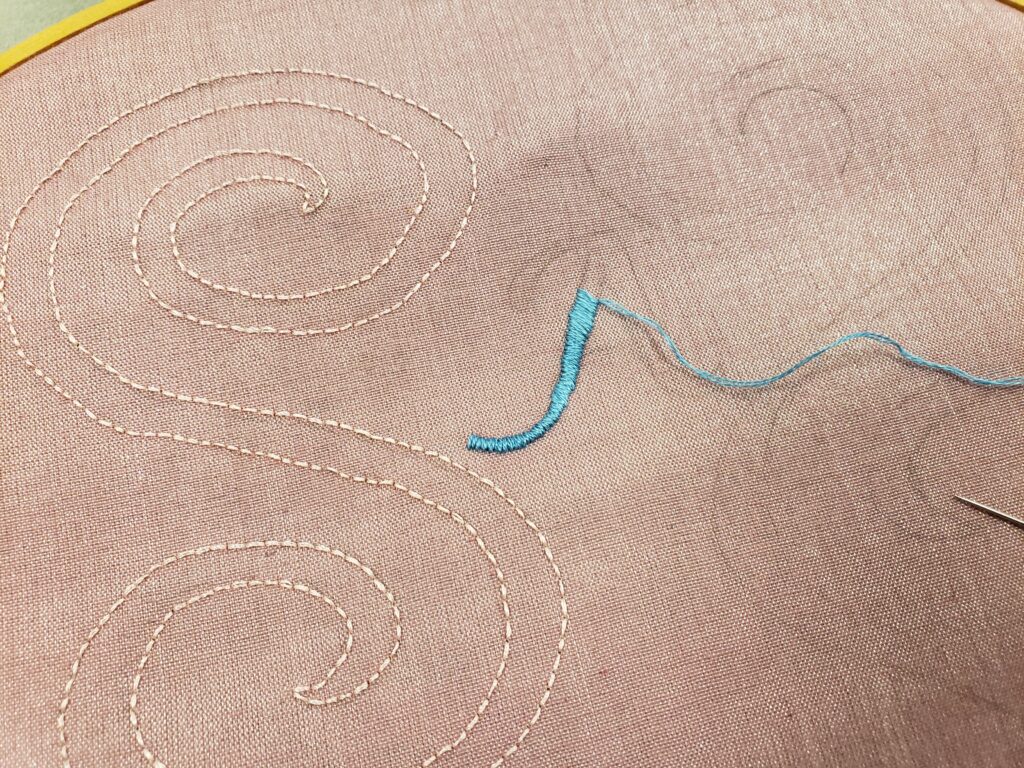
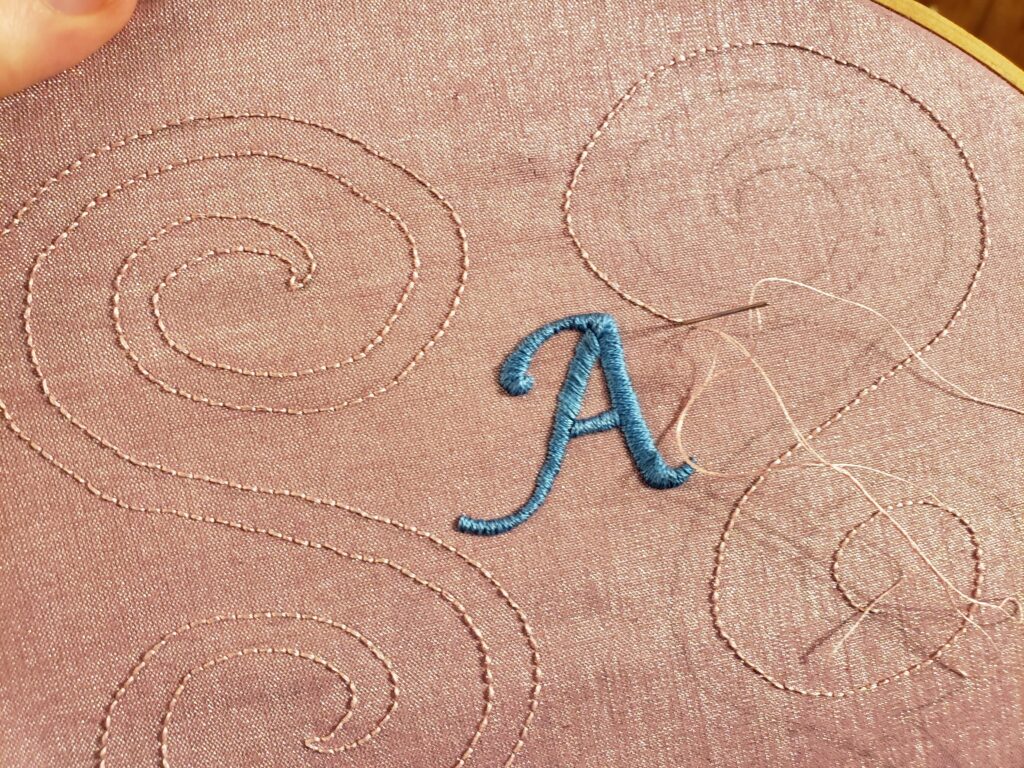
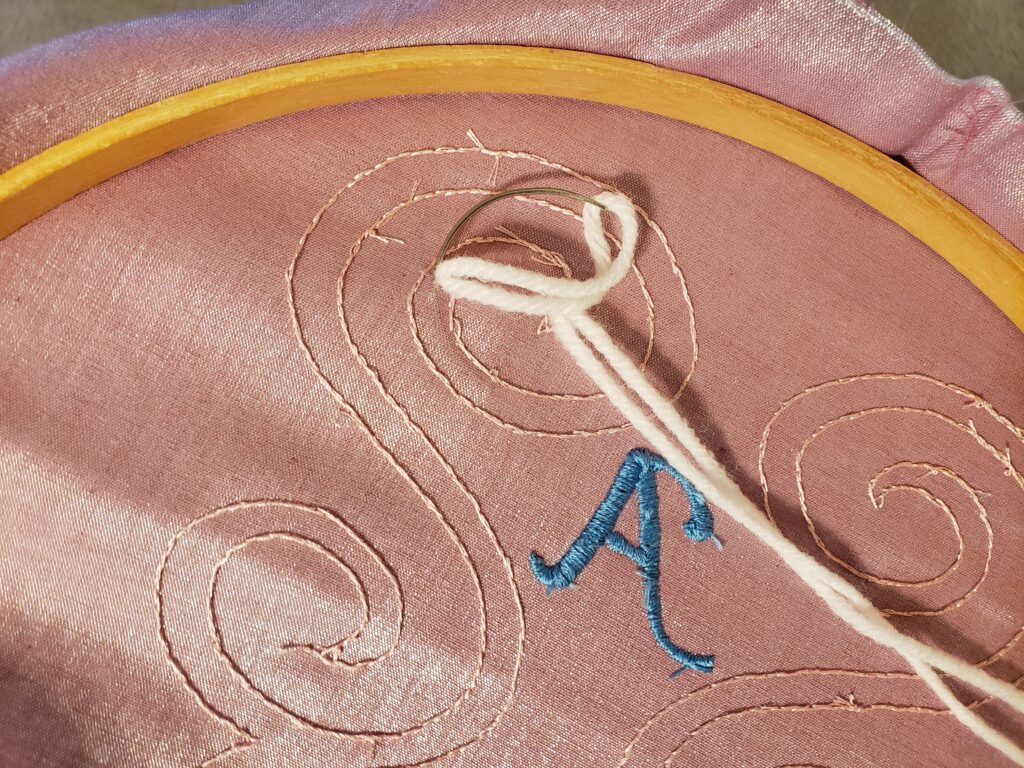
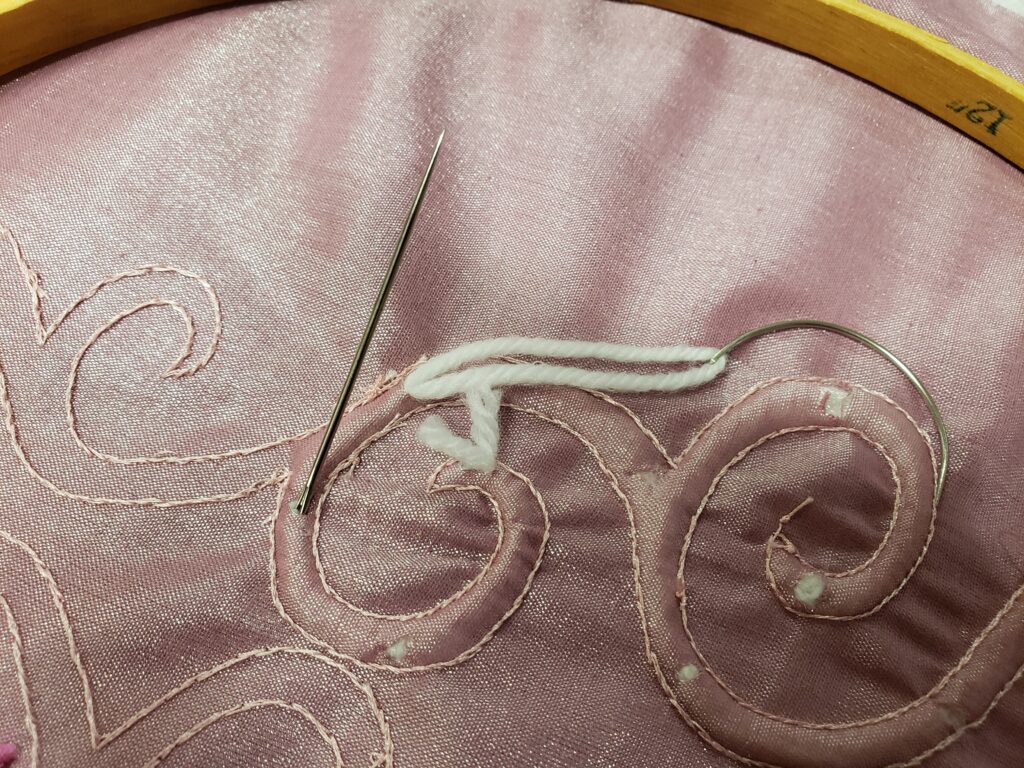
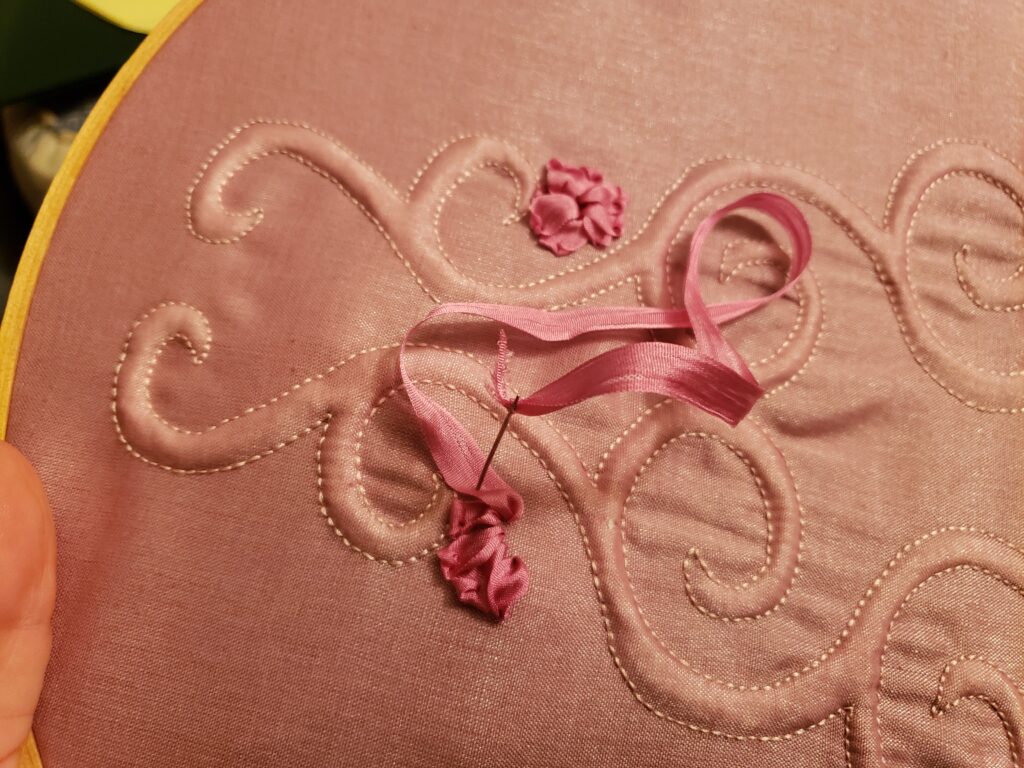
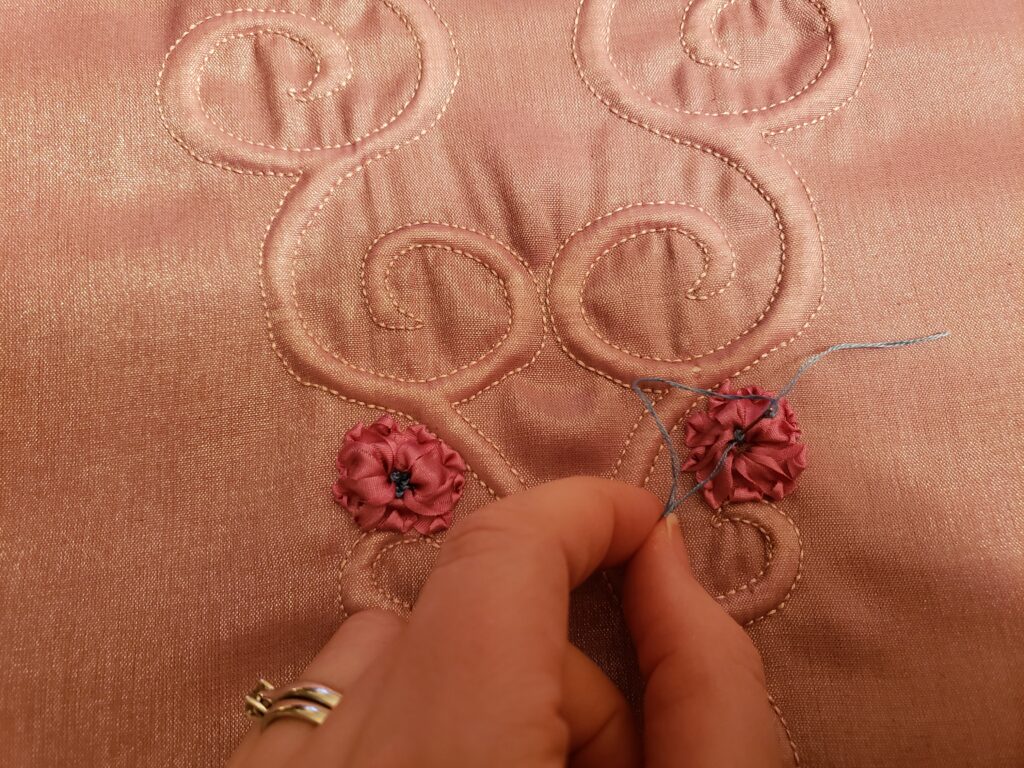
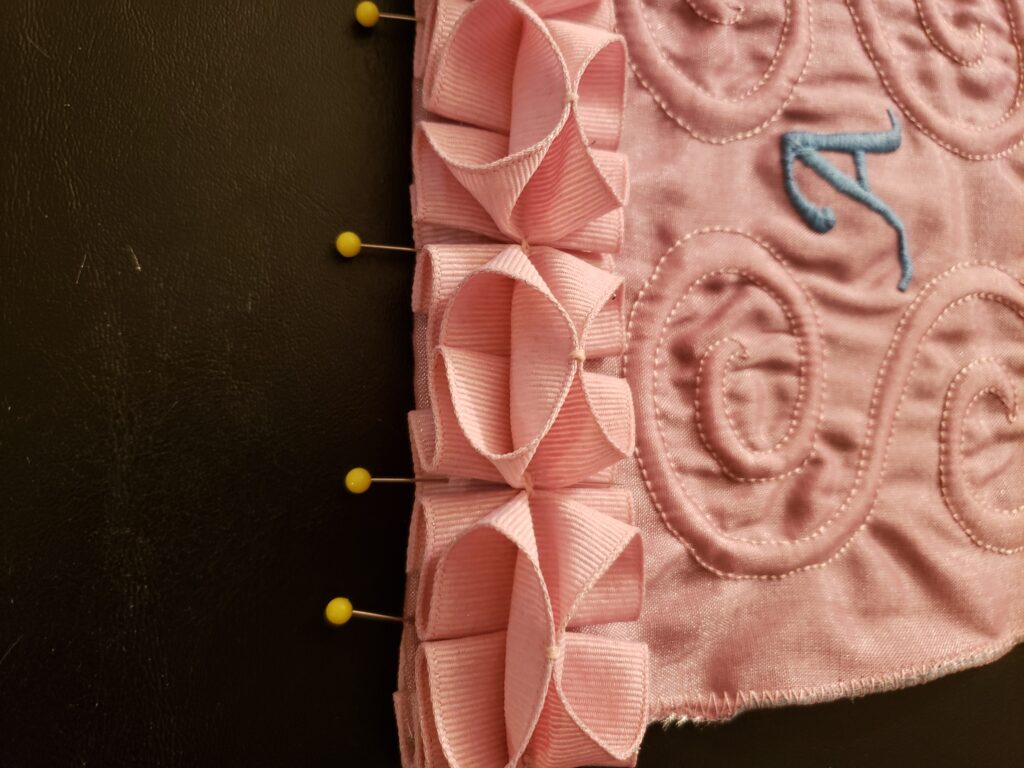
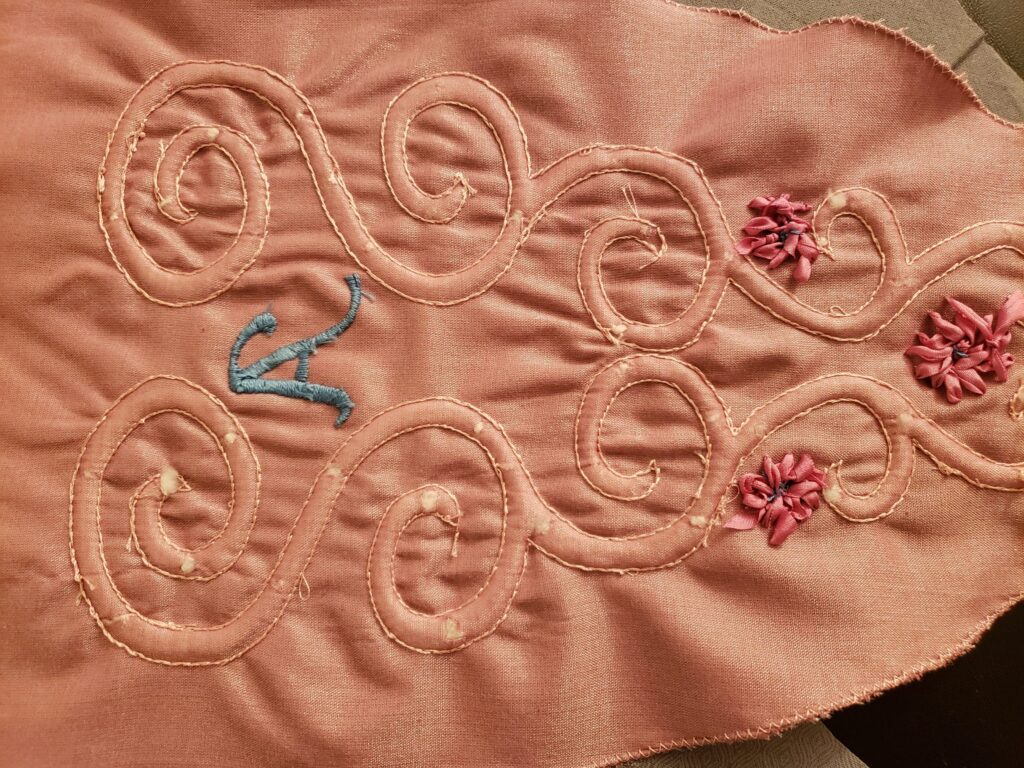
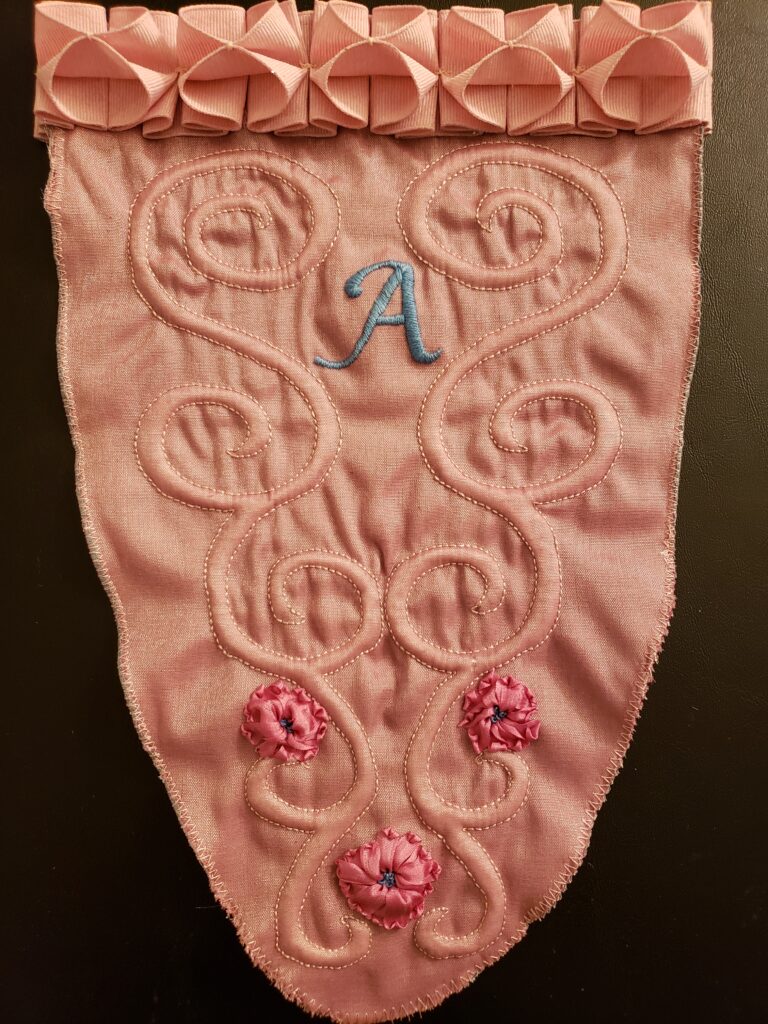
For this project I used four different techniques that we learned over the past semester: Trapunto, Embroidery, Pleated Ribbon Trim, and Ribbon Embroidery Flowers.
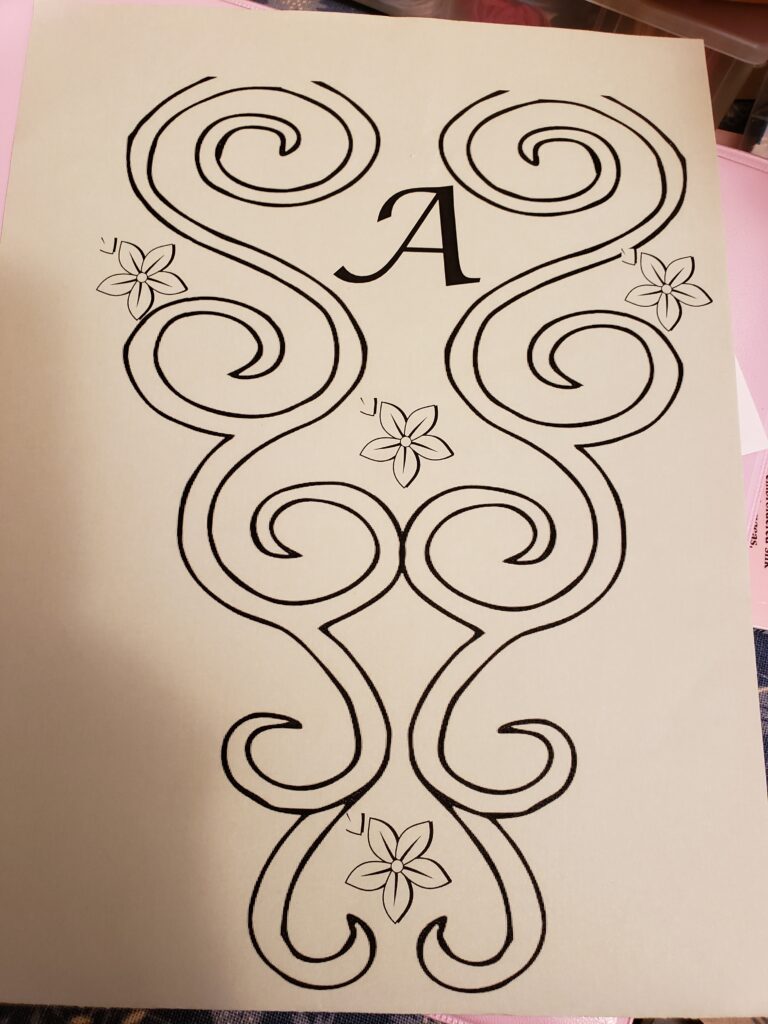
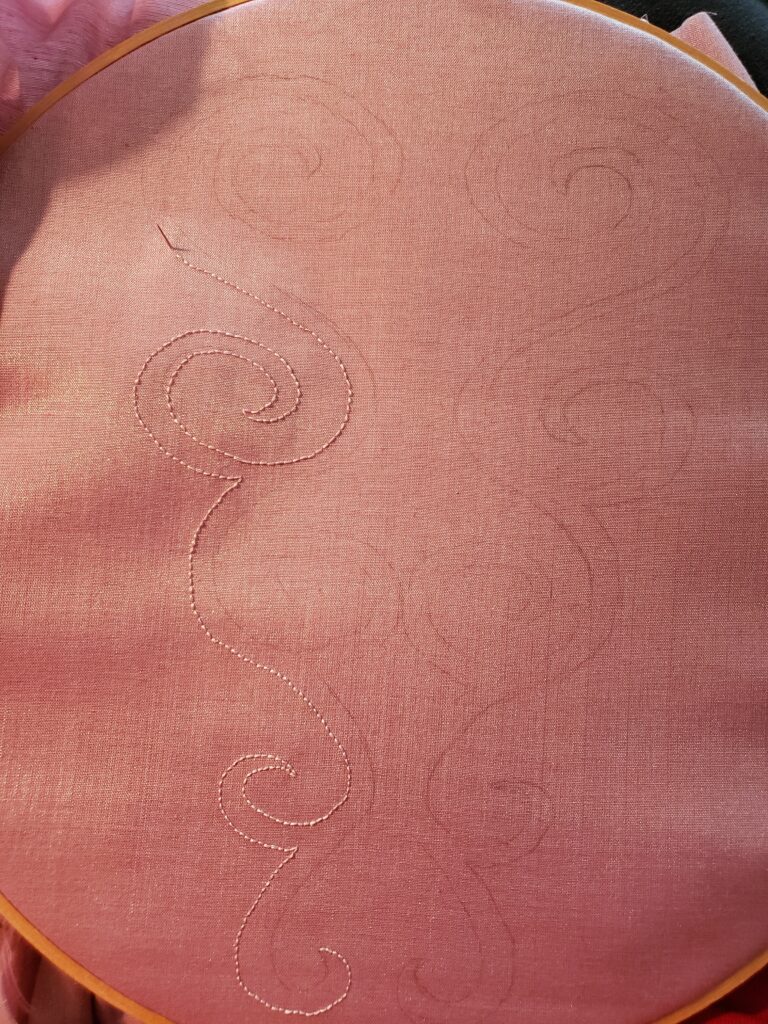
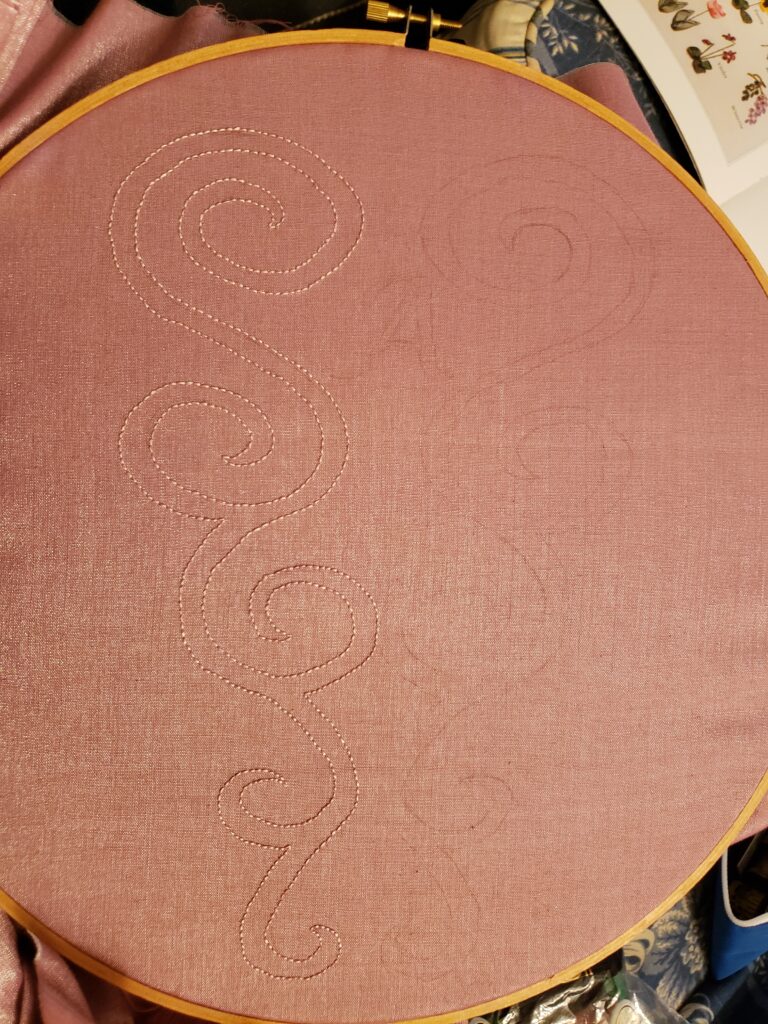
I worked up a design on the computer first, but it did change a little as I went along. I penciled on the design for the trapunto and then used a back stitch with matching embroidery thread. Overall the Trapunto turned out a little different then I wanted. If I had to redo this design, I would make the width smaller, especially on the outer curves so I didn’t have to use 6 strands of yarn to “fill the design”.
I used a satin stitch to embroidery the letter A and then also used the same color thread for the French Knots in the center of the Ribbon Embroidery Fabric.
I made a Pleated ribbon using grosgrain ribbon and then hand stitched it onto the top after zig zagging my edges. I had thought about doing this in a satin ribbon, but didn’t like the overall look of the shiny ribbon next to the cotton fabric.
I finished off the stomacher by backing it with another cotton fabric and zig zagging the edges. Another way I could have done this would have been to stitched the fabrics with right sides together and then turned it inside out.