Project 7: Ribbon Flowers

This was a fun project to work on: each flower was different, but had some similar techniques in gathering the petals or folding the petals to accomplish a different look for each one. The book was extremely helpful in how each step was pictured with added instructions.

The leaves each were unique, but simple to complete and helped finish the overall look of each flower. Below, I have descriptions for each flower and leaves. I forgot and didn’t take as many photos as I should have in my process for each step to be seen. I think on the Gloxinia, I was having fun and got so involved that I didn’t take any photos until it was almost all the way together.

One added technique that I did was to take a lighter to some of ribbon ends. This helped them not to fray while I was sewing them together, especially on the daffodil petals.
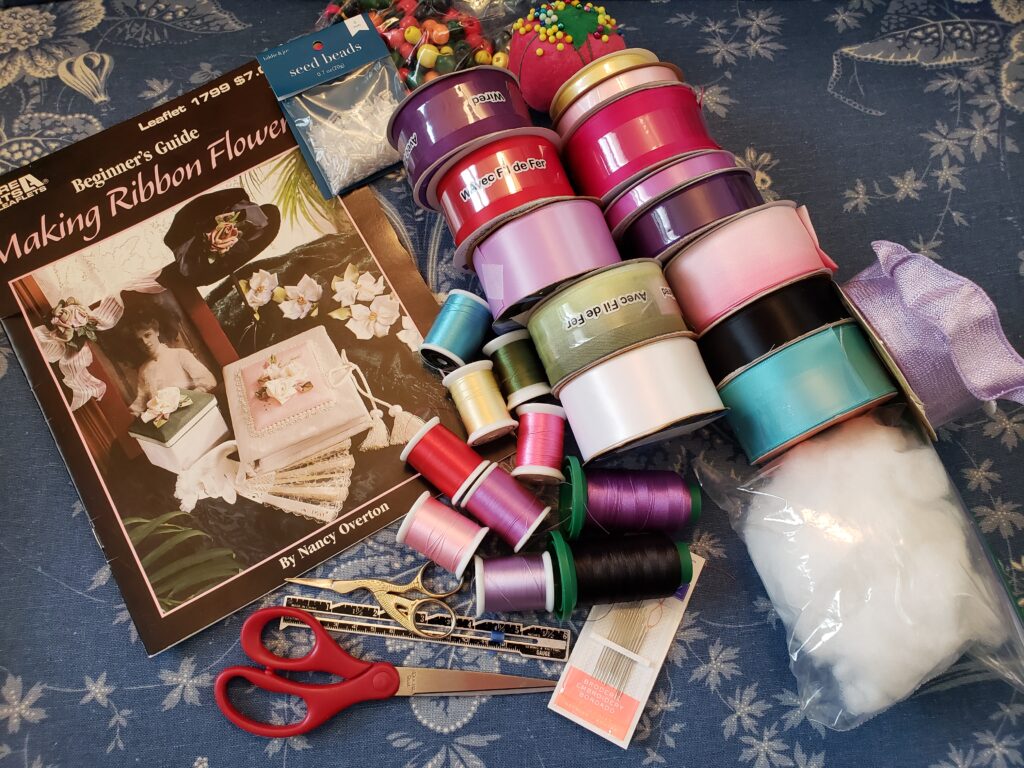
All the Supplies
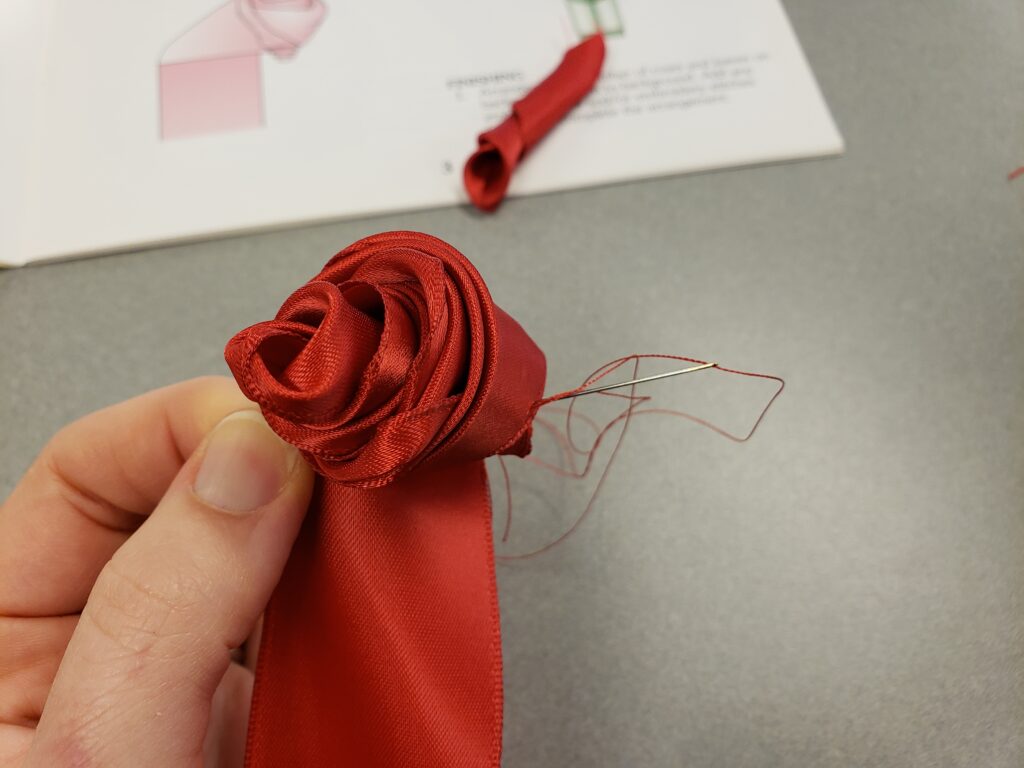
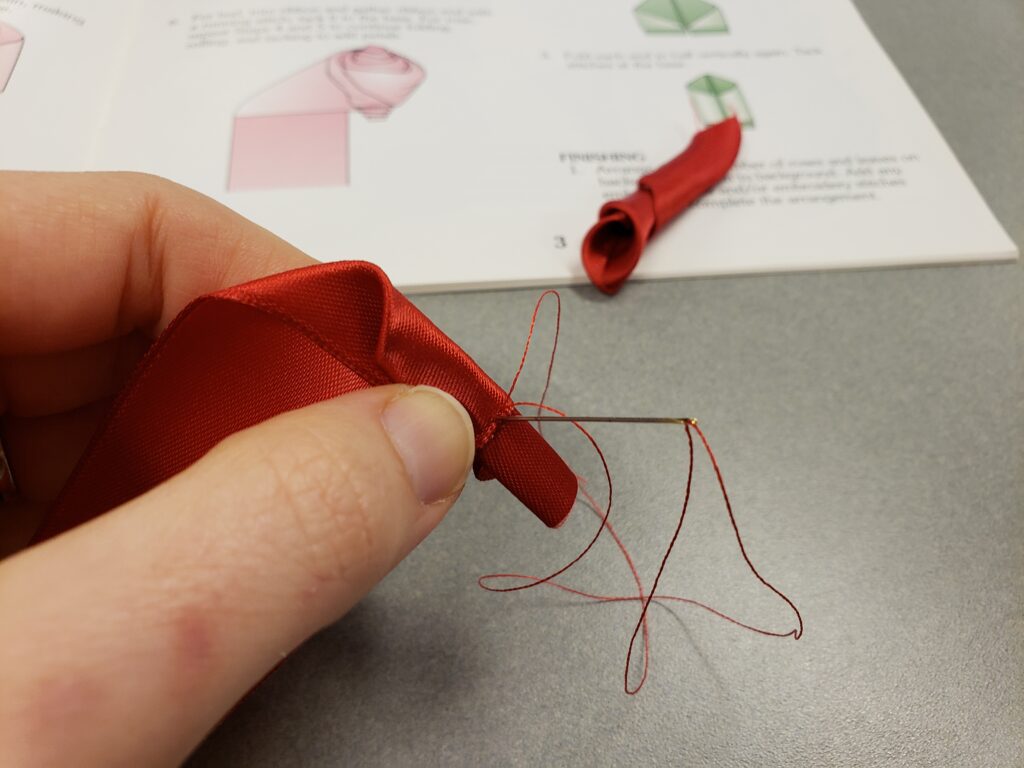
1. Starting Rosebud – I used wire edged ribbon
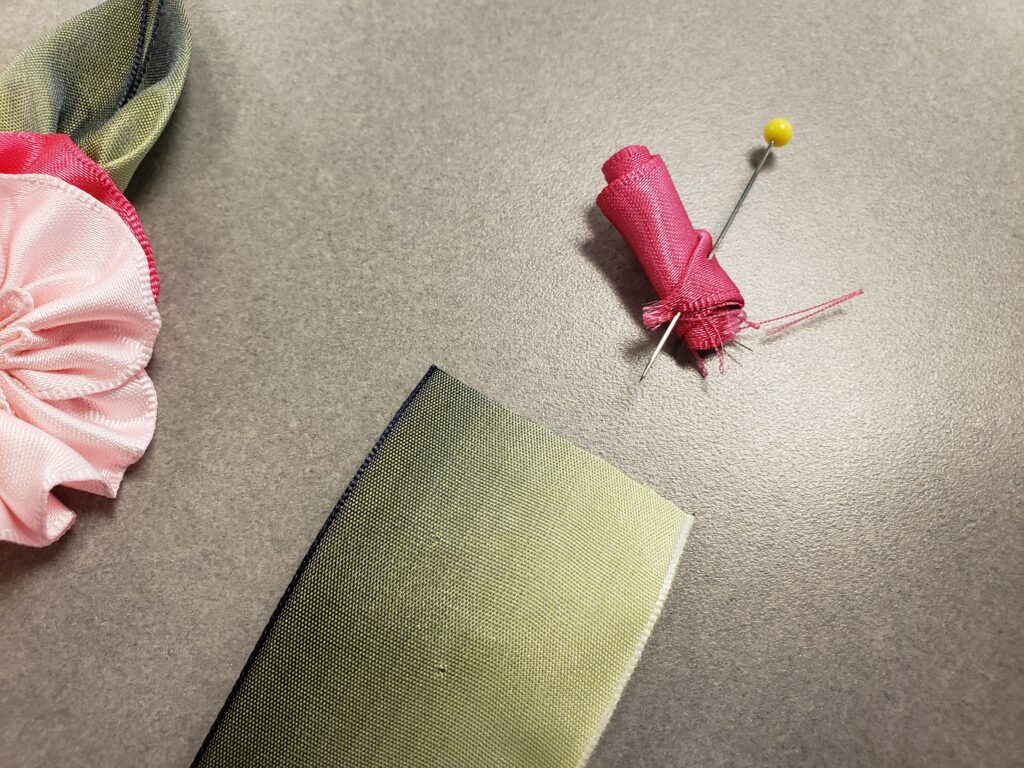
2. Tacking petals in place underneath: I ended up actually taking this rose out and starting over again, the first one helped me learn the technique of folding and rolling.
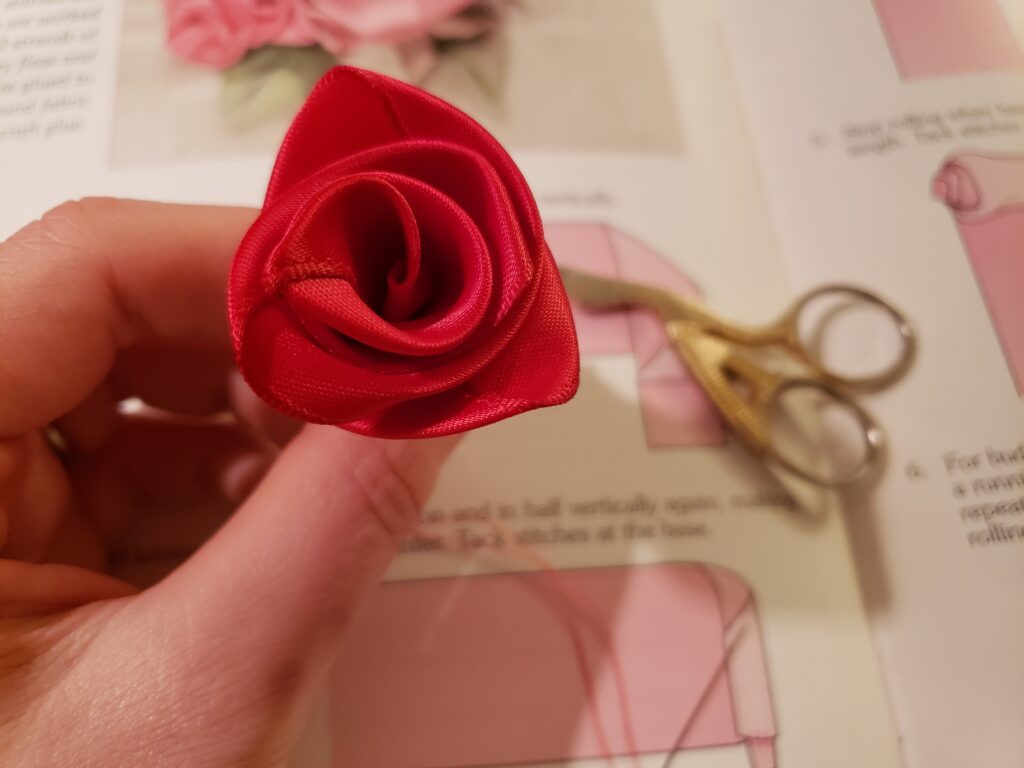
3. Second Attempt: I’m much happier with how this one turned out. I had learned how to twist and fold the ribbon in my first attempt and it made more sense the second time I did it.
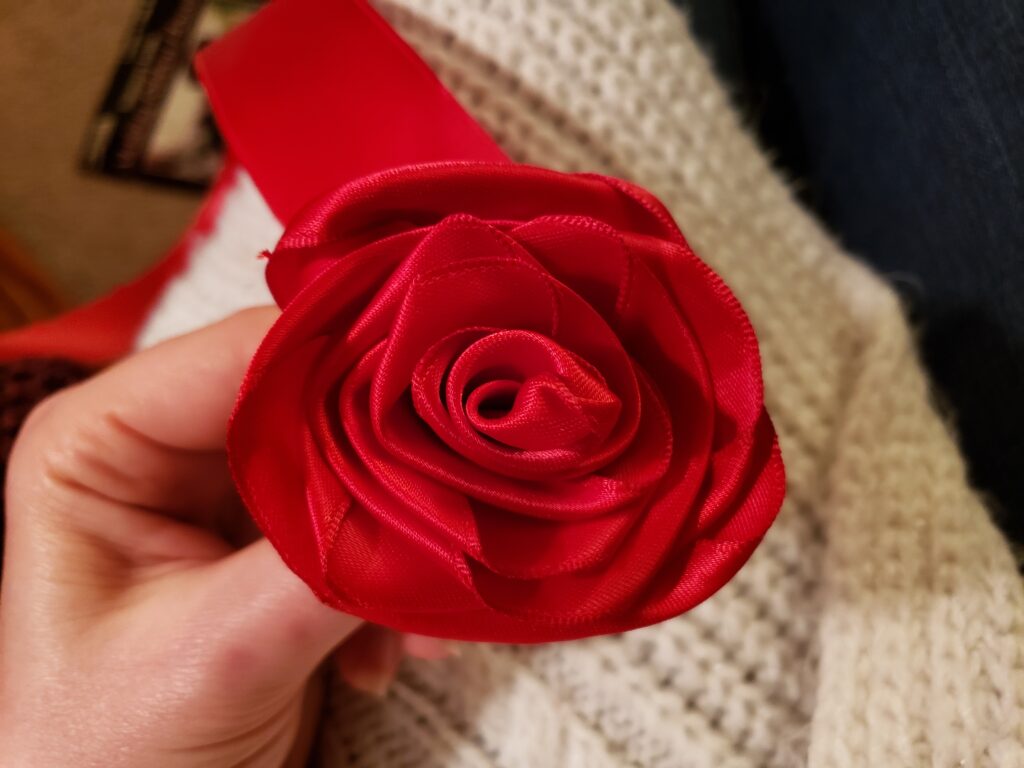
4. Finished Rosebud – I forgot to take a picture of my leaves

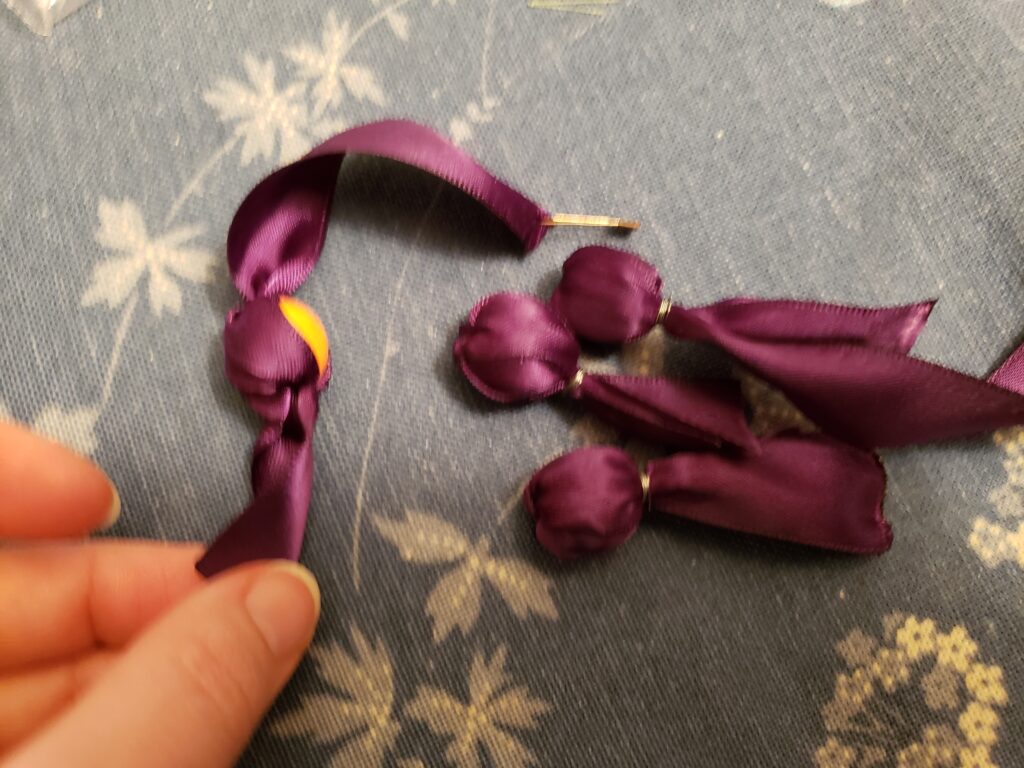
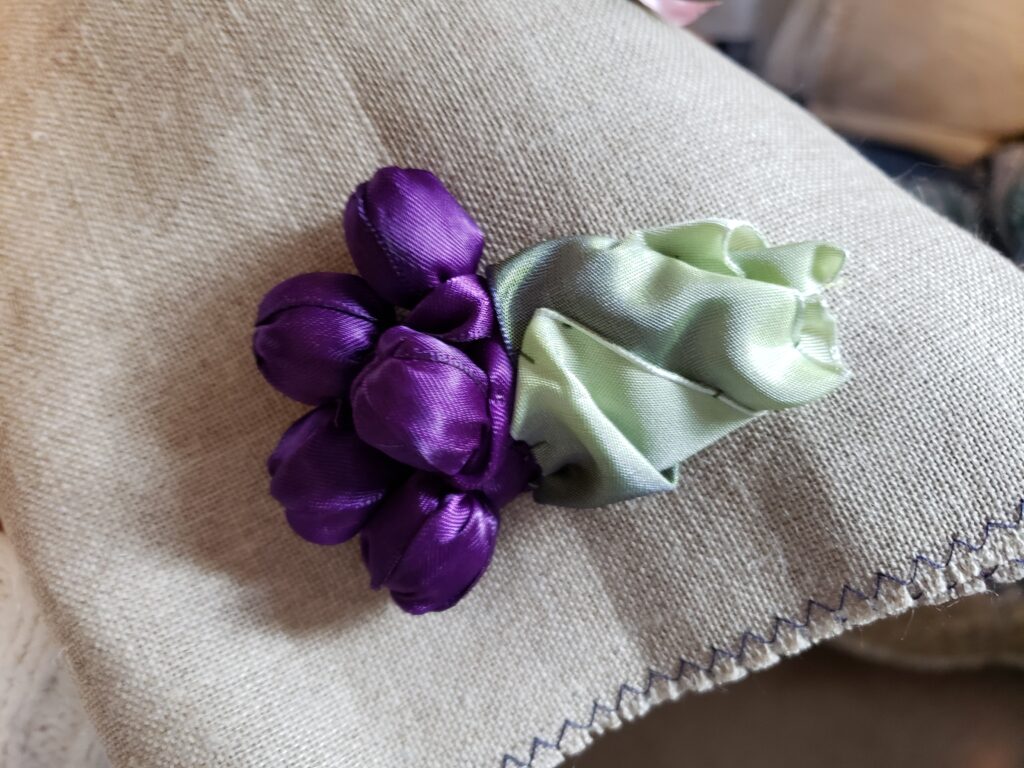
5. Grapes – these weren’t hard, but I didn’t really enjoy doing them either
6. My drawback to these is figuring out how to cover the wire around the edge of the bead so it didn’t show.
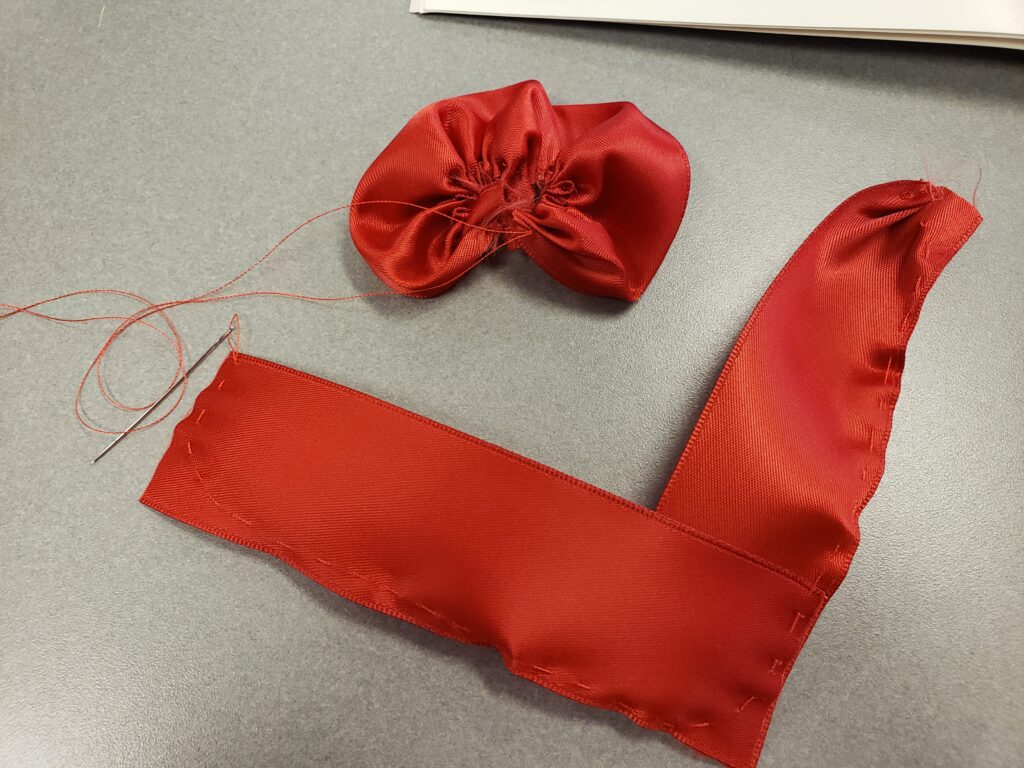
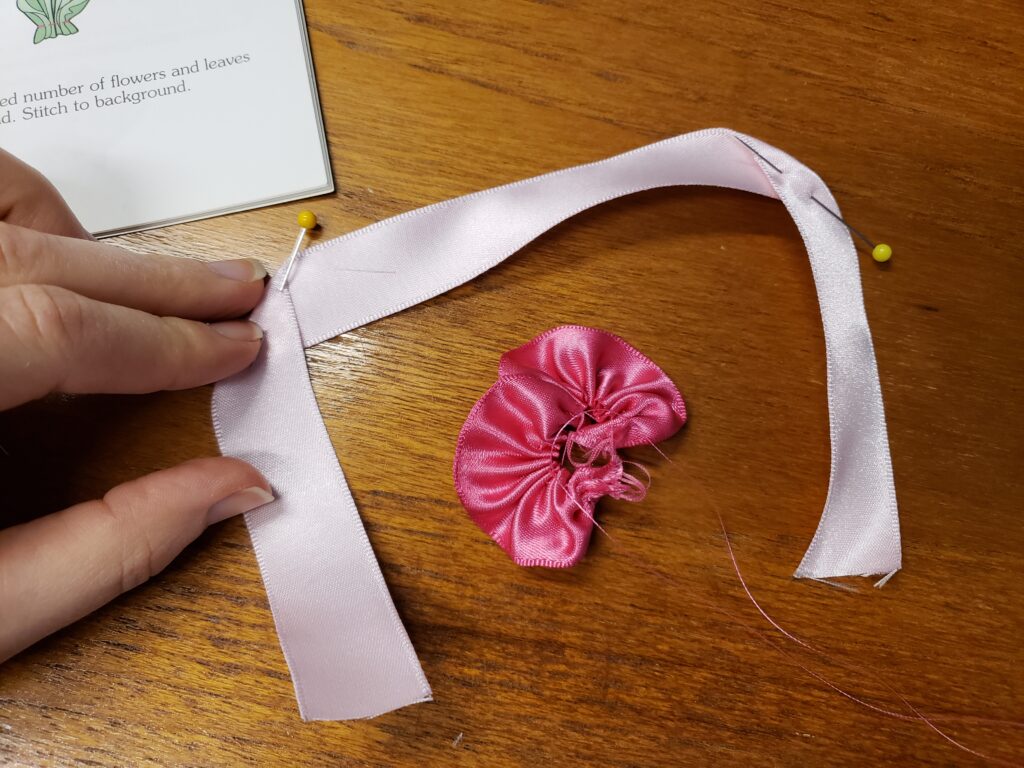
7. Starting the Poppy
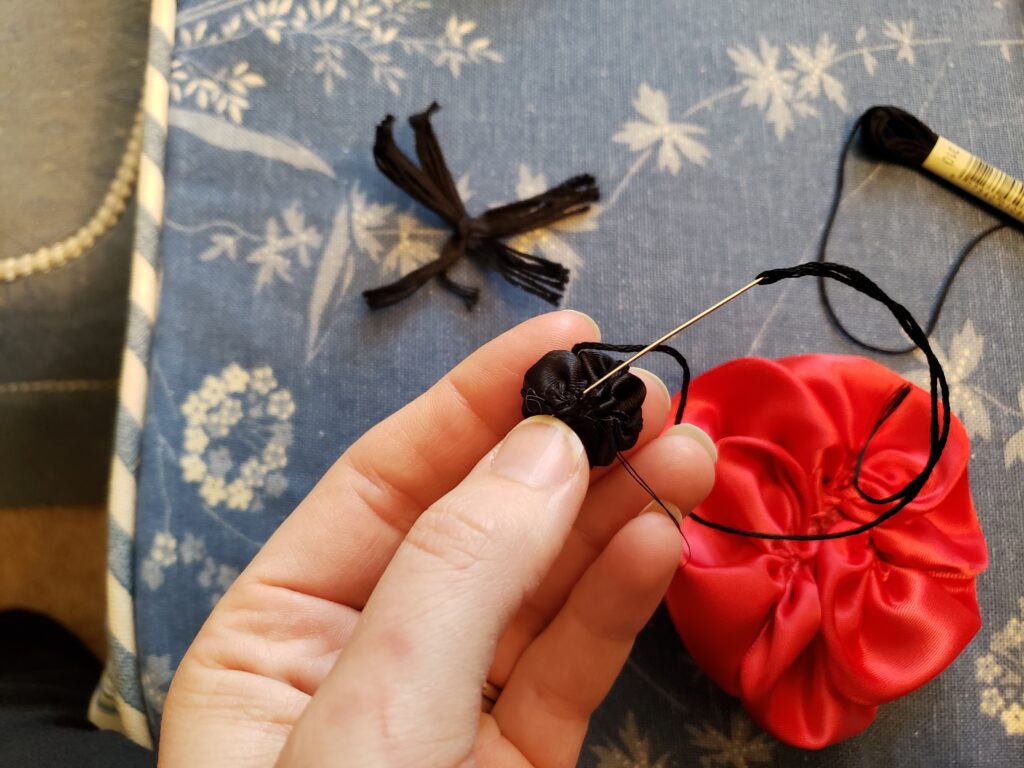
8. Center of the Poppy – I think next time I would make the center just a little bigger
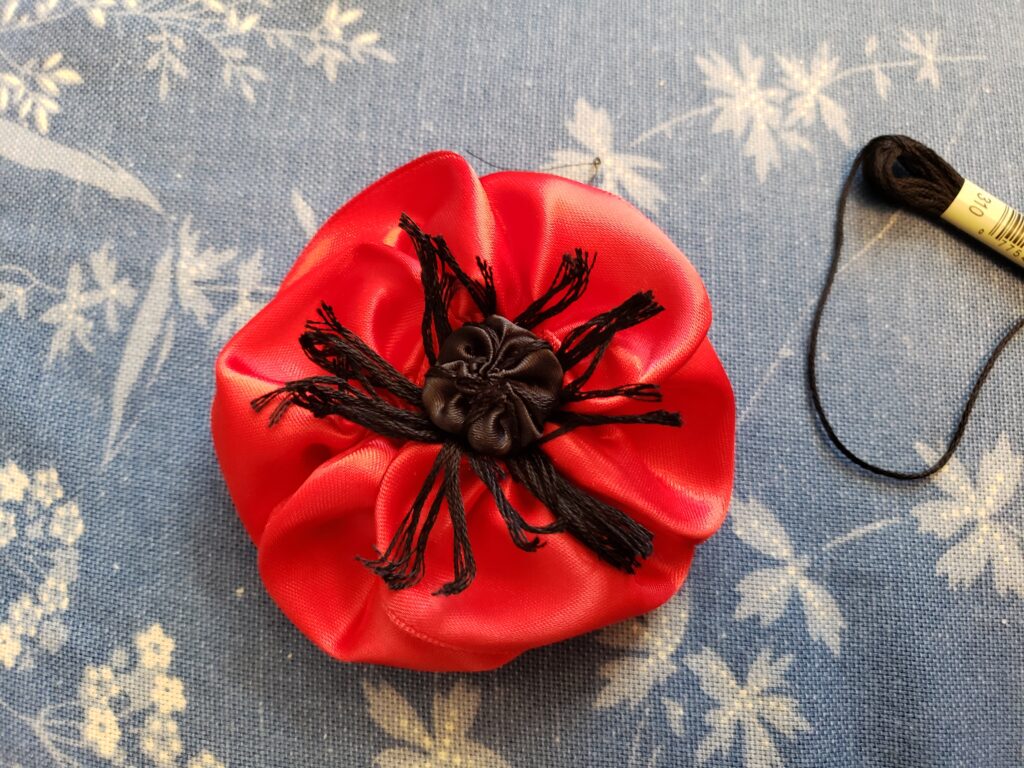
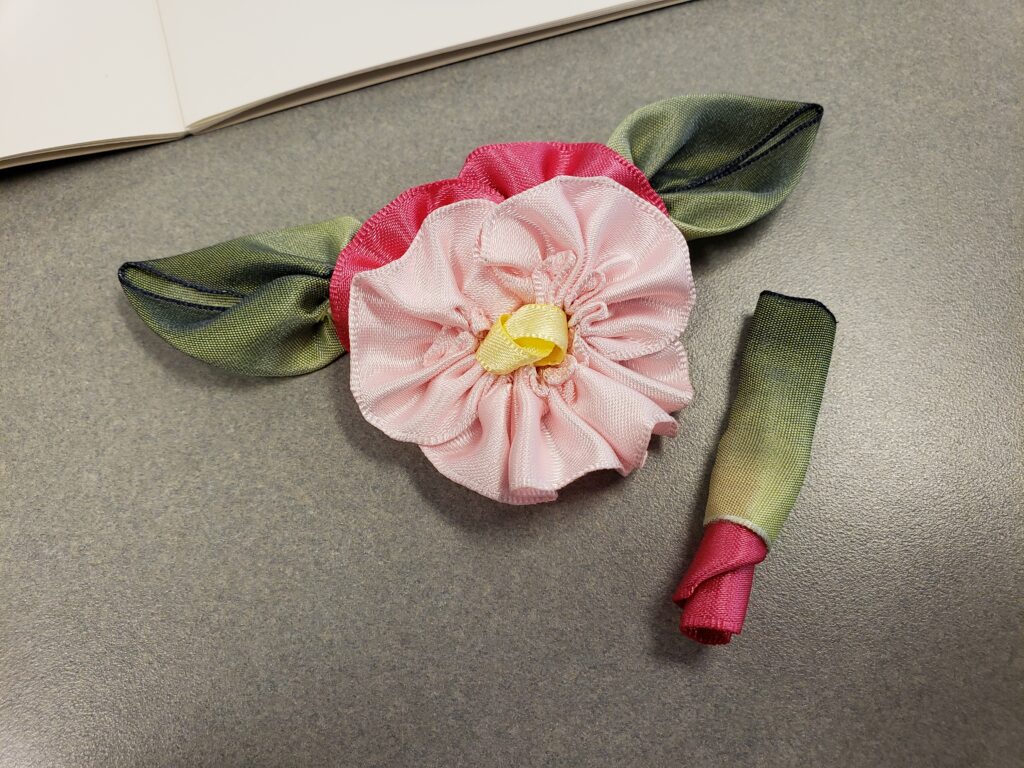
9. Finished Poppy
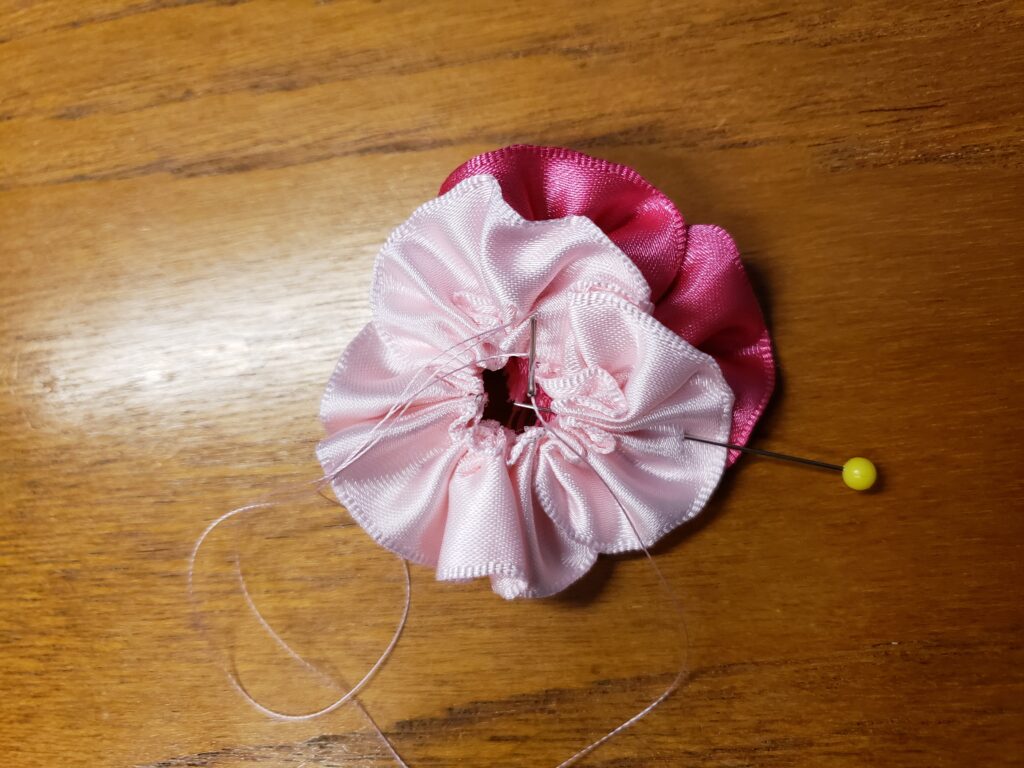
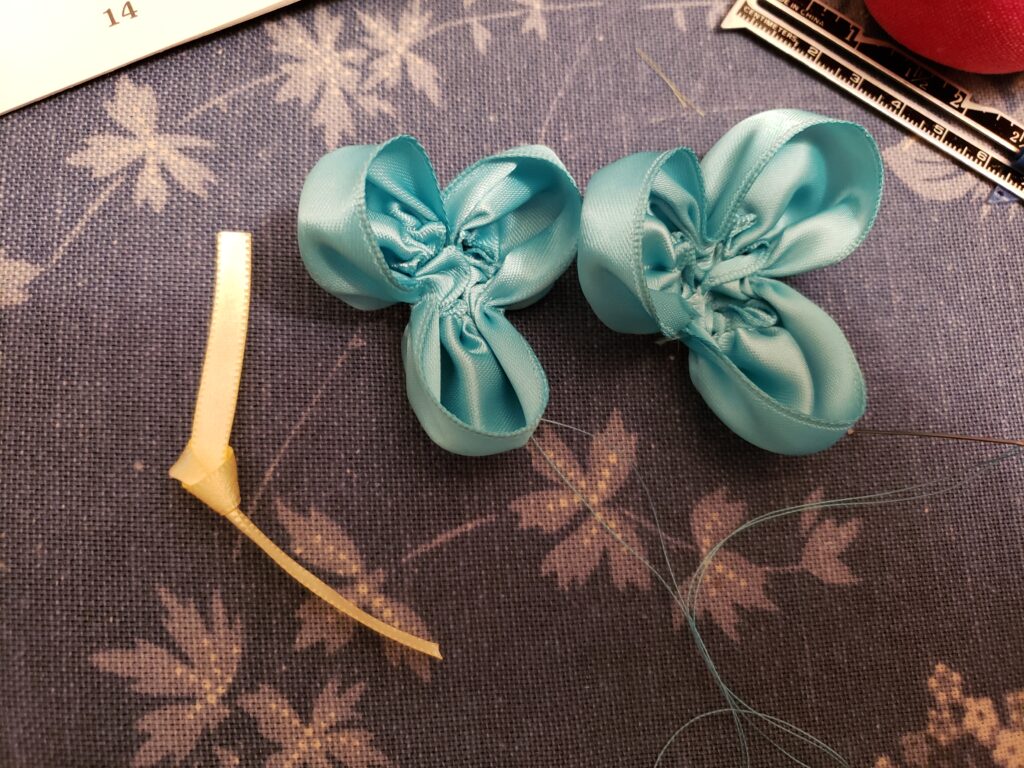
10. Starting the pansy
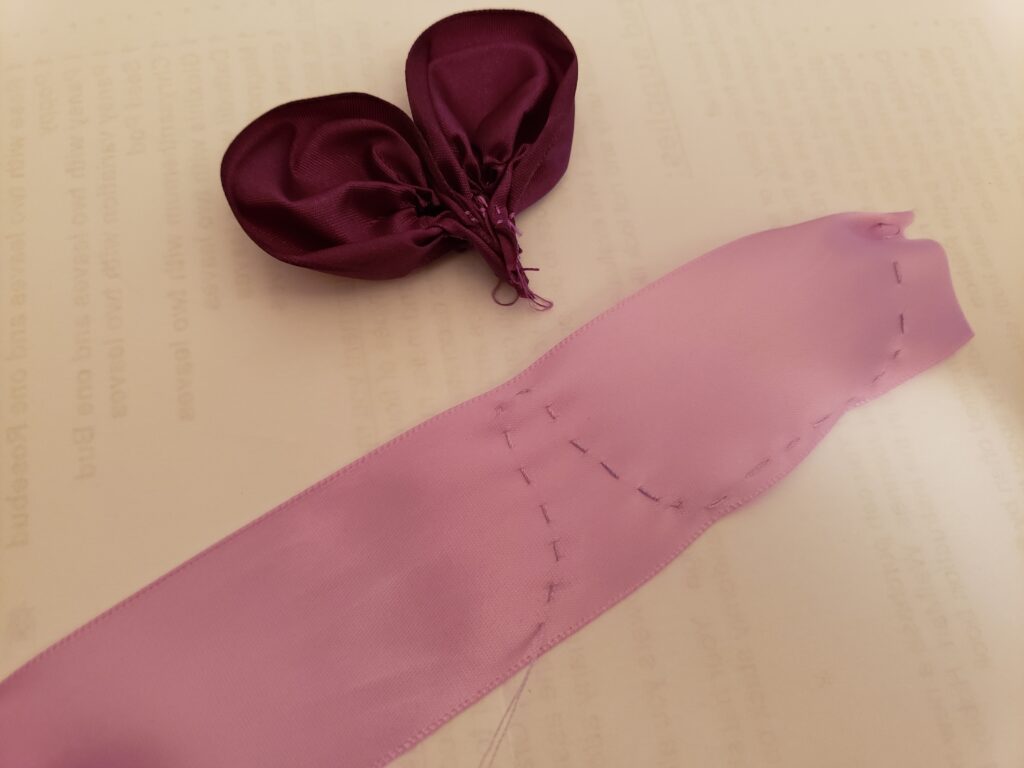
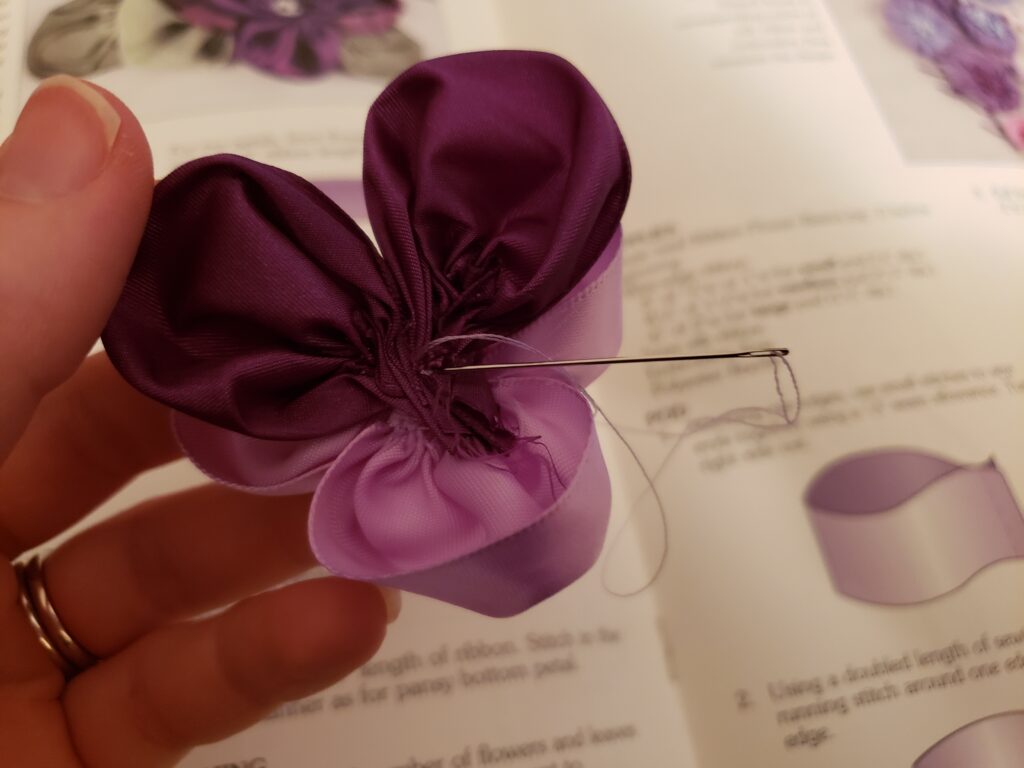
11. Sewing the two petals together
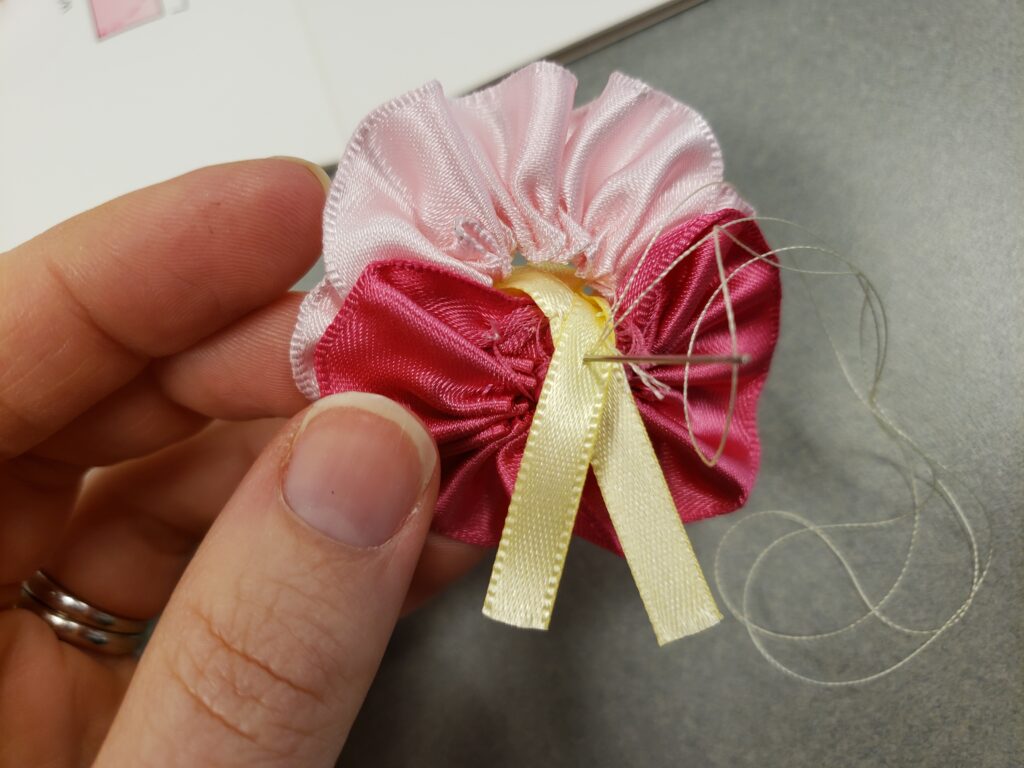
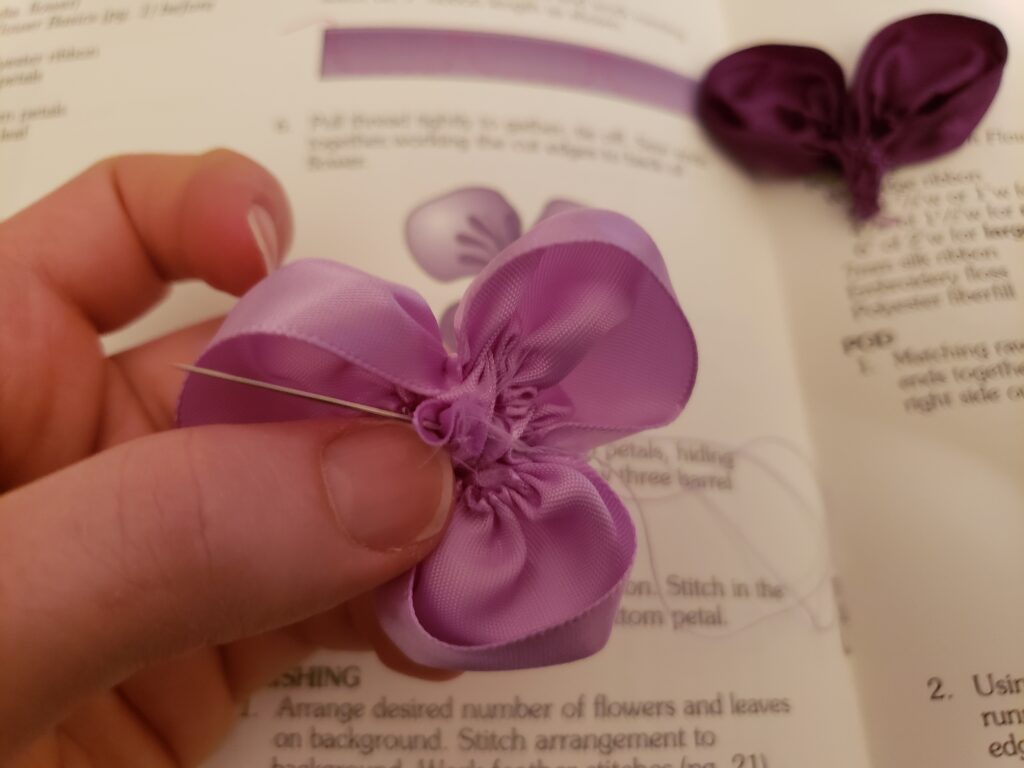
12. Adding the Pansy center
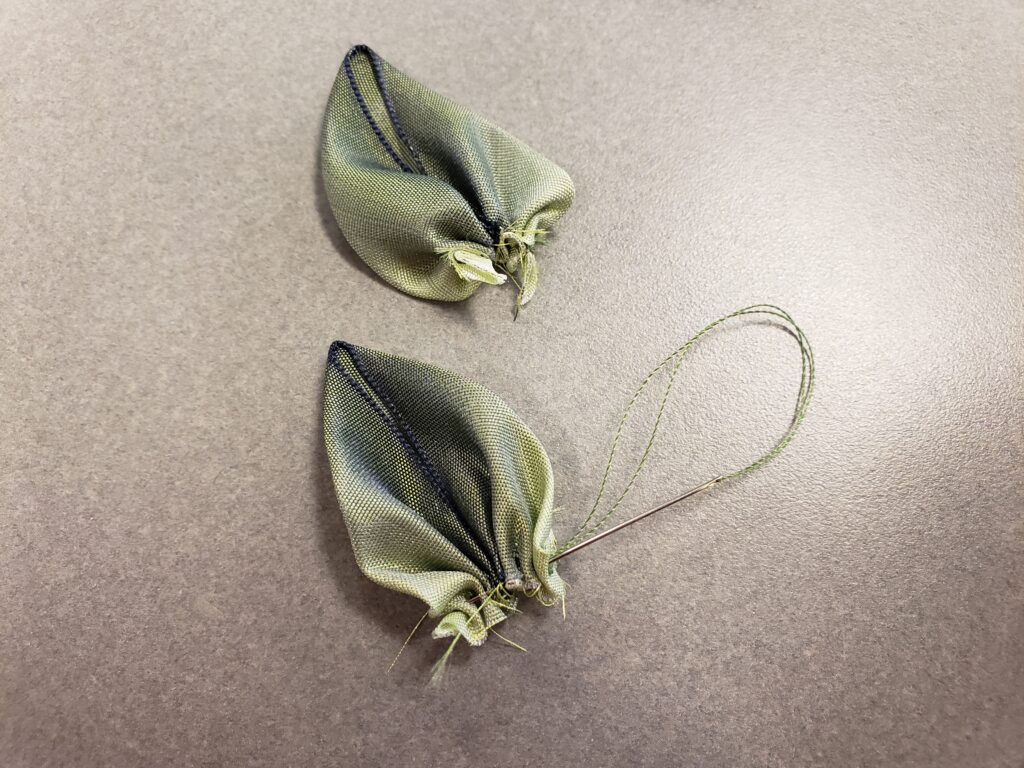
13. Making the Pansy Leaves – I loved all the leaves, they were simple to make, but helped bring each flower to life!
14. Making the Pansy Bud with a simple rolled technique
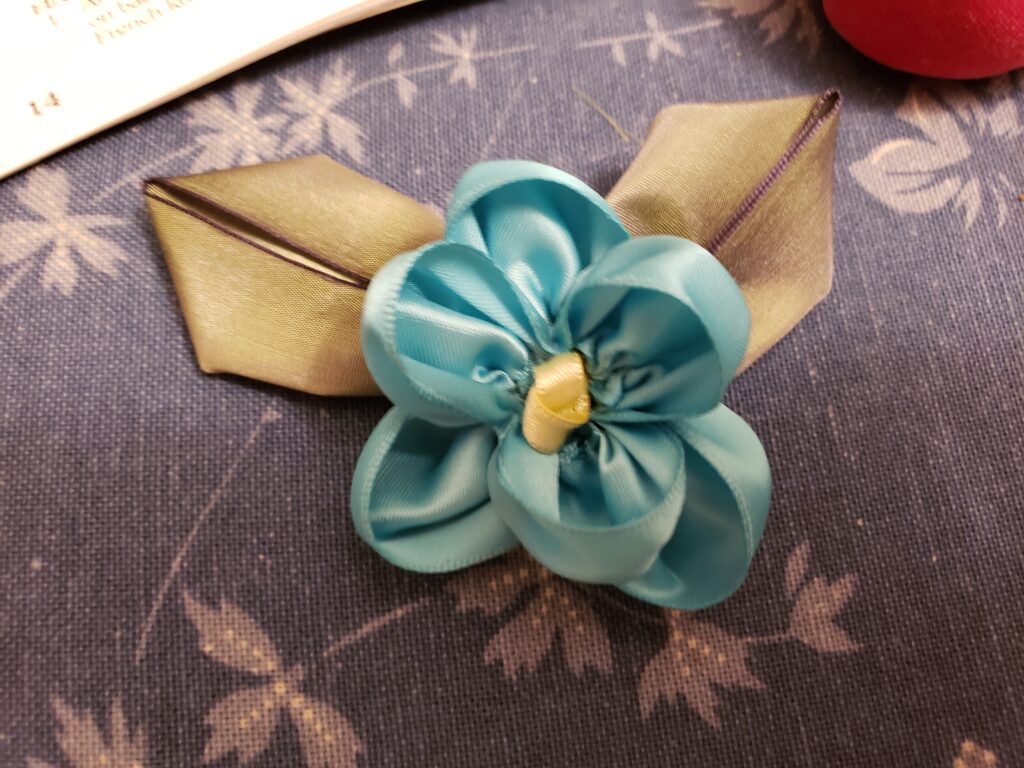
15. Finished Pansy, Bud, and Leaves
16. Pansy Variation with top and bottom petals
17. Gathering the Top Petals togther
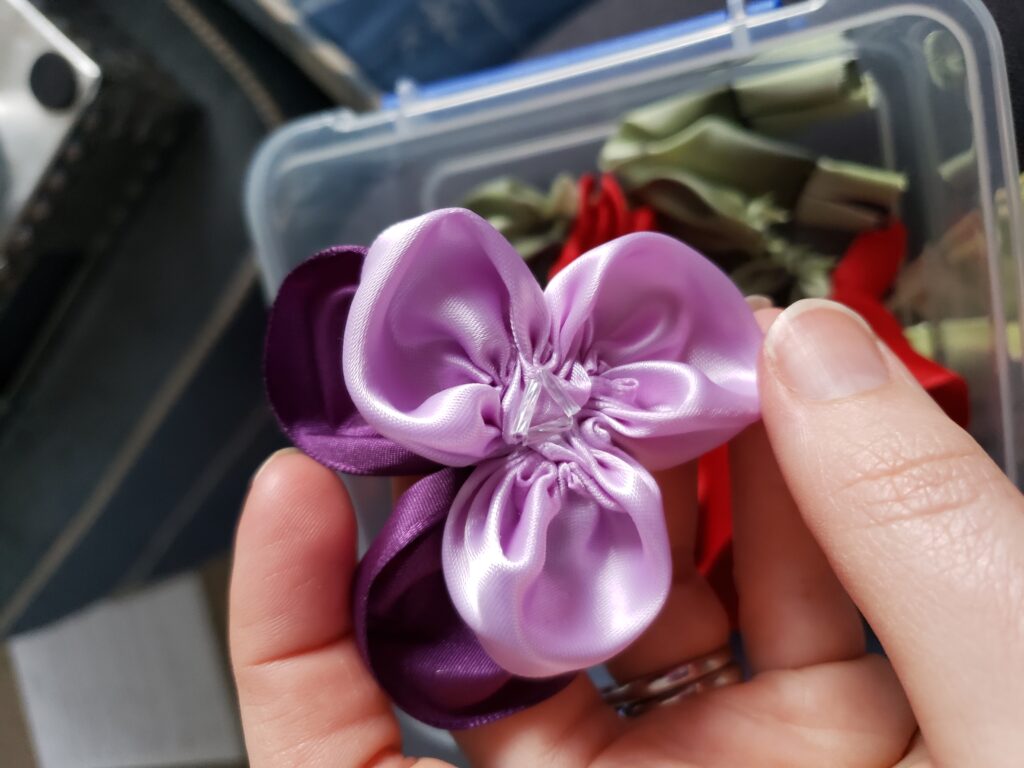
18. Sewing the top and bottom petals together
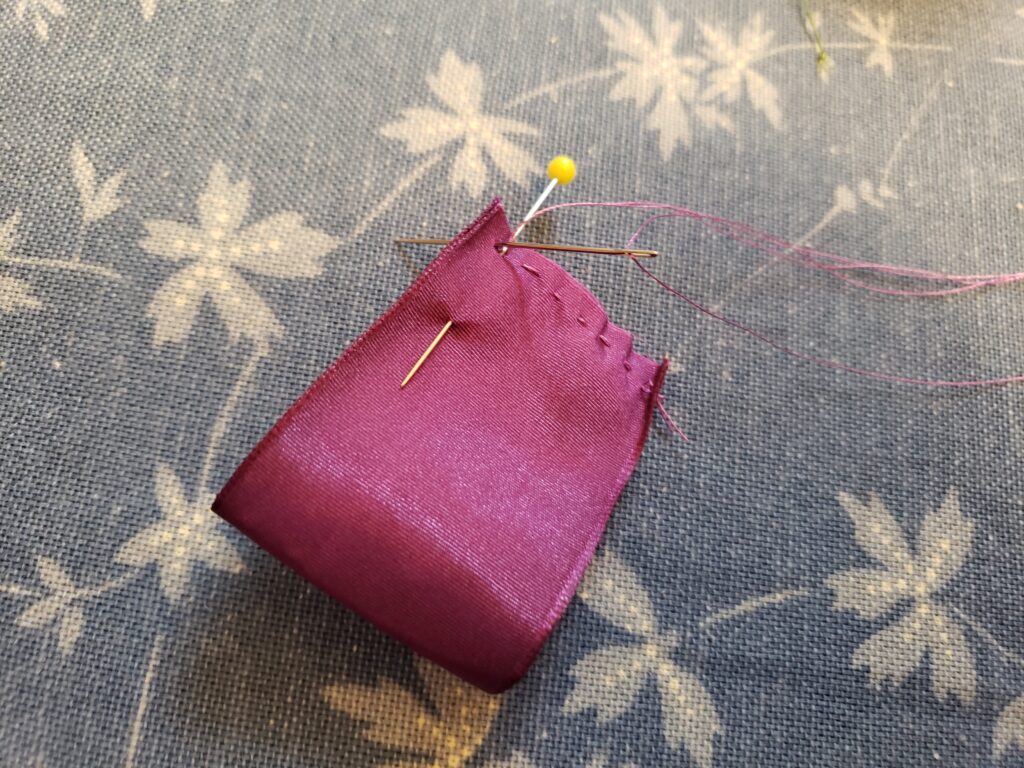
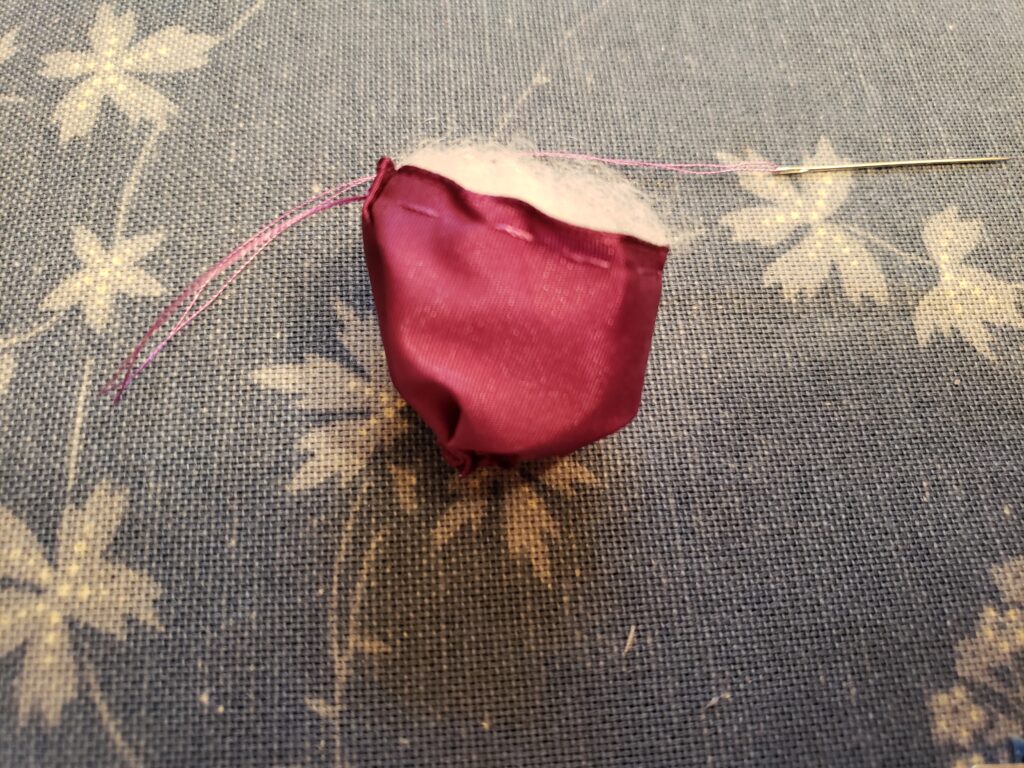
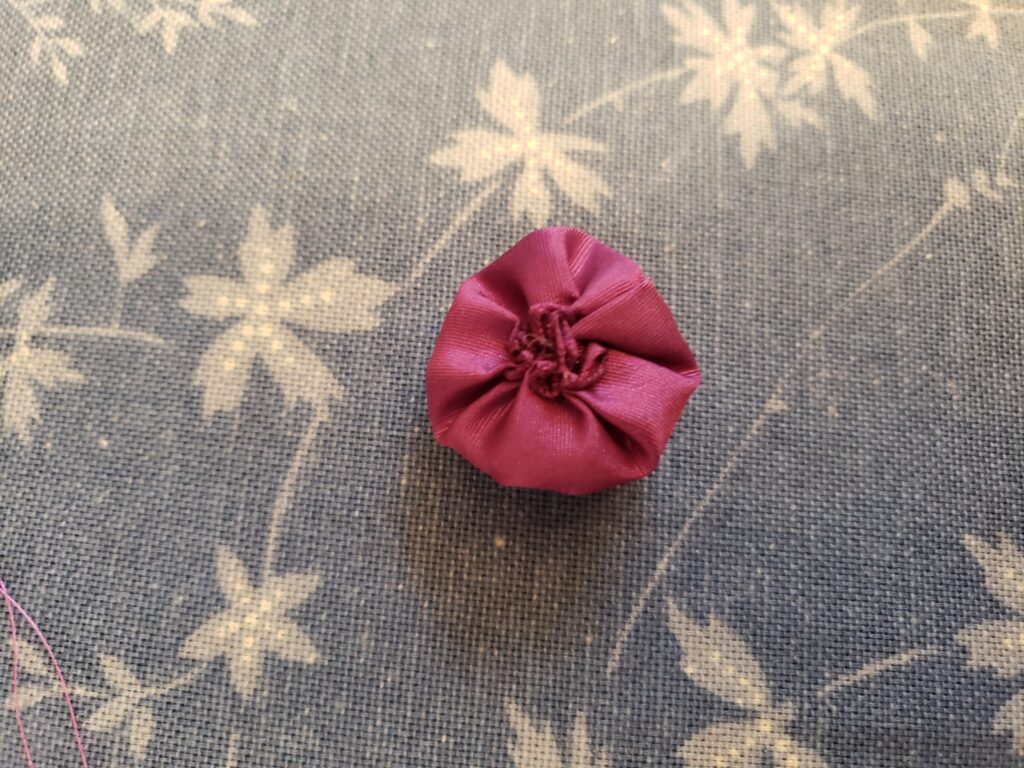
19. Added three little beads to the center of the Pansy
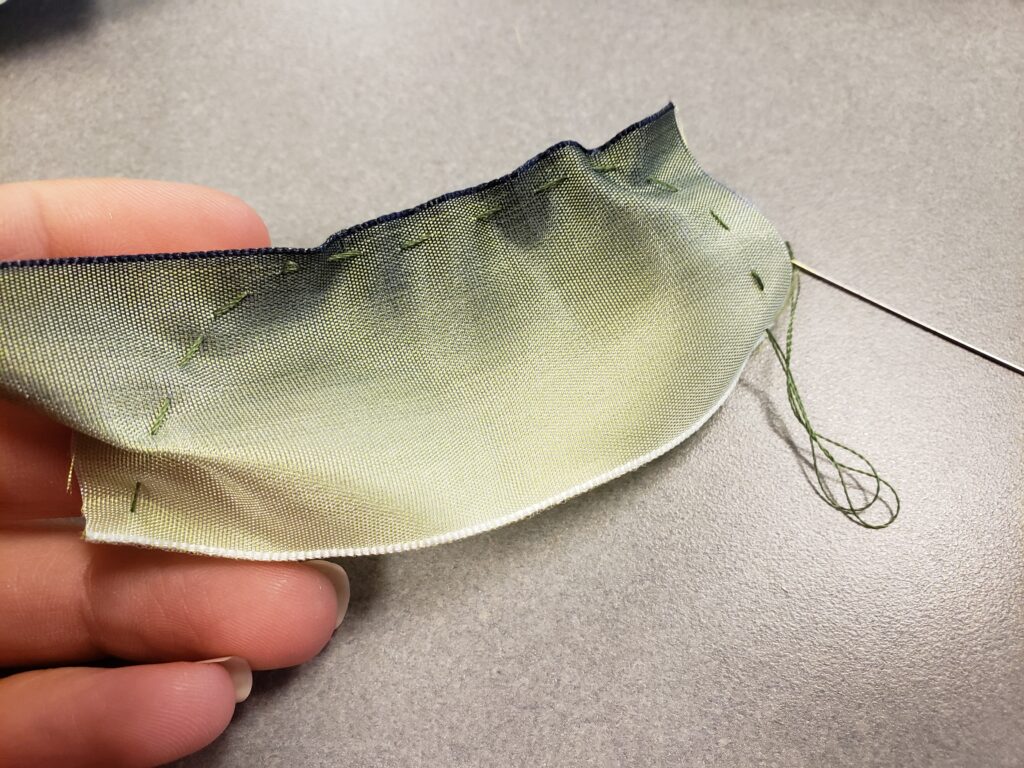
20. Making the Pansy Leaves with a gathered running stitch
21. Finished Pansy leaves
22. Making the Seed Pod by sewing the ends together
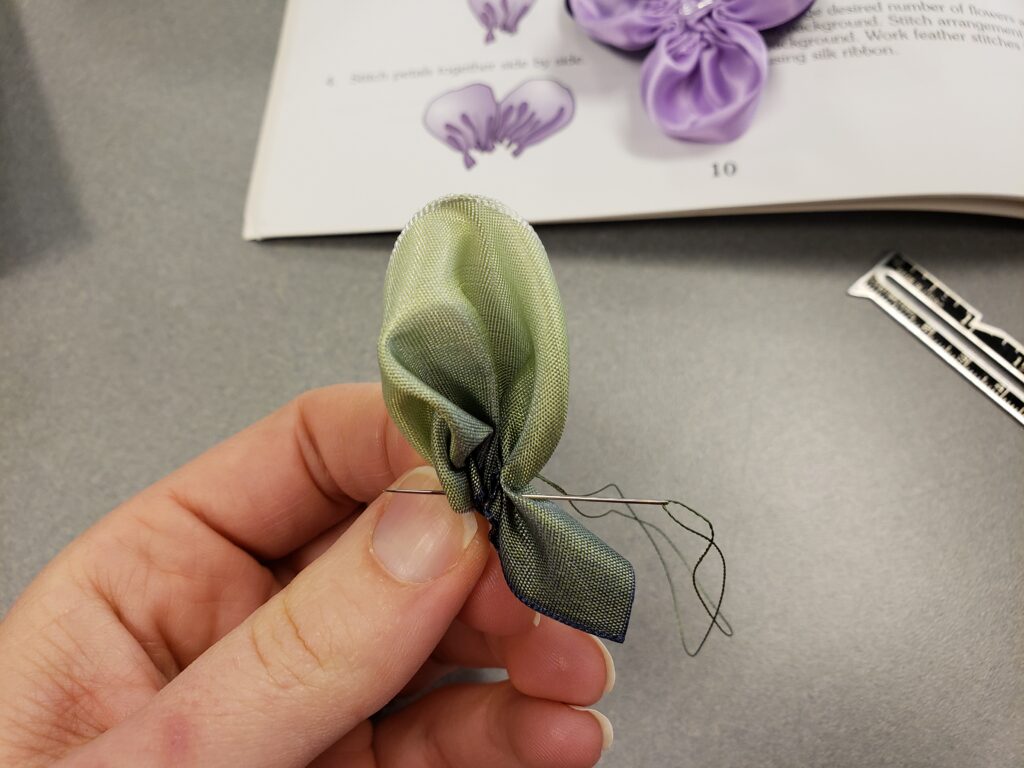
23. Gathered one end together and stuffed the center with polyfill
24. Gathered the other end closed – finished Seed Pod
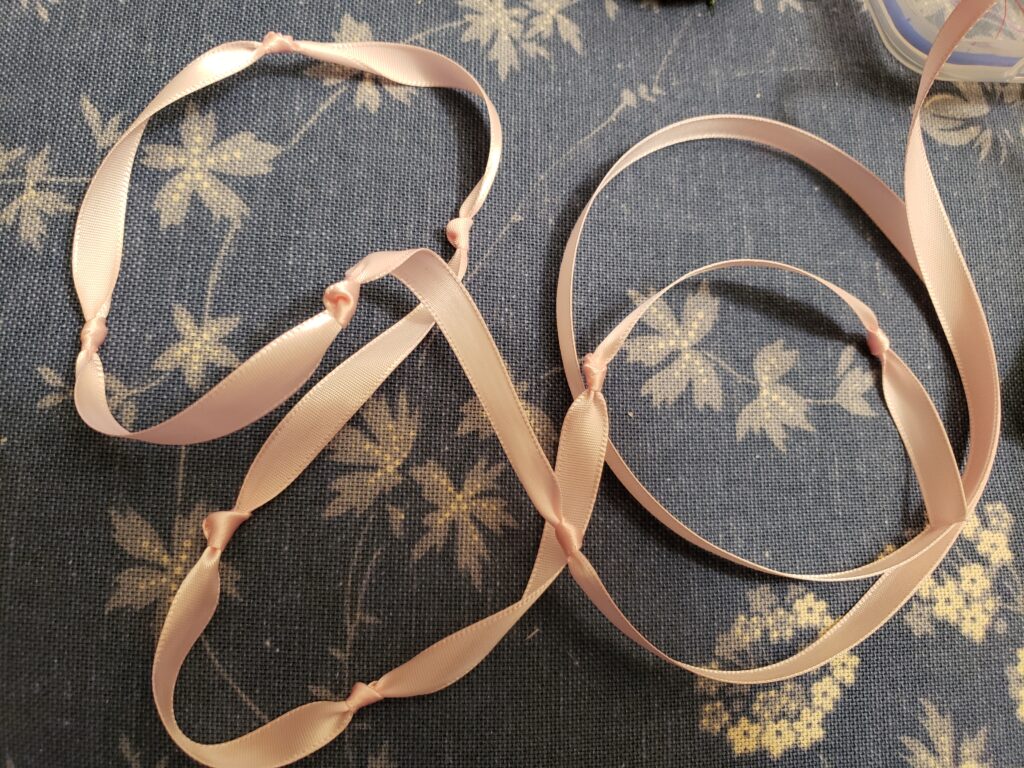
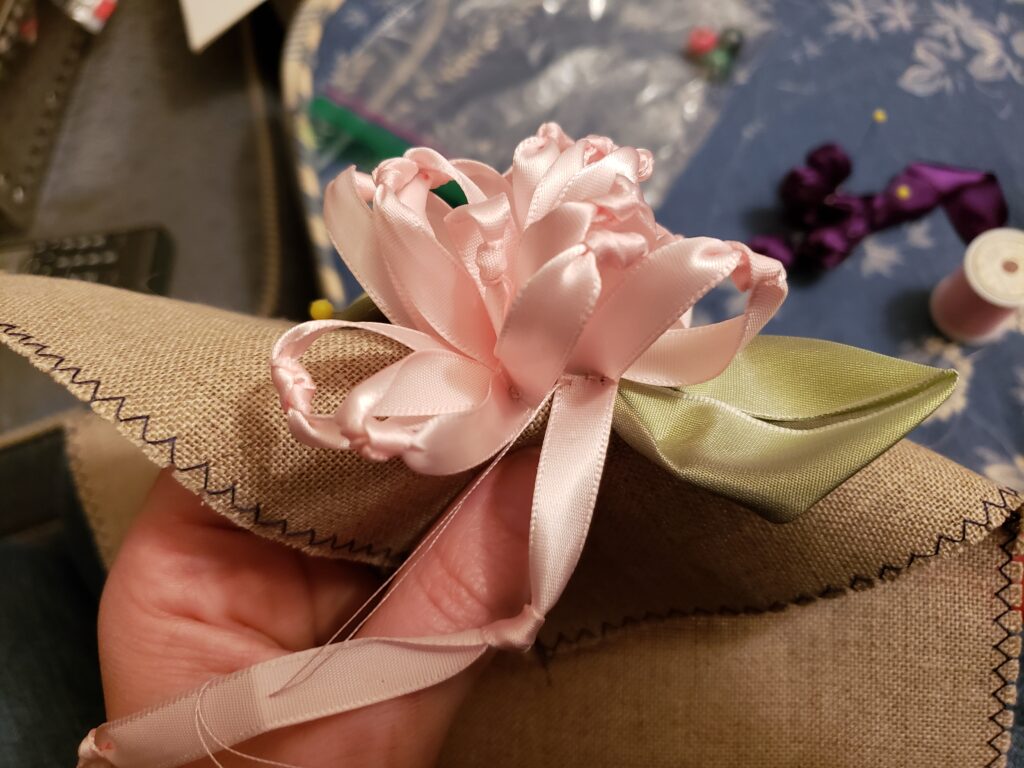
25. Starting the Chrysanthemum by tying knots every 3 inches and then making a crease between each knot
26. Sewing the leaves and then the Chrysanthemum in place by stitching each crease down in a tight circle
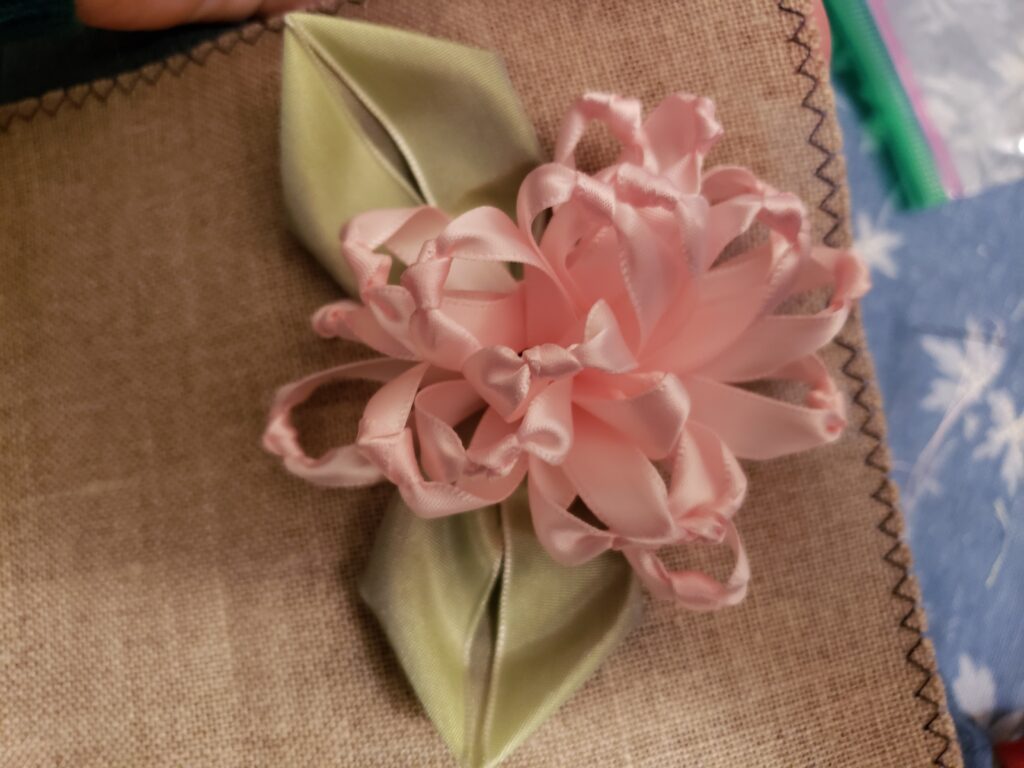
27. Finished Chrysanthemum – this was probably my favorite flower to make!
28. I forgot to take pictures of my process before this, but these are the top and bottom petals and the center knot
29. Finished Gloxinia with leaves – this was another one of my favorite flowers
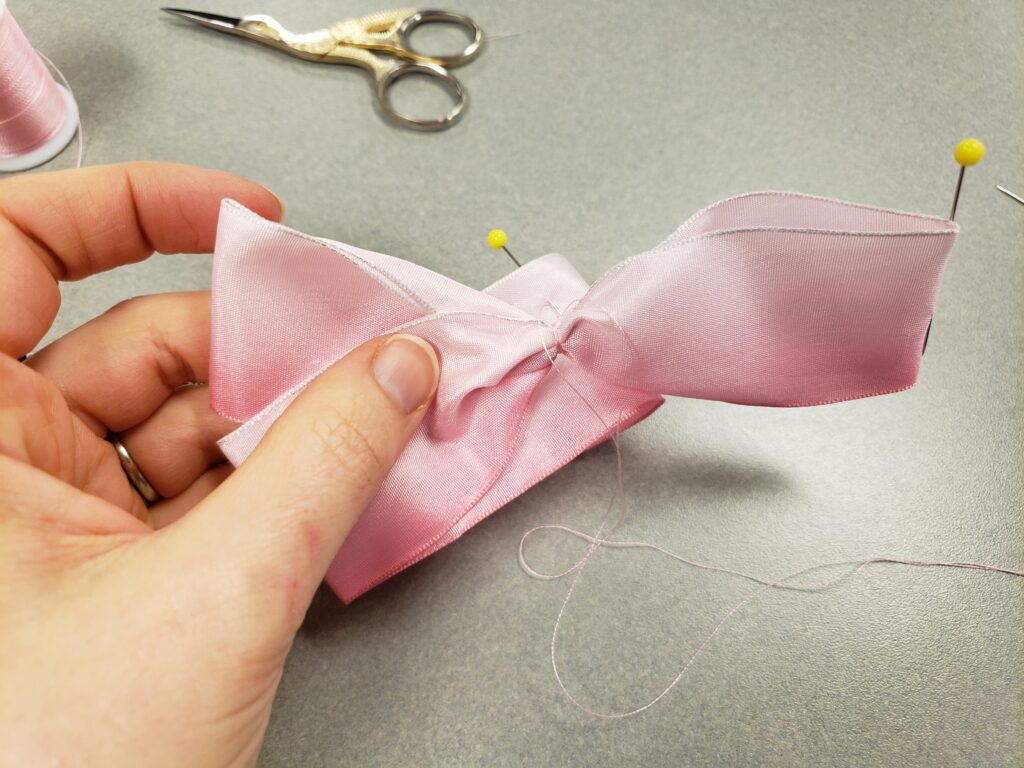
30. Starting the Magnolia by wrapping the center with thread
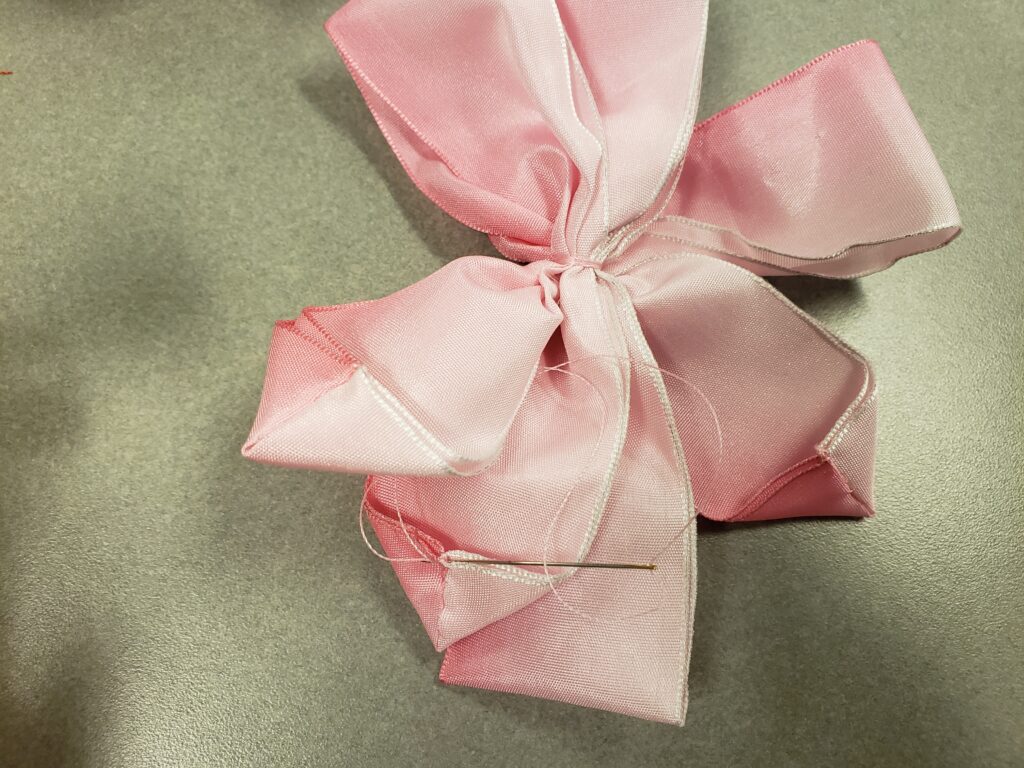
31. Finished folding the center ribbon together and then started tacking down each petal fold at the end
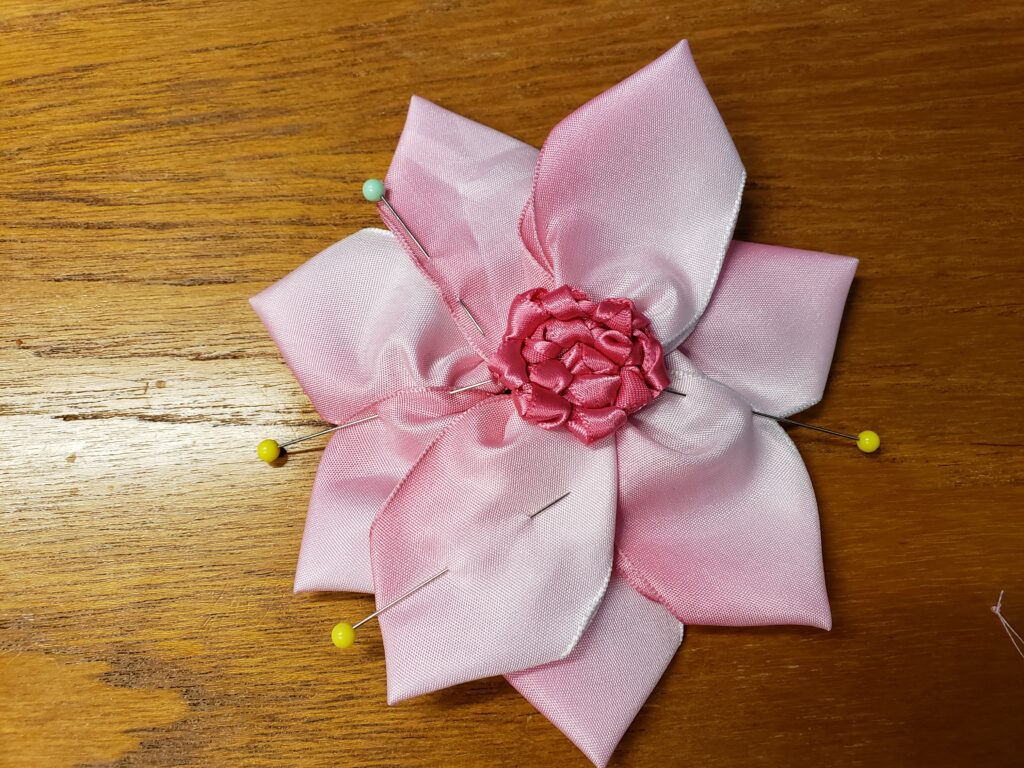
32. I made the center by tying loose knots and then sewing them together in the center
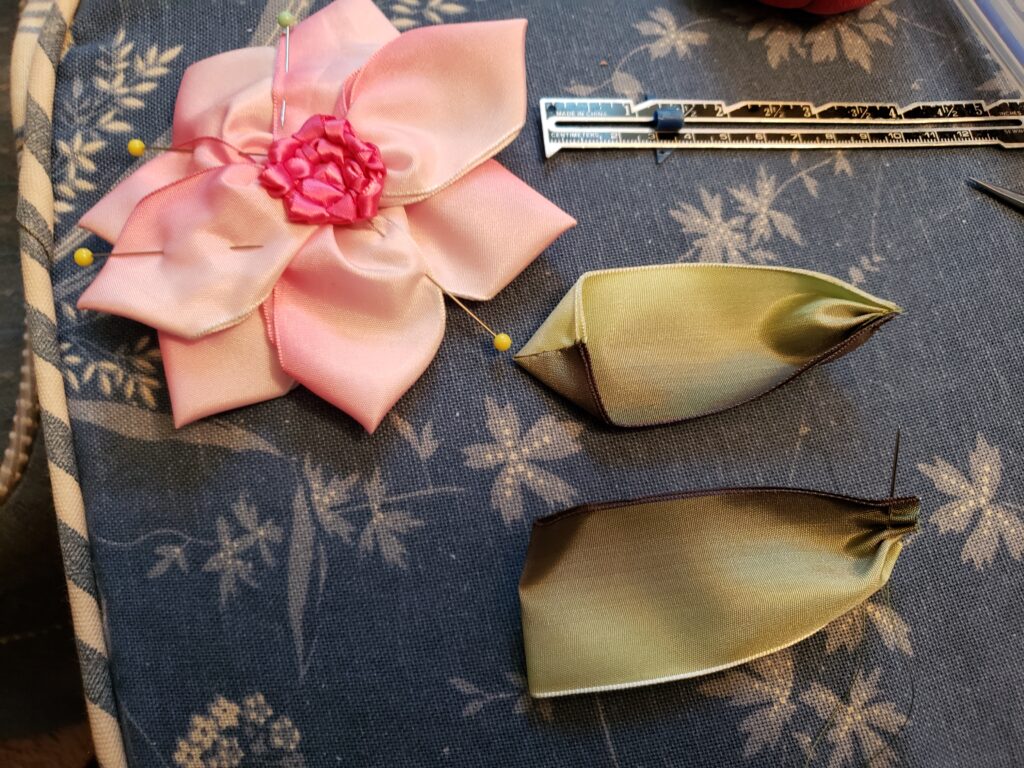
33. Working on the leaves using the same technique as the petals of the Magnolia
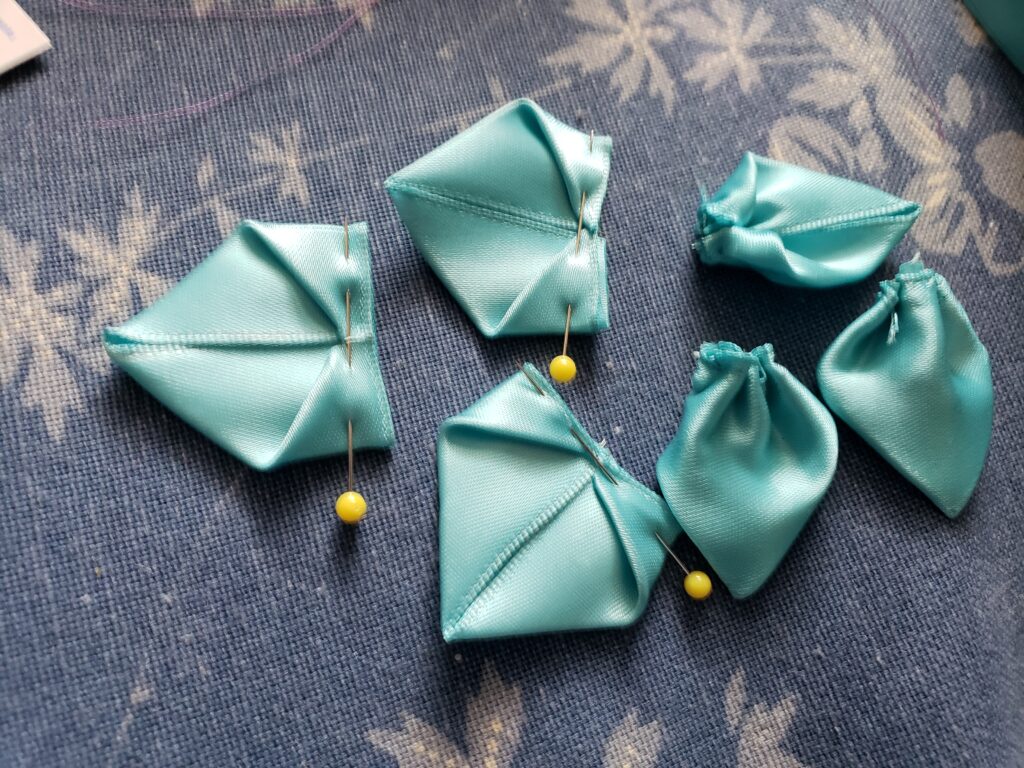
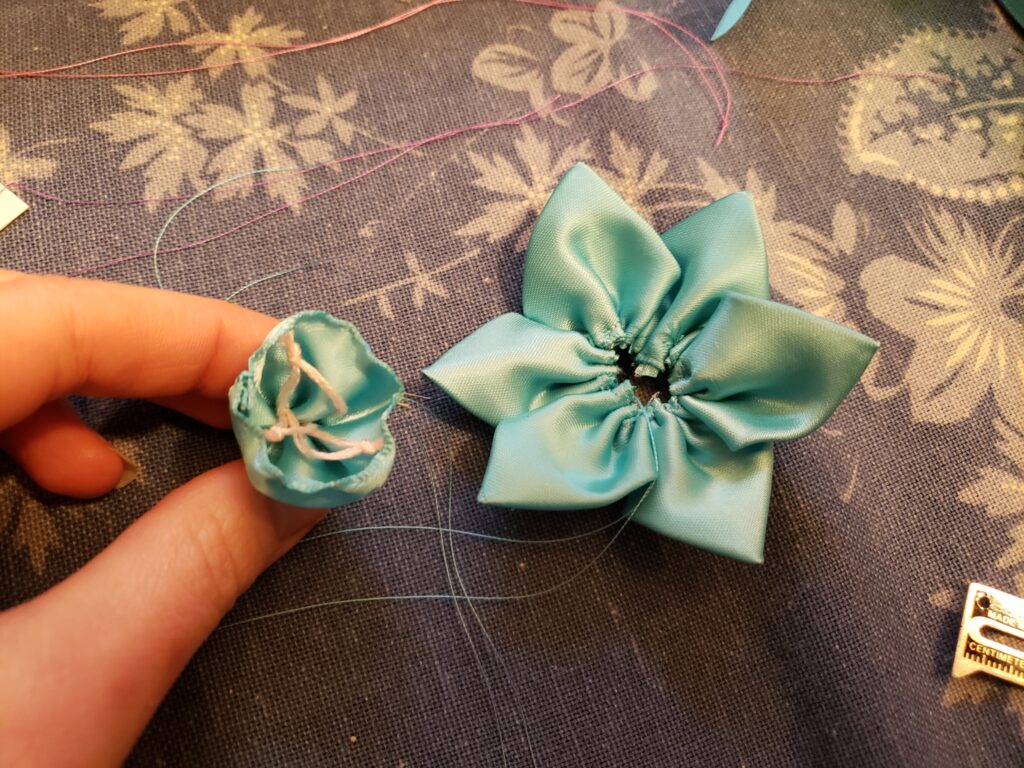
34. Starting the Daffodil Petals
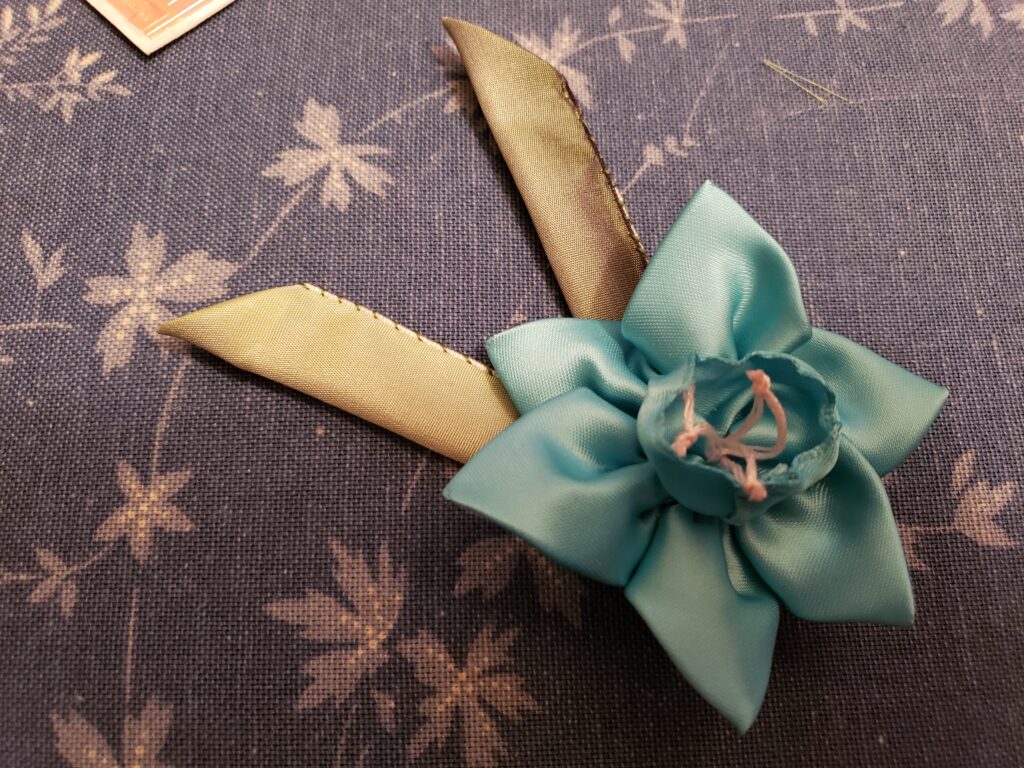
35. Gathered the ribbon to make the center and then added in knotted embroidery thread for the stamens
36. Finished Daffodil and Leaves
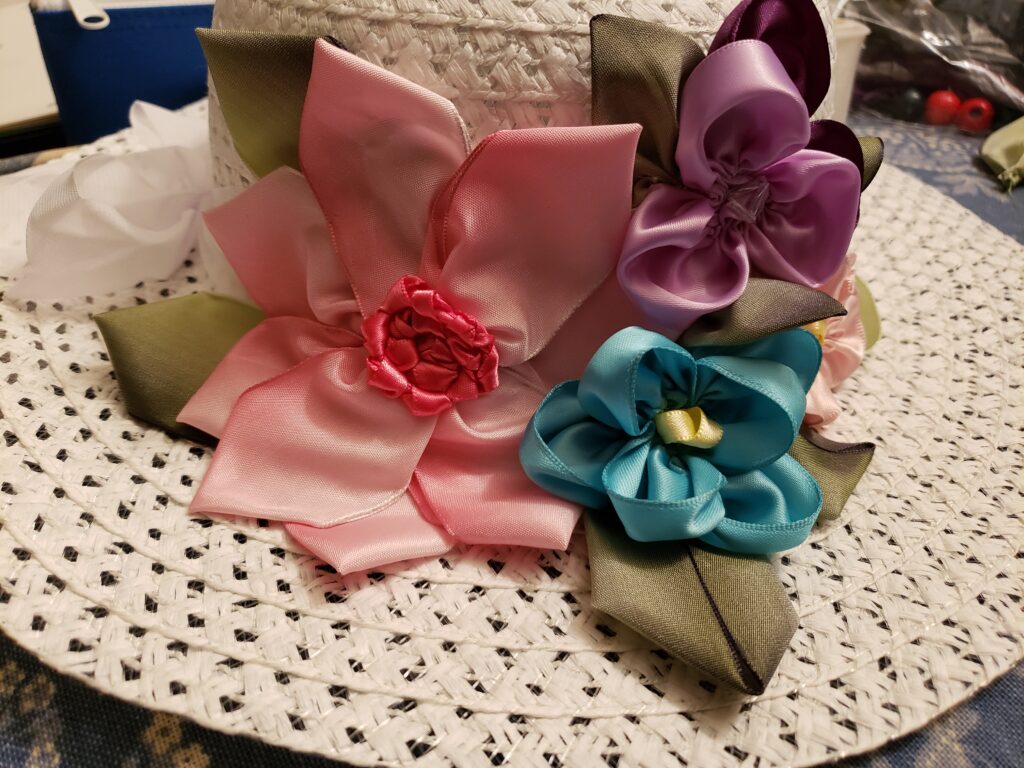
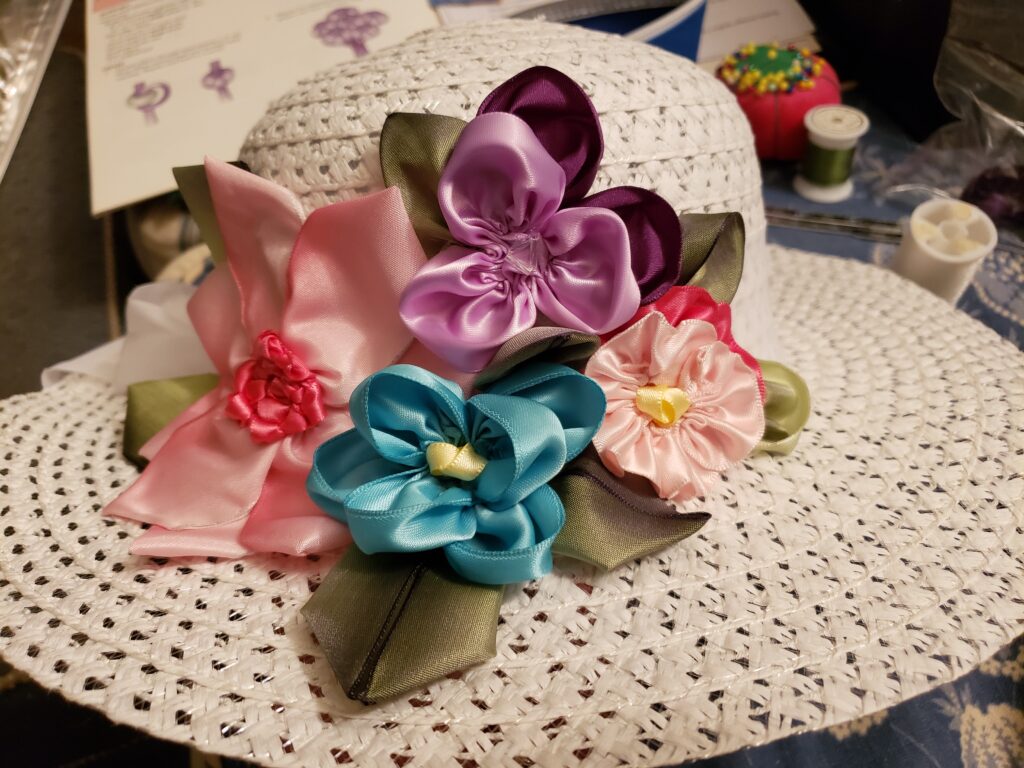
Finished Hat
I sewed each leaf and flower down with clear thread