This was a completely new technique of hand sewing and I really enjoyed the learning process for each flower. I made a rose, rose bud, carnations, and a 3rd flower similar to the clematis (although I have more petals).
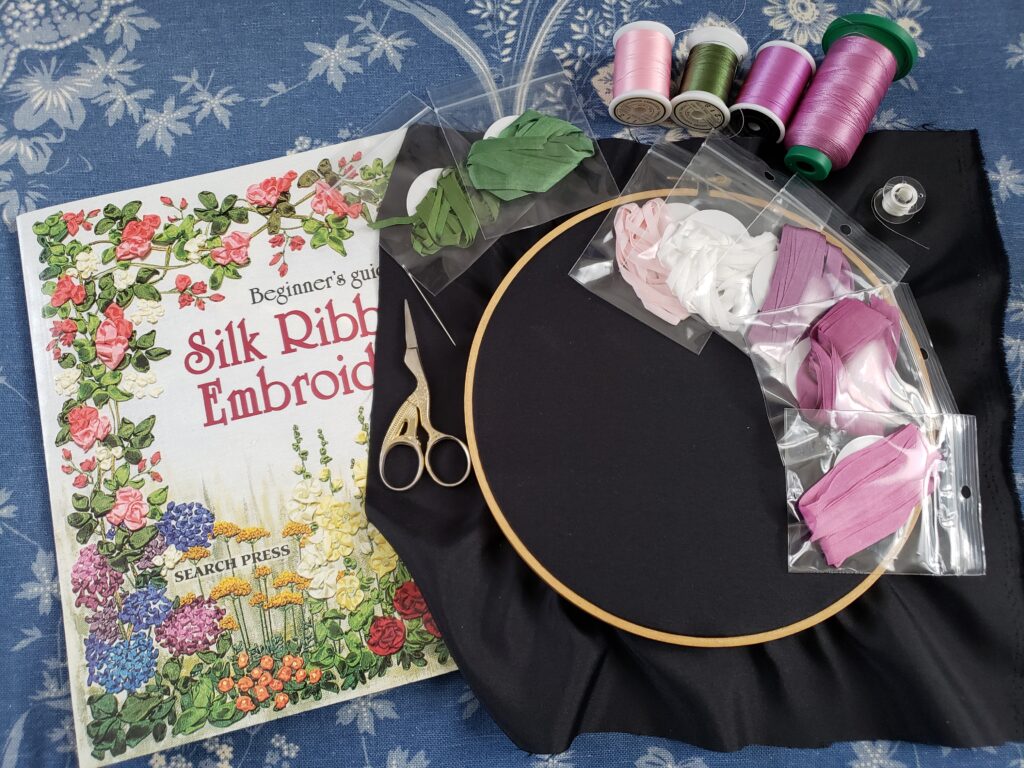
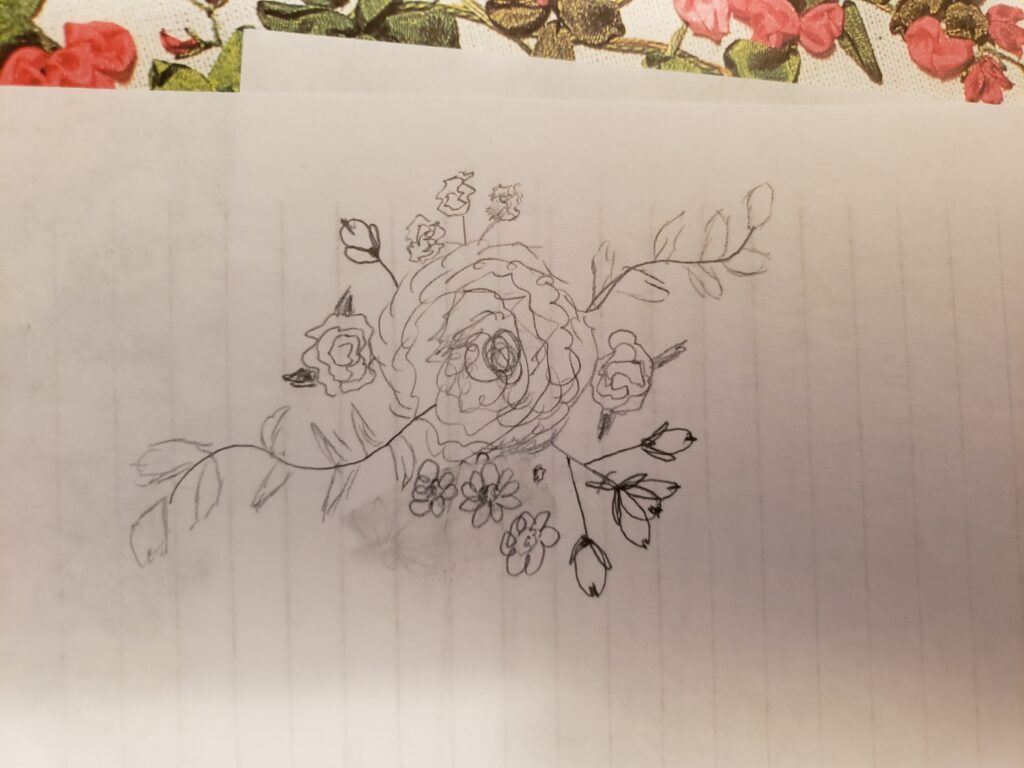
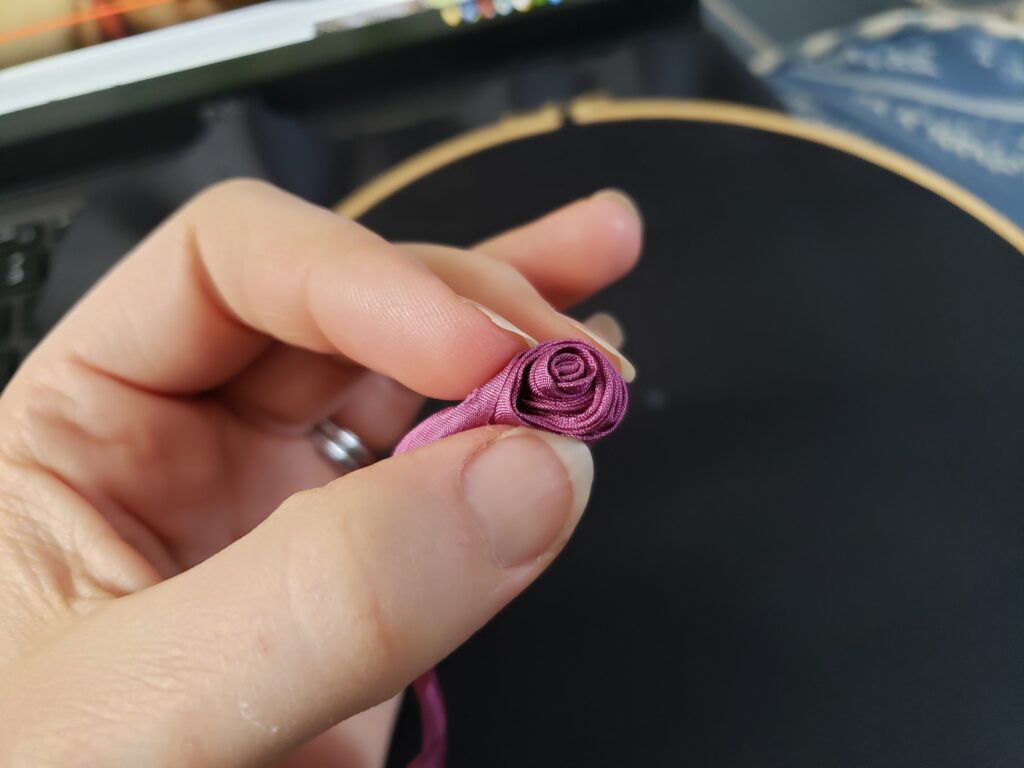
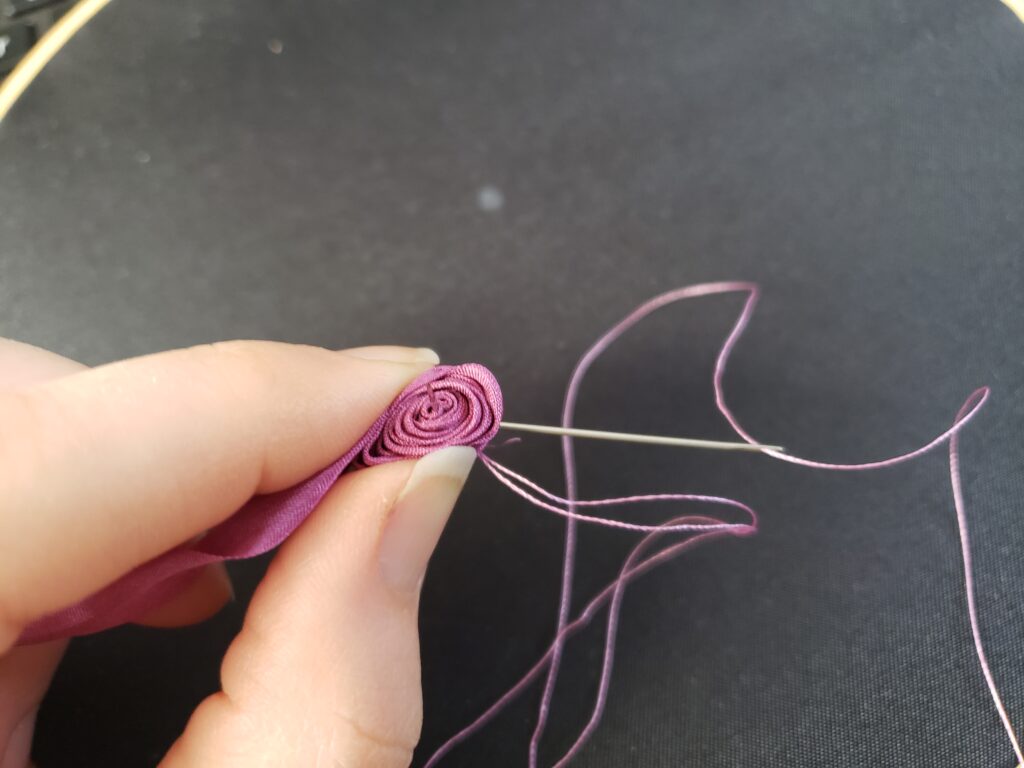
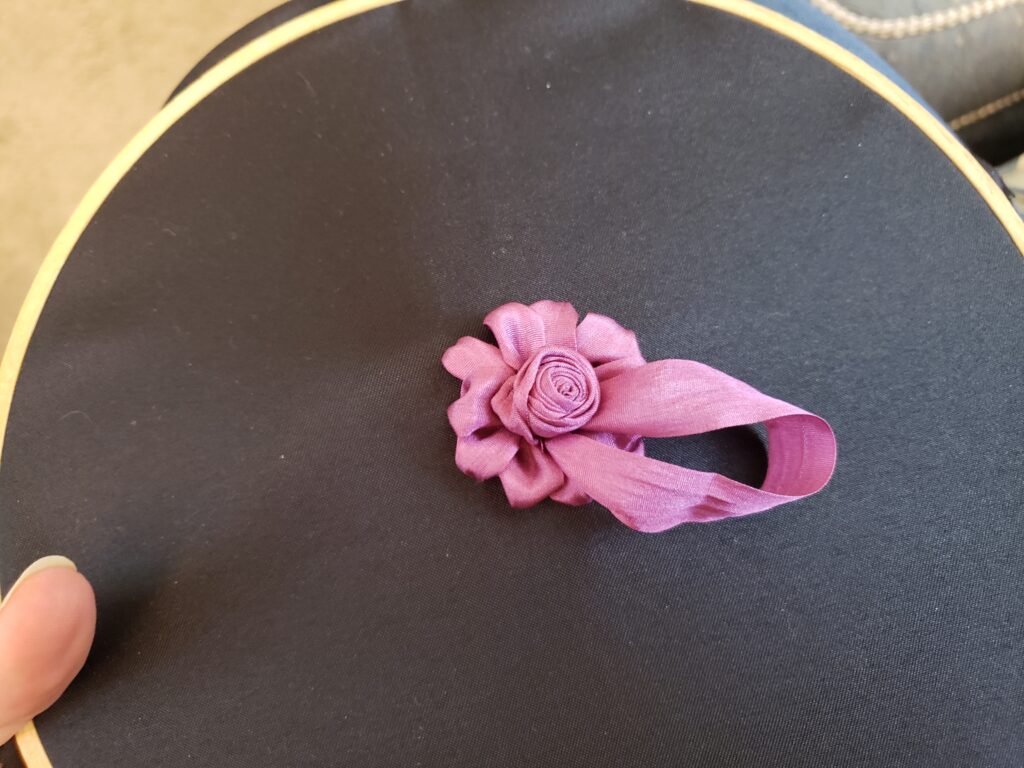
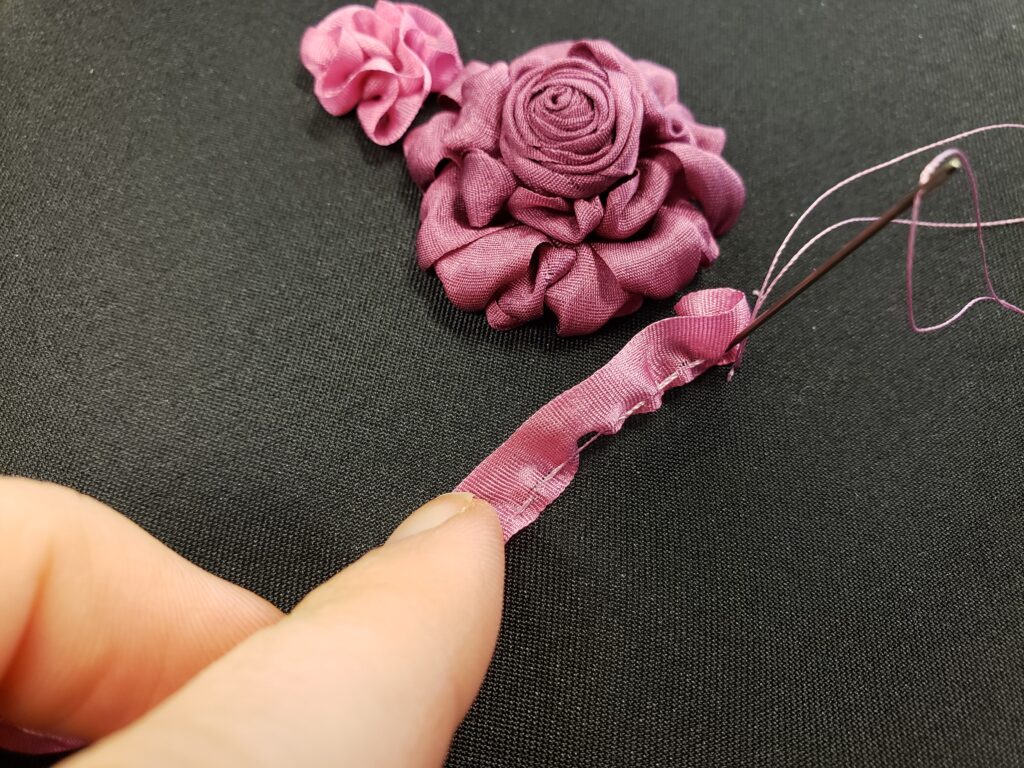
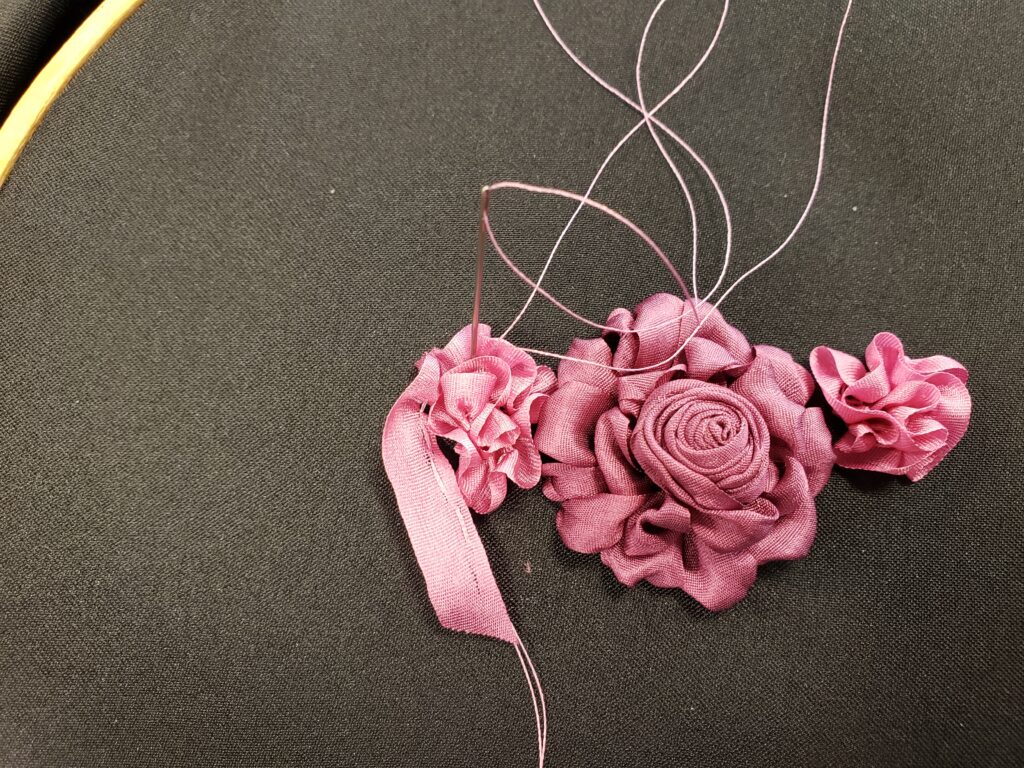
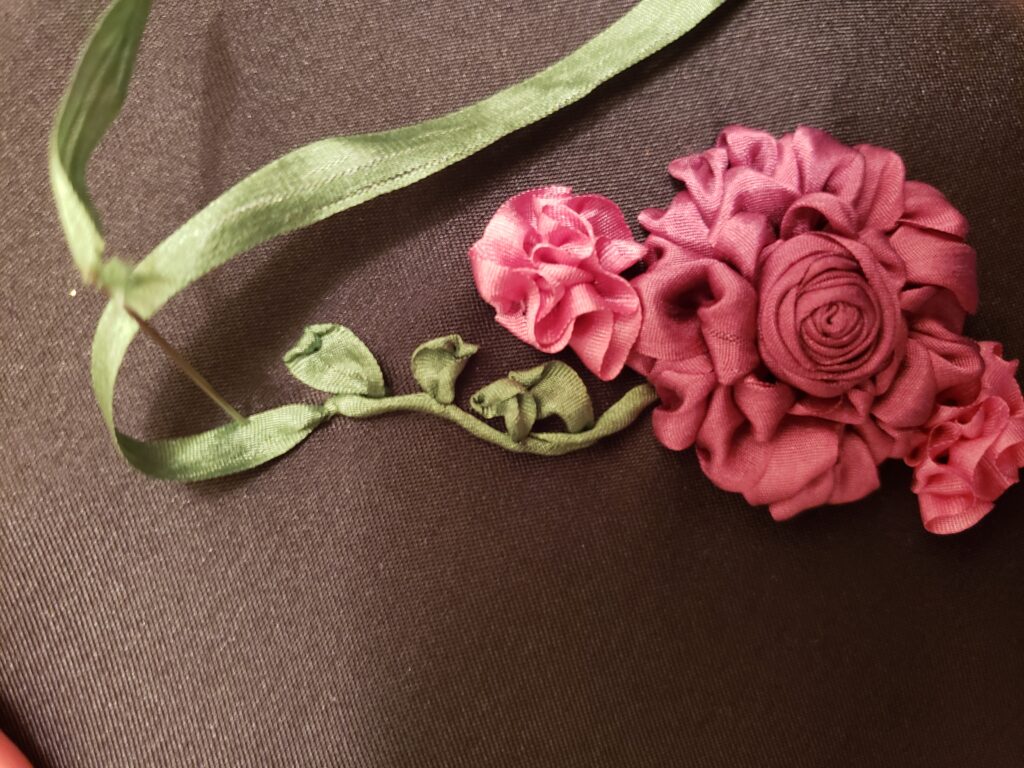
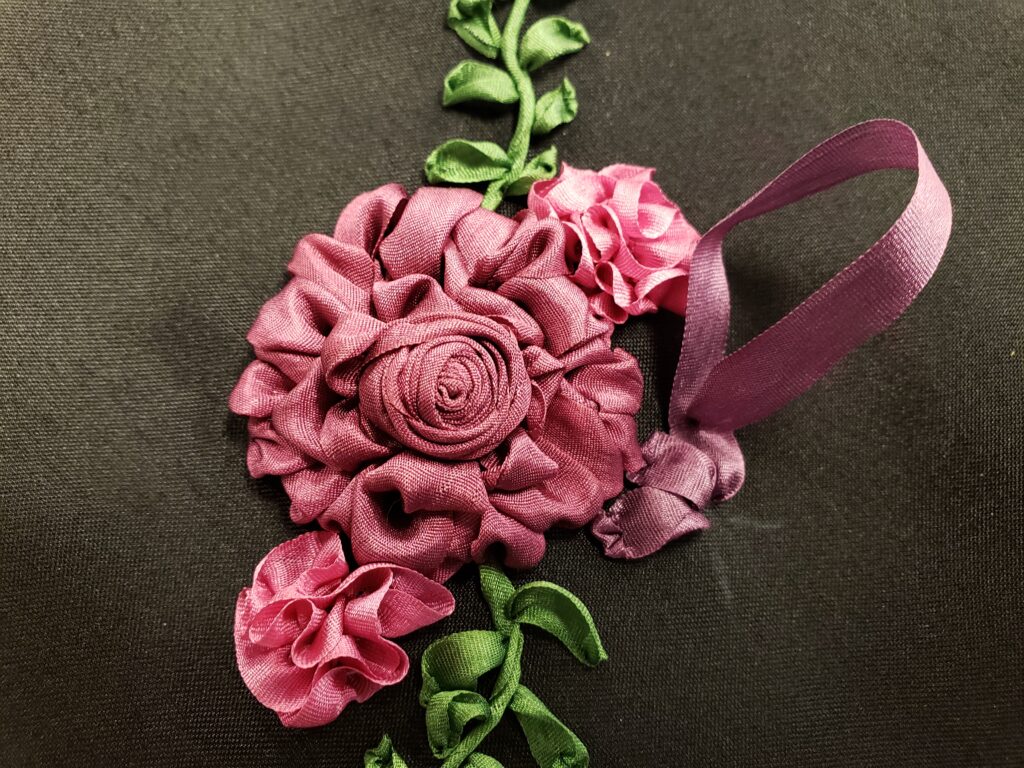
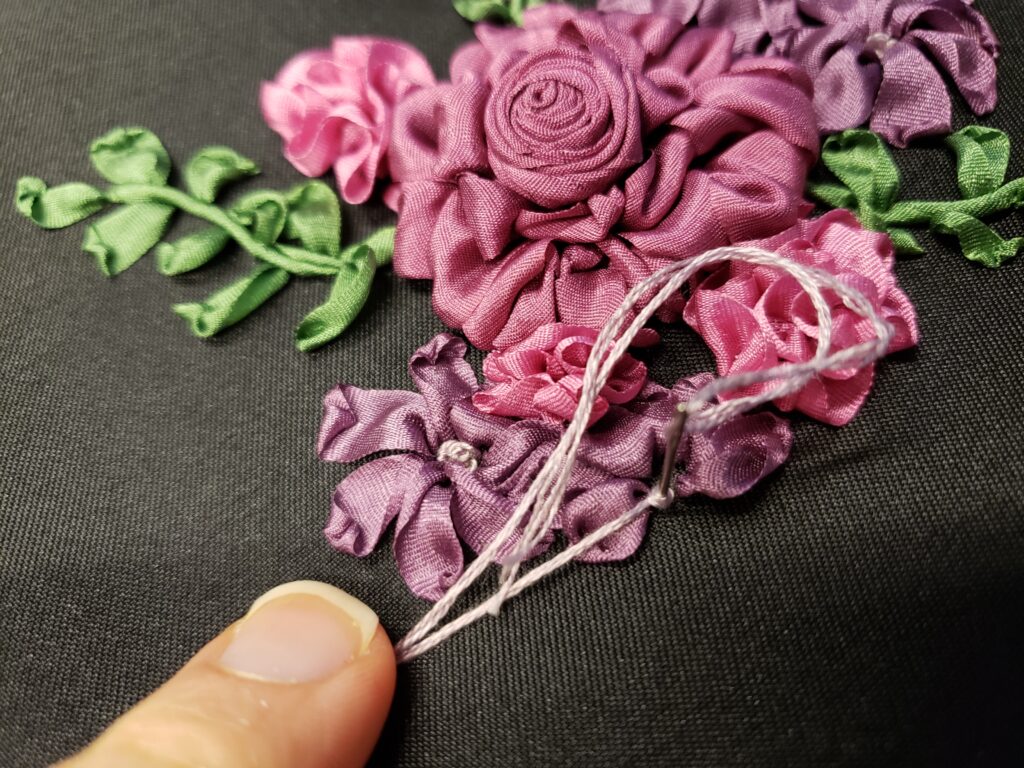
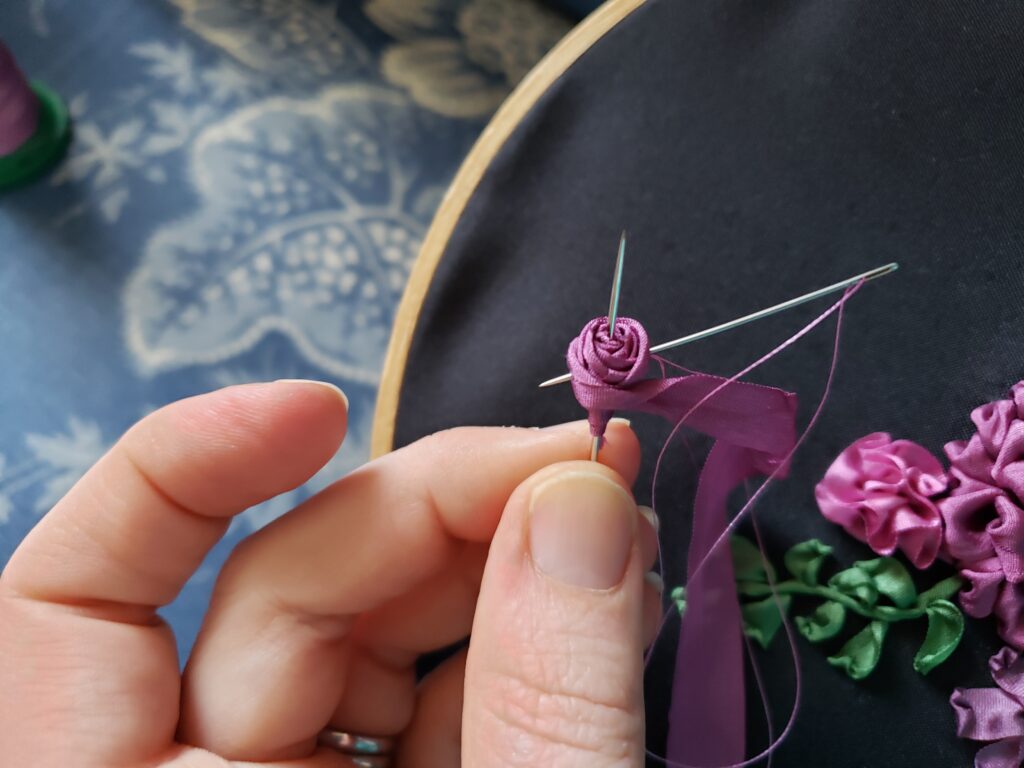
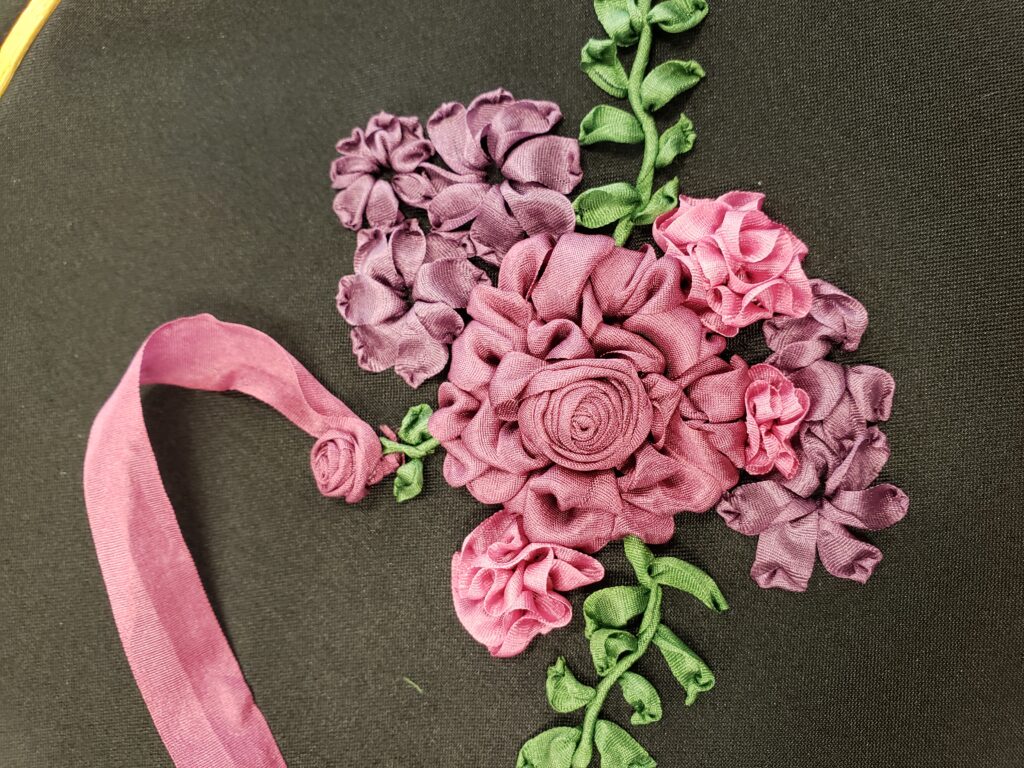
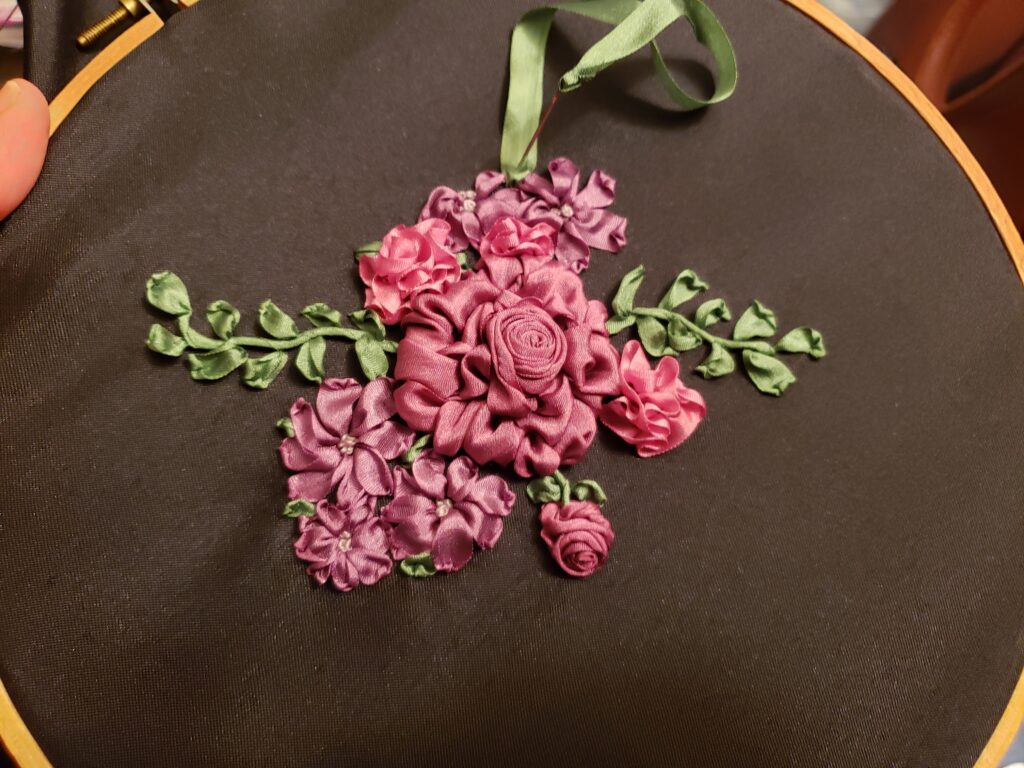
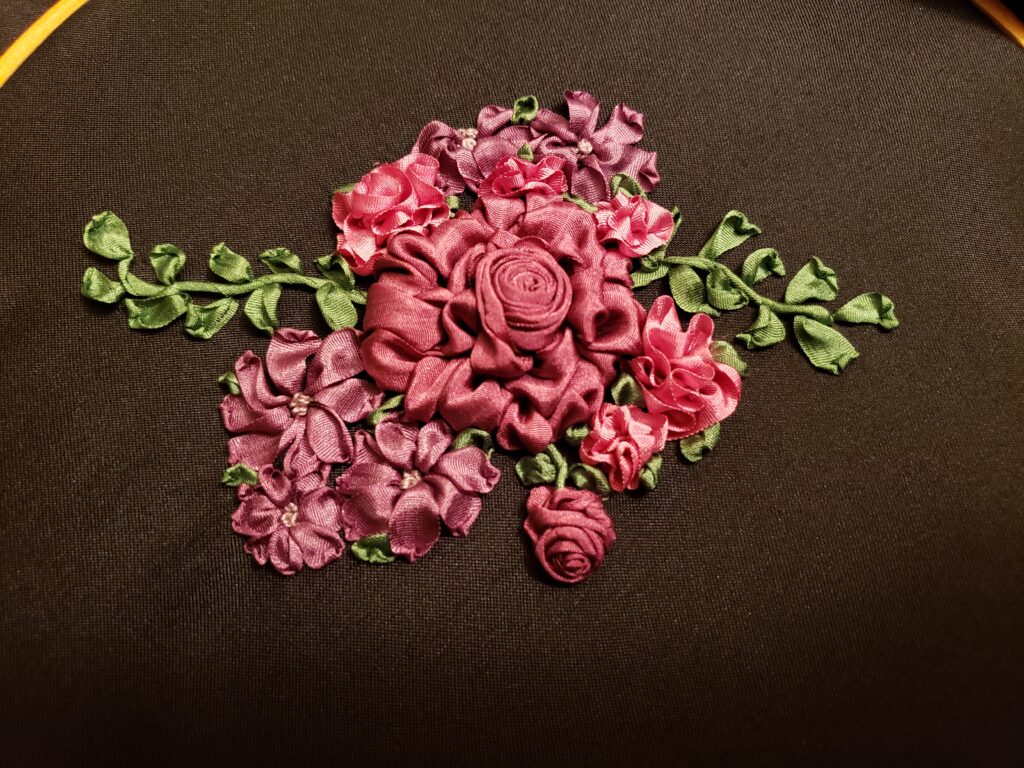
I liked the roses in Ann Cox’s book, but I wanted the rose to have more definition in the center bud. So I used the following link: Ribbon Embroidery Flower for Beginner as background to create the center rose and rosebud. While this video was helpful in demonstrating this type of ribbon rose, I would have preferred the video to have step by step narrated instructions instead of just the text appearing on the screen through out the video.
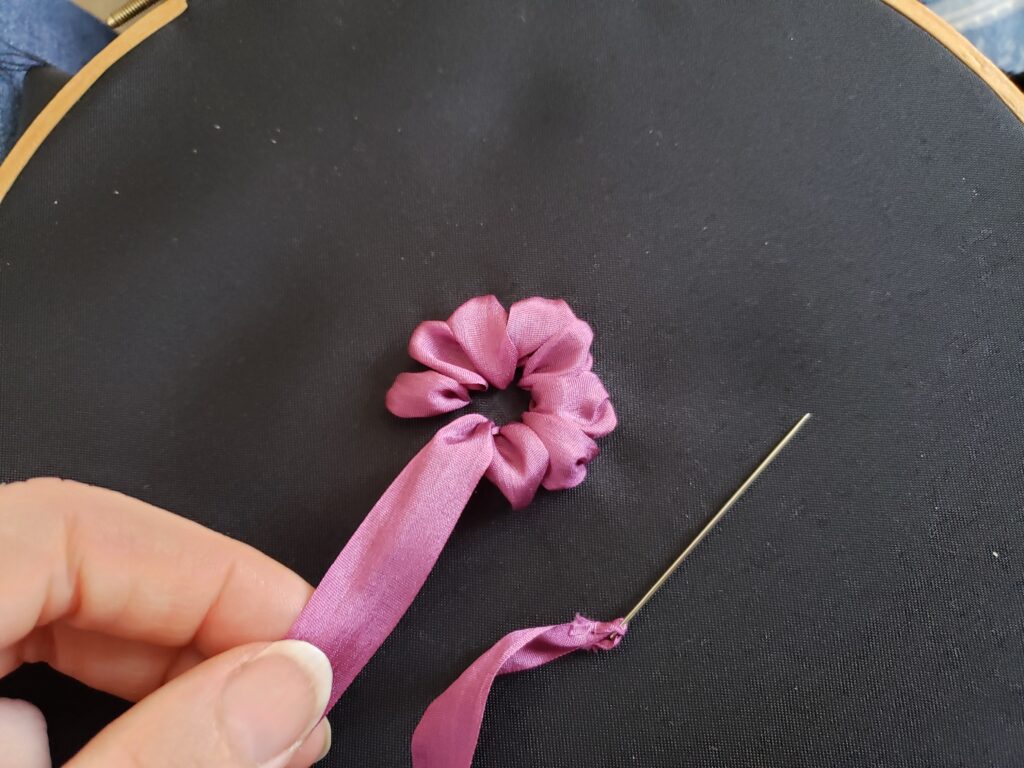
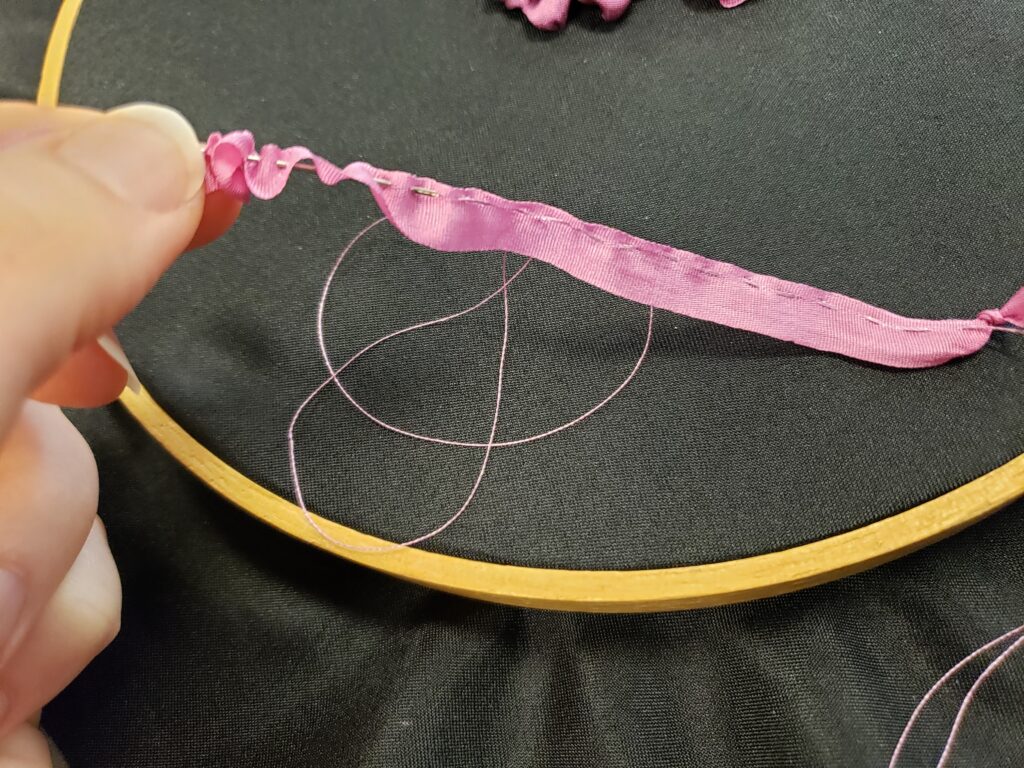
For the carnations, I used the instructions found in the Beginner’s Guide to Silk Ribbon Embroidery by Ann Cox. I appreciated how detailed and clear she was on each step with pictures and I had no trouble following her instructions. This gathered flower look is very versatile, but I did have to be careful because the silk ribbon is very delicate. Putting in the basting stitch and then tacking it to the fabric did cause some extra stress to the ribbon.
For the leaves and purple flowers, I also used Ann Cox’s instructions for the ribbon stitch. This technique is fairly simple, easy for me to learn, and creates beautiful leaves and flowers.
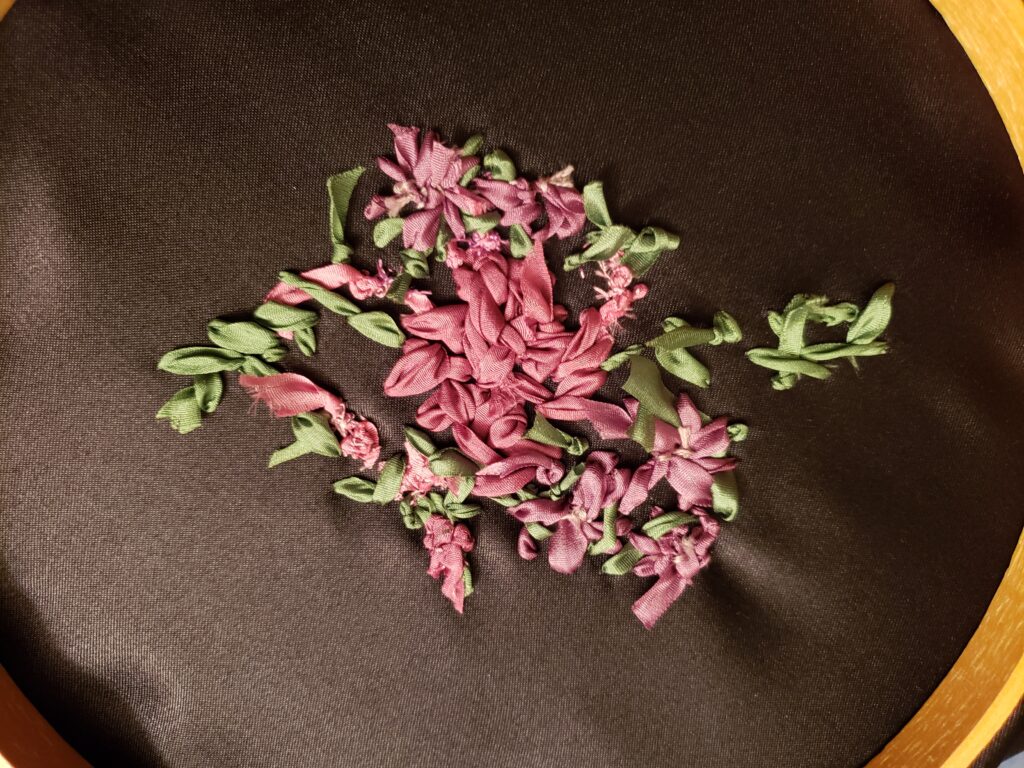
This was a great beginner project and one that I would do again now that I have more confidence in what I’m doing. For future projects, I would try to keep the back a little neater, this project its a little messy. I tied off all my ribbon using knots and next time I would try to stitch the ribbon ends down under the flowers.